Capture One has just released a whole bunch of outstanding new features, making this the most impressive Capture One update ever.
Today, you’ll see how to get the maximum out of these new tools!
- You’ll learn the best practices for replicating color grading with the new Match Look tool. I’ll also show you my own technique for adapting color gradings from classic artworks.
- You’ll see how to batch adjust skin tone, eyes, and lips with a single click.
- We’ll discuss cloud syncing between Capture One apps and other practical enhancements.
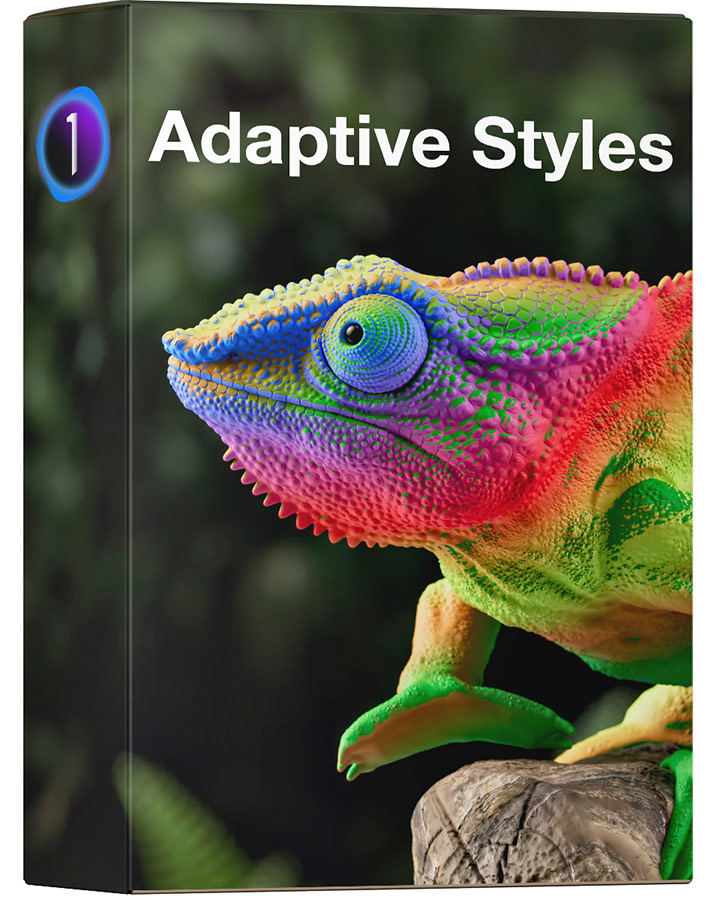
Finally, I’ve prepared a set of free Adaptive Styles designed to help you integrate these new features into your Capture One workflow.
Capture One Match Look Video Overview
Here is my video overview of all the new features:
Let’s start with the Match Look tool!
It allows you to copy color grading from any images, including your RAWs in Capture One or just JPEGs from the internet.
Simply drag and drop a file into the Match Look Tool, click apply, and Capture One will auto-adjust all key tools to match the reference, including Exposure, White Balance, HDR, Levels, Curves, Color Editor, and Color Balance.
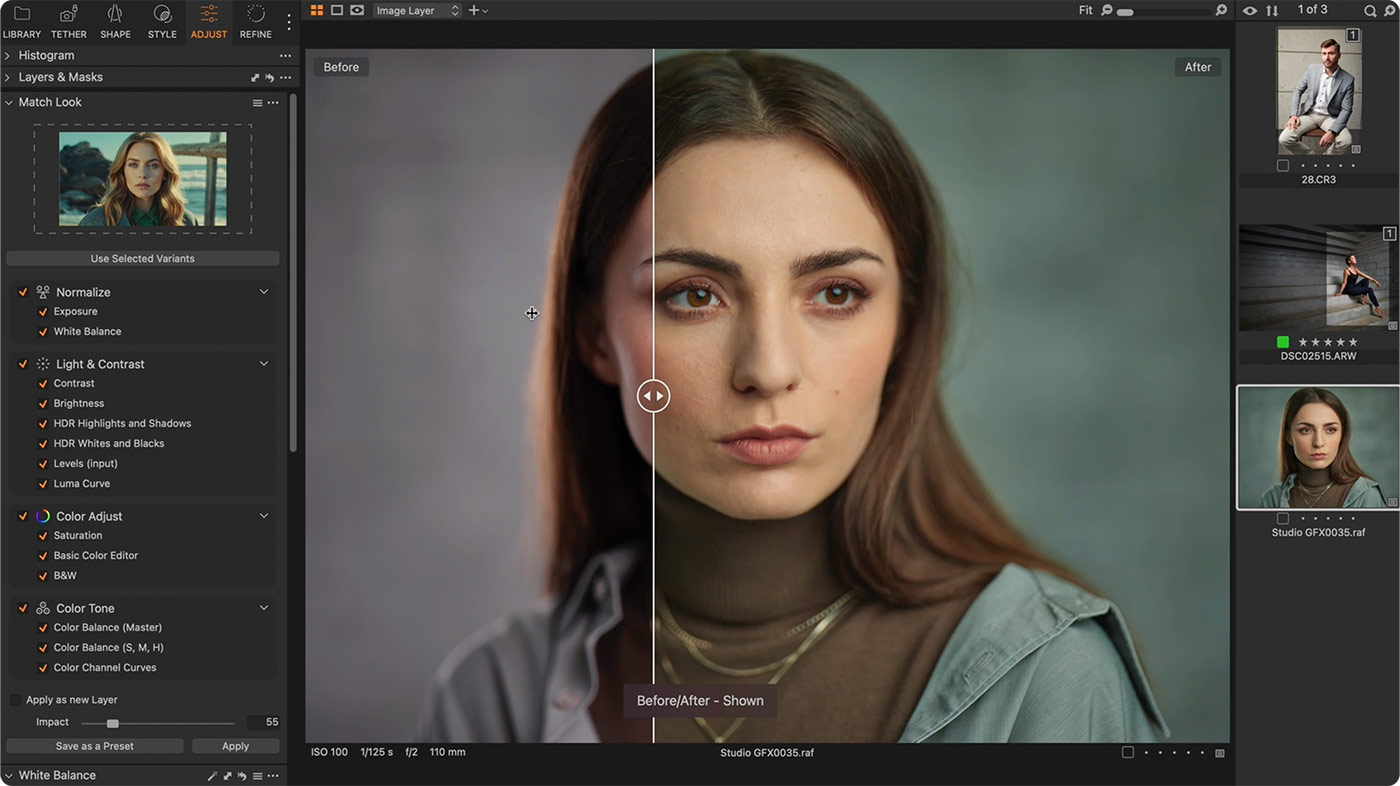
Match Look gives you a whole new approach to automatic adjustment while maintaining complete manual control over your image.
You can easily change the impact of the adjustments or exclude any tool from the correction. Plus, all the corrections that Match Look makes are regular adjustments that you can easily tweak.
Instead of guessing how an image was edited, you can now simply drag and drop the image into Capture One to get the exact adjustments for that color grading.
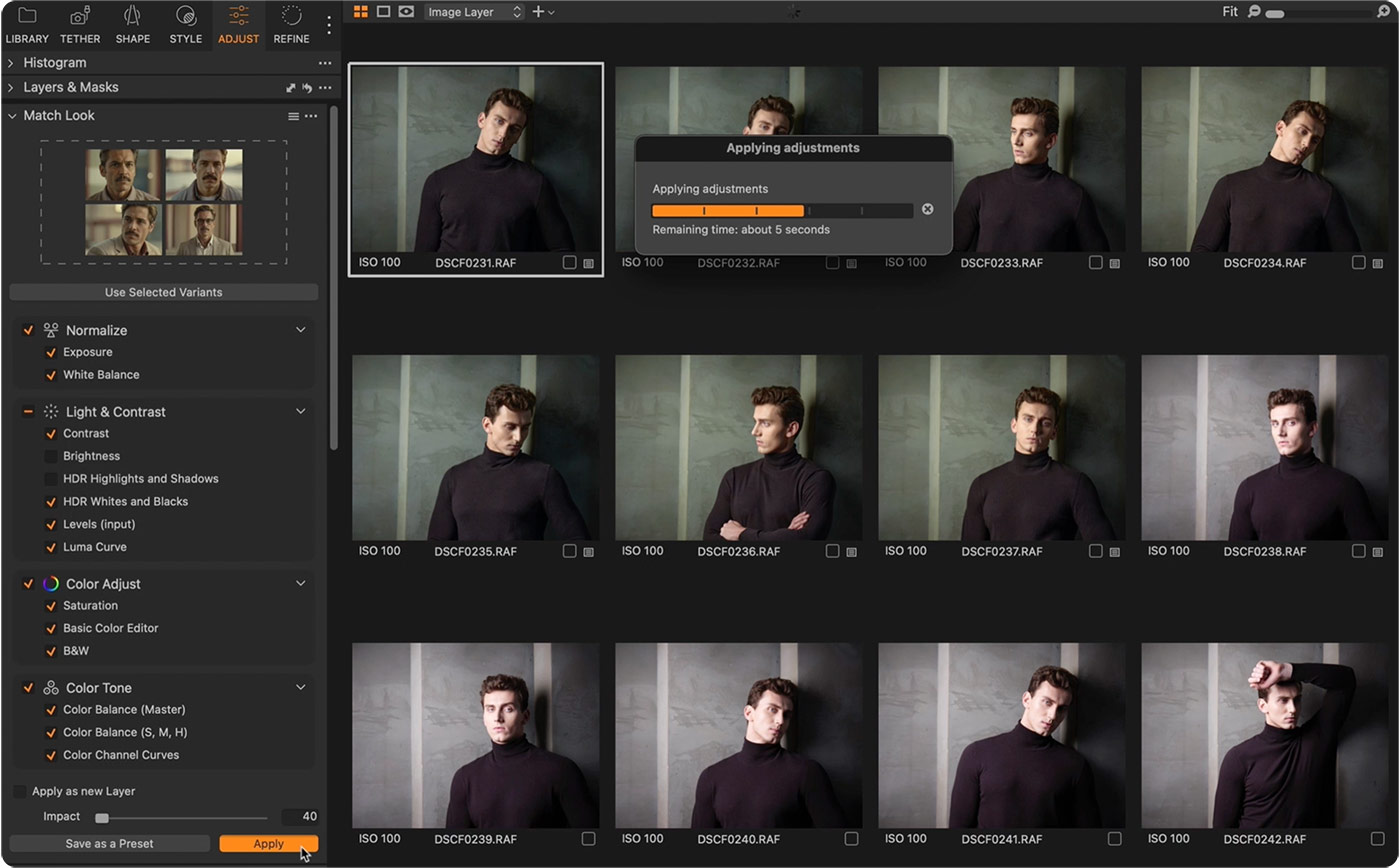
You can also use up to 20 images as a reference and batch-adjust the entire shoot based on them.
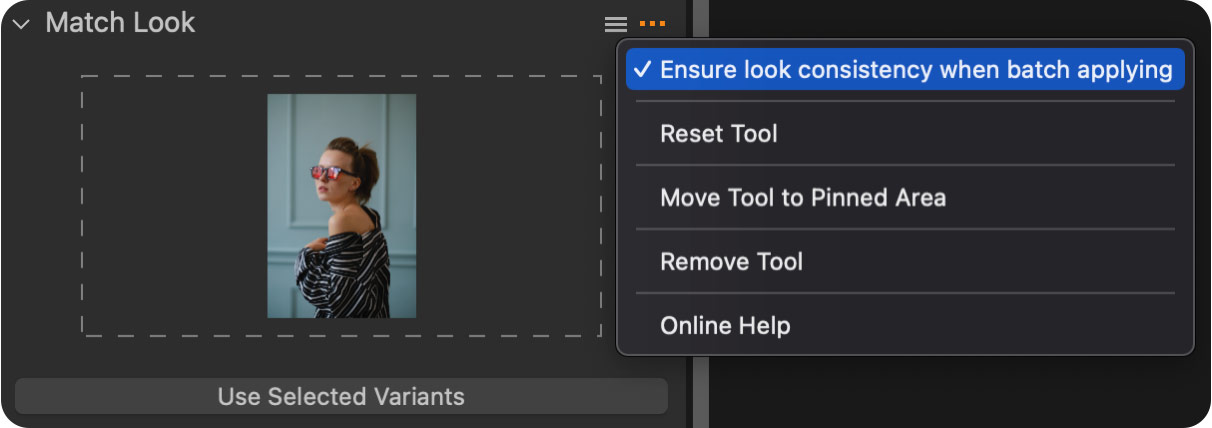
BTW, there’s an important option to get better consistency for batch processing; try it if you’re not quite satisfied with the default result.
 Best of all, you can apply the color grading as a new layer. This allows you to easily adjust the layer’s opacity or redraw the mask using the AI eraser.
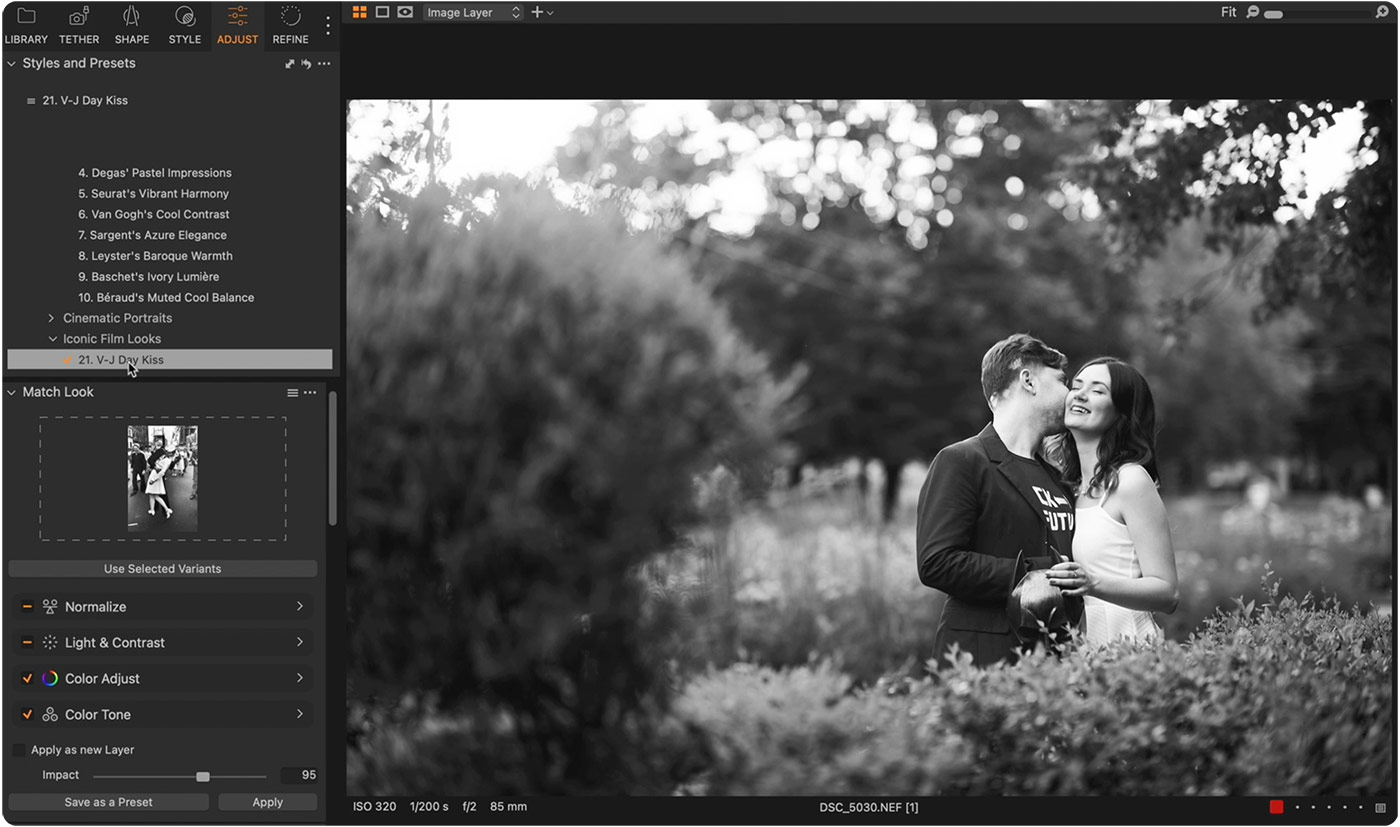
Also, you can save the Match Look reference image and settings as a preset and apply it to all images in a single click.
I’ve created a set of Adaptive Styles and presets that adjust each image individually. No matter what white balance or exposure your image has, these presets will adapt to your RAW file and adjust it to match the reference look
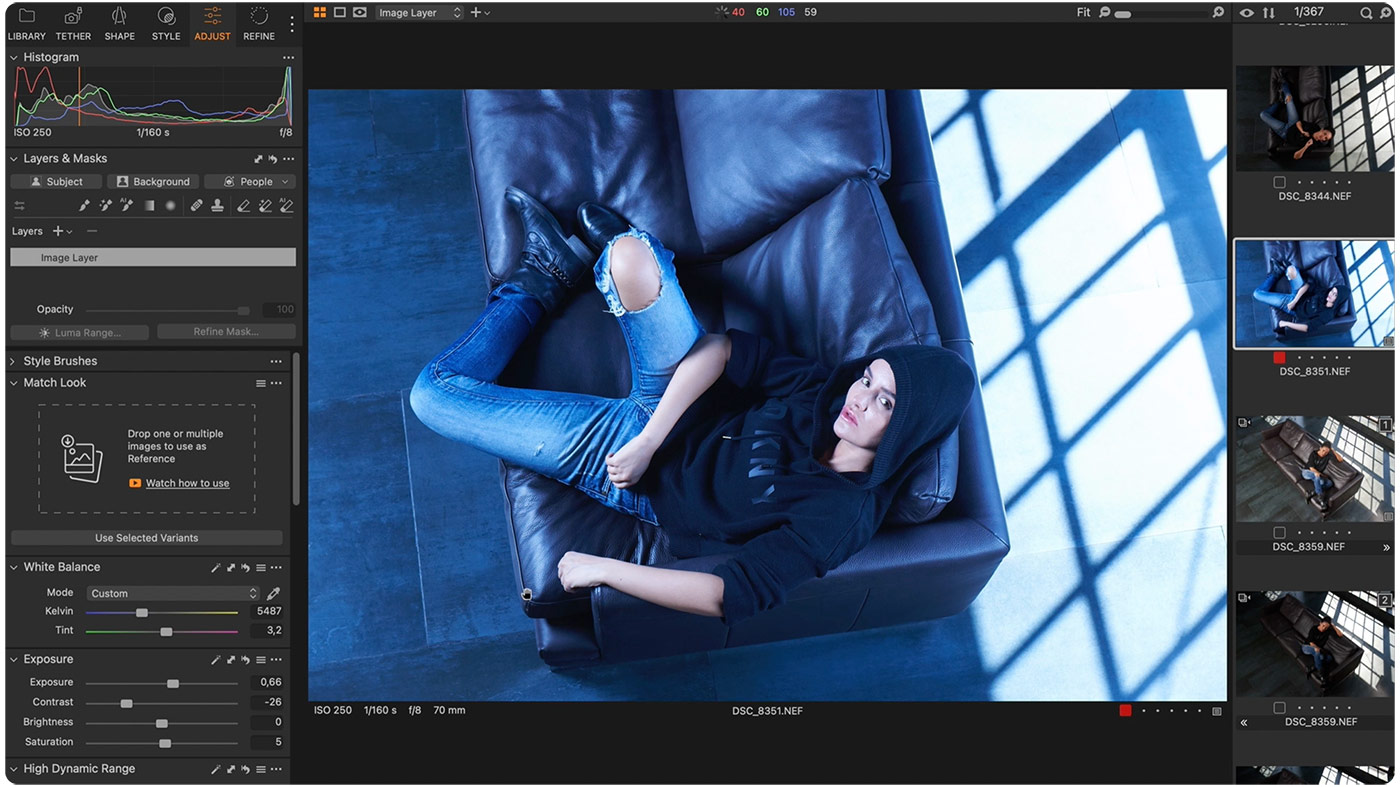
 For example, let’s apply the Cinematic preset to this overexposed and extremely cold portrait.
With a single click, we have a top-notch color grading with complex and unique adjustments.
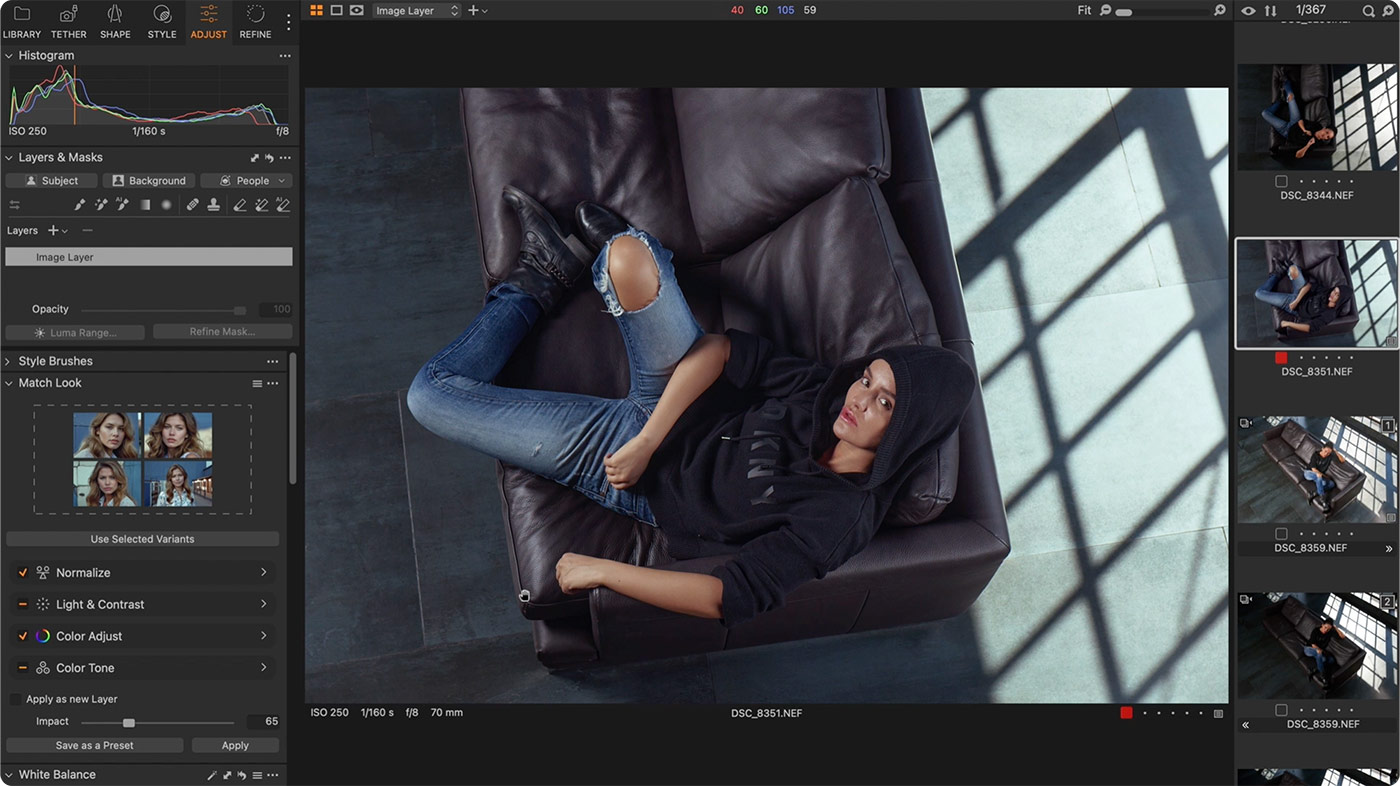
Feel free to download five styles sample styles and test them on your images:
Download Sample Styles
The complete set includes over 60 styles and presets that allow you to get the most out of the new Capture One 16.5.
Best Practices of Match Look
To get the most out of Match Look, follow three rules of thumb:
First and foremost, color plays an important but not the primary role in how we perceive an image. Without context, color simply loses its ability to deliver a message. That’s why it’s pointless to try to match the look of a family portrait with a dramatic landscape. You need to match images with similar plots or themes.
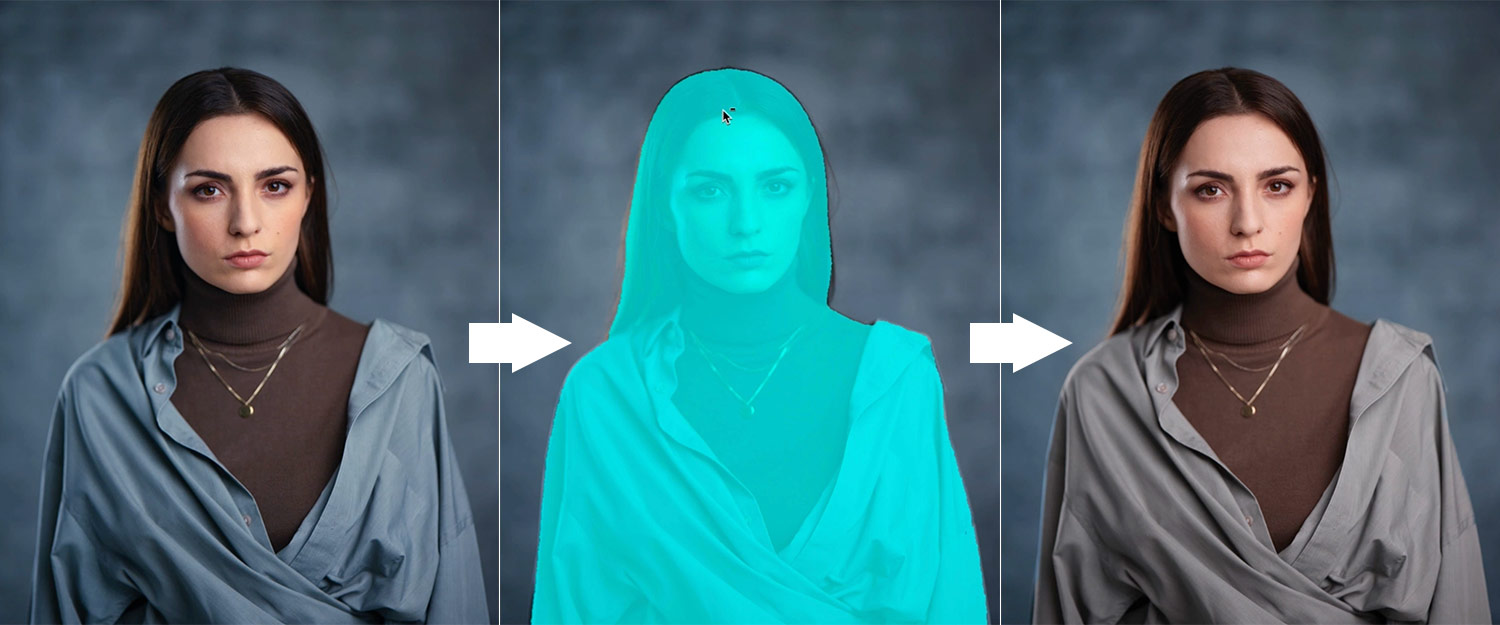
Second, keep in mind that Match Look can’t replicate layers and retouching. Many professional images are heavily adjusted in layers. That’s why it’s technically impossible to replicate such a look by adjusting only general tools. Let me show you what I mean. For example, let’s create a background mask on this image and make it cooler:
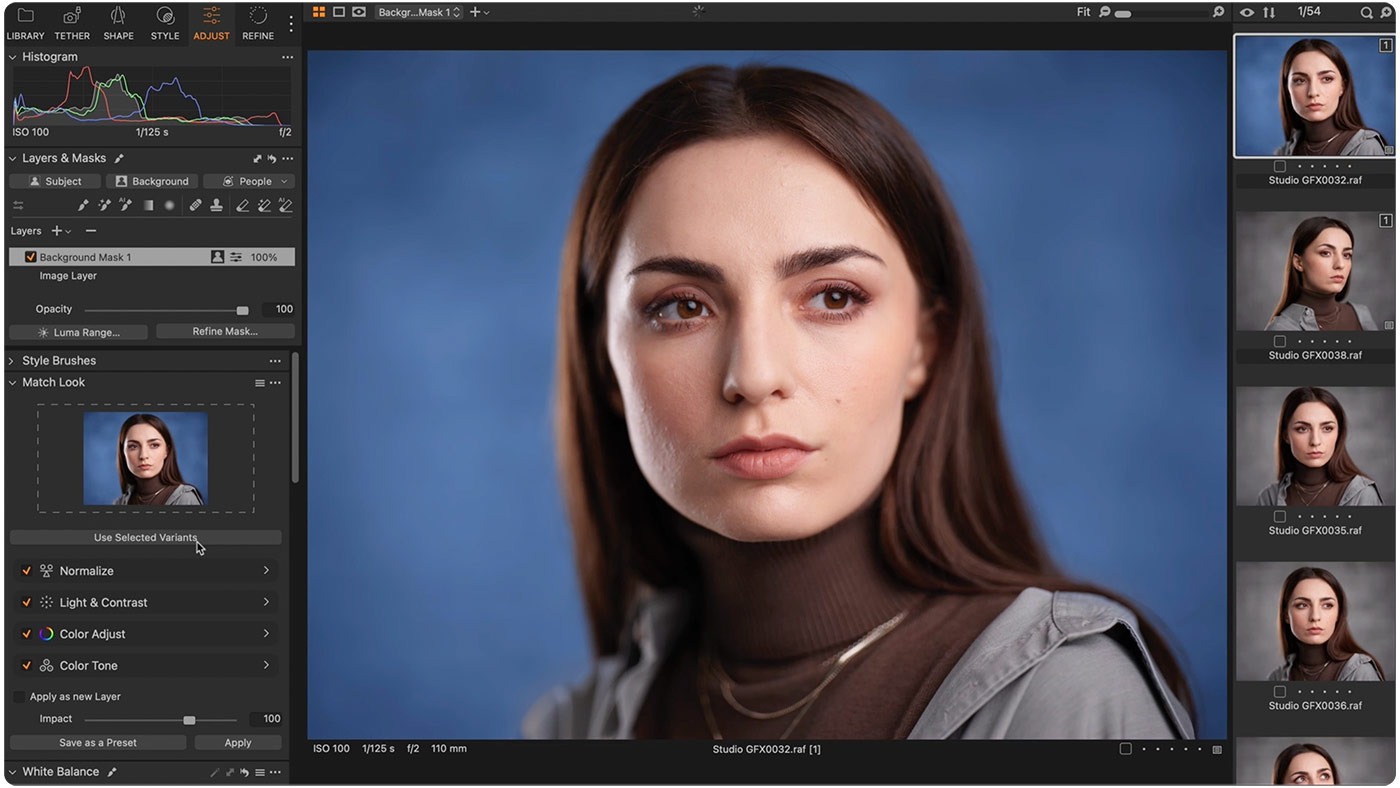 Now, I’m going to use this image as a reference, and as you can see, the Match Look tool can’t really replicate such adjustments.
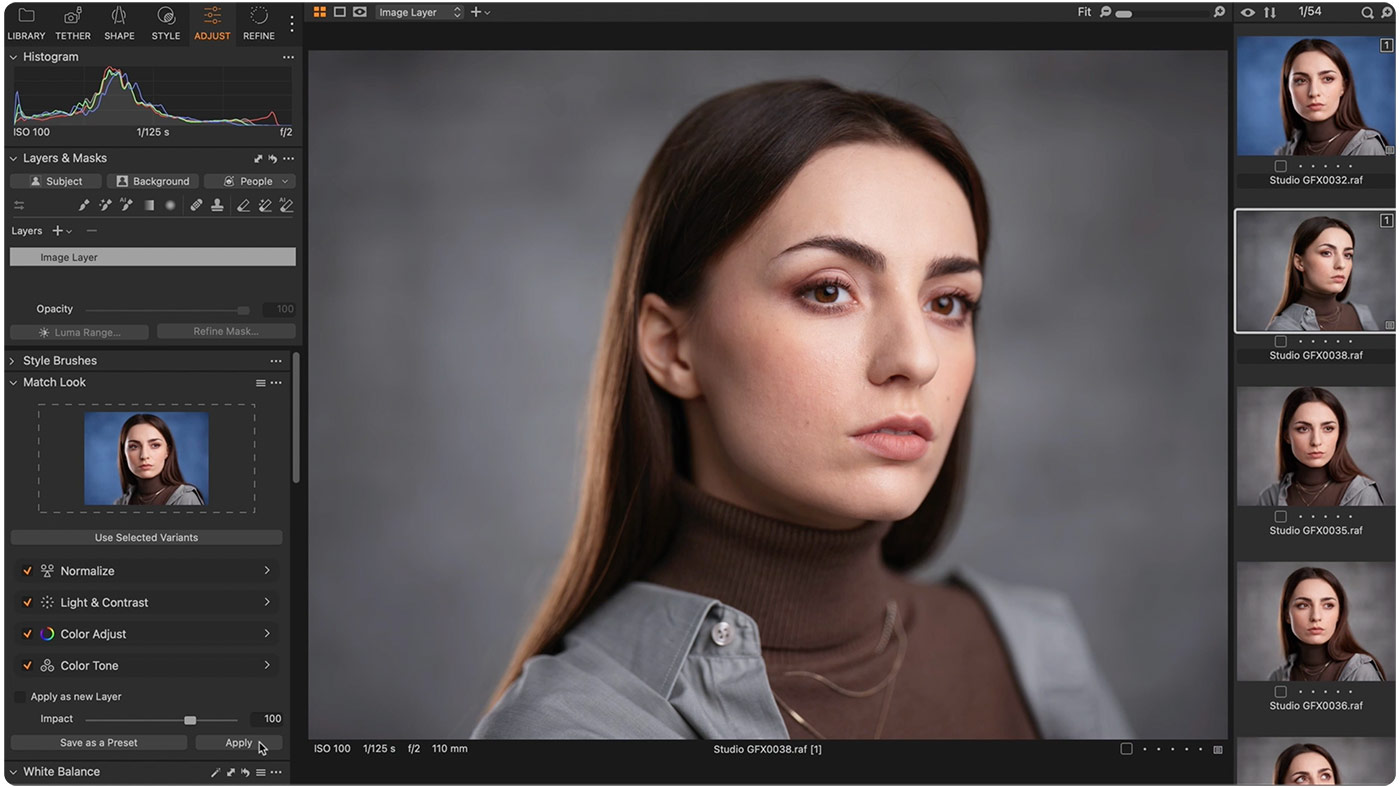 Finally, you’ll get way better results if your images have similar tonal contrast. The thing is that the same color grading looks completely different depending on the image’s tonal contrast.
Another trick I have discovered is that classic artwork is a fantastic source of Match Look references!
Not all paintings work well, but when they do, the results are just stunning!
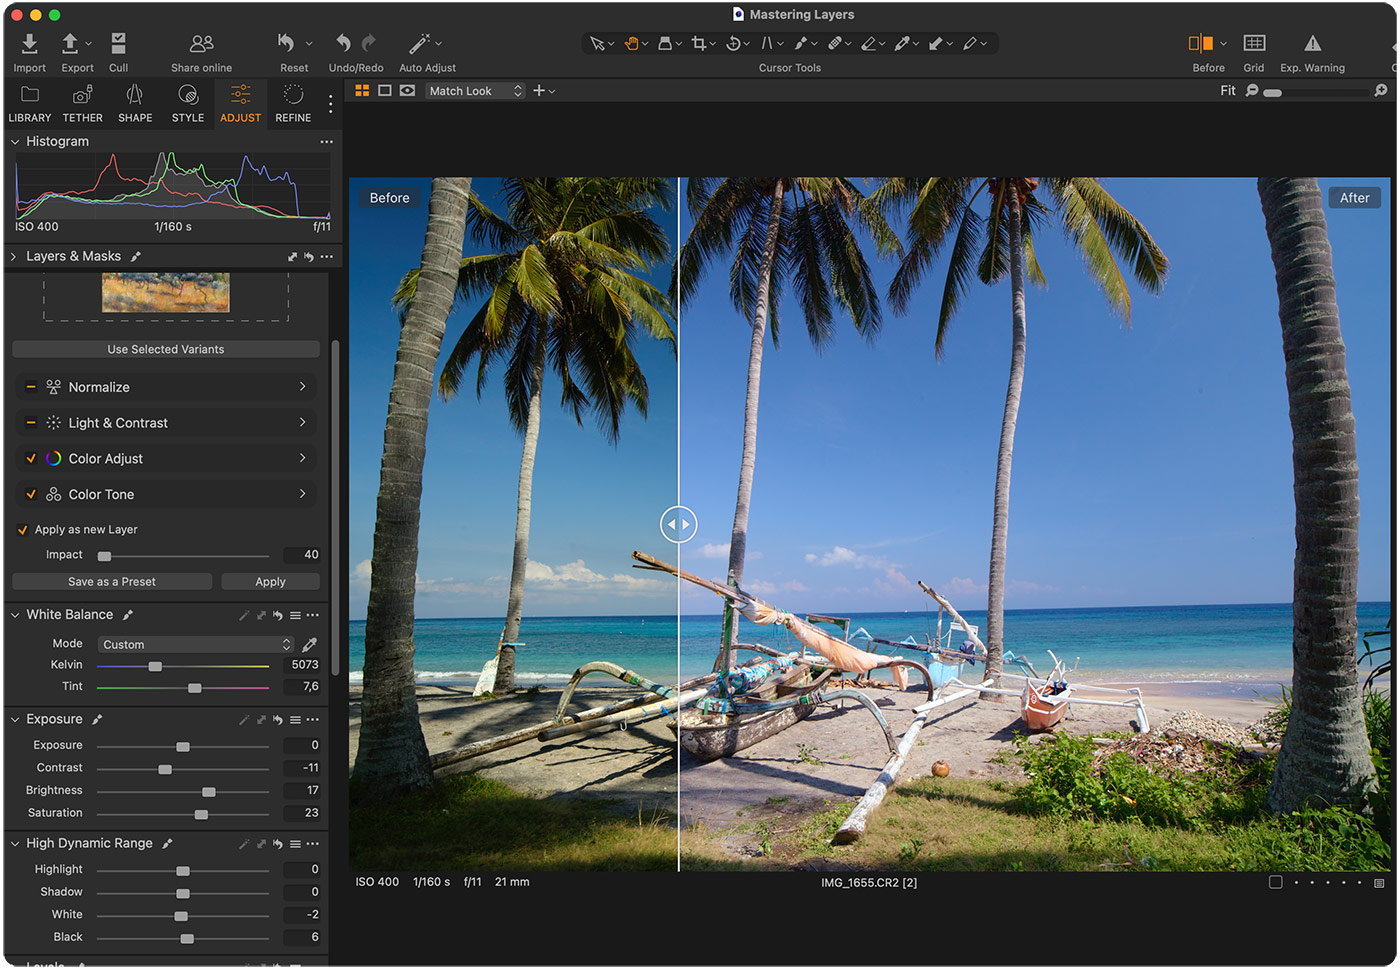
In addition to finding suitable artwork, it’s important to find the right balance of Match Look impact and adjustments. For example, for portraits, you need to keep the impact low, around 40, and for landscapes, you can increase it to 60, 70, or even one hundred for some images.
In most cases, it makes sense to turn off the HDR Shadows and Highlights adjustments, as they tend to make the image look flat. For some images, I also recommend turning off the exposure and saturation adjustments, but it depends very much on your reference.
I have tested hundreds of classic artworks with Match Look and experimented with numerous adjustment combinations. For the new Adaptive Styles set, I’ve selected 20 of the most universal presets that will benefit most of your images.
People Masking
The second major new feature is People Masking, which allows you to create precise AI masks for face and body skin, eyebrows, eyes, and lips.
Simply select the areas you want to mask and run the AI masking.
People Masking is extremely accurate; the quality of the masks is simply stunning:
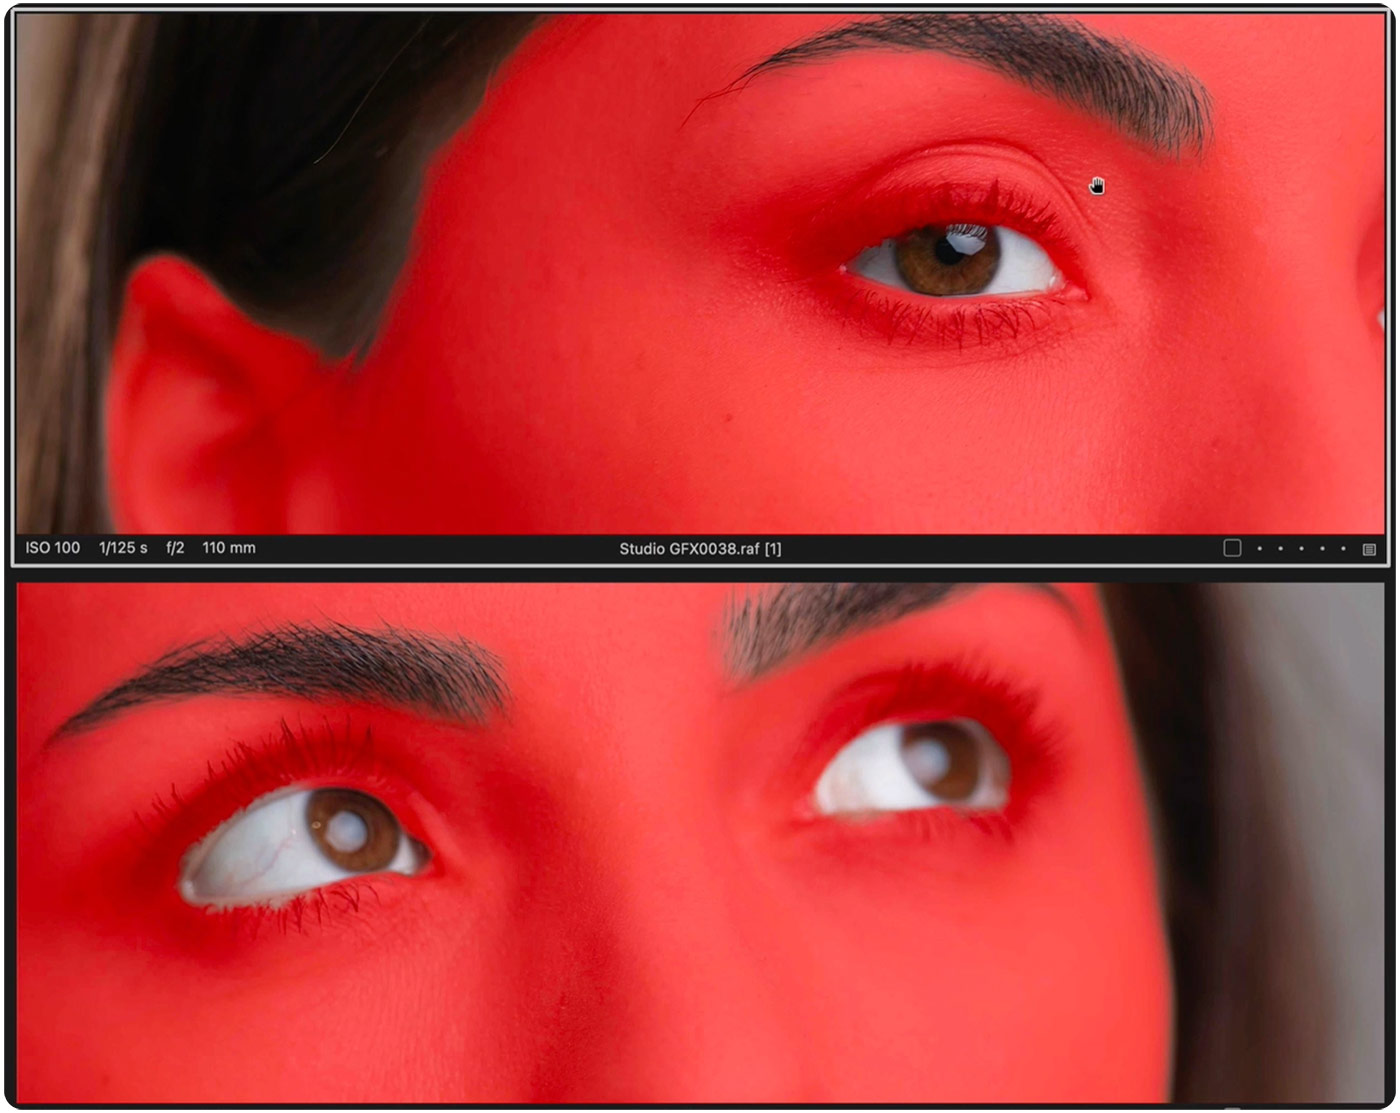
You can also copy and apply People Masking to all of your images, and Capture One will create unique masks for each image. For example, let’s create a face skin mask with skin tone correction. Now I can copy these layers and apply them to all images to get unique masks with my adjustments.
Finally, you can save people masks in styles to create your own saved adjustments for skin tone, eyes, or lips.
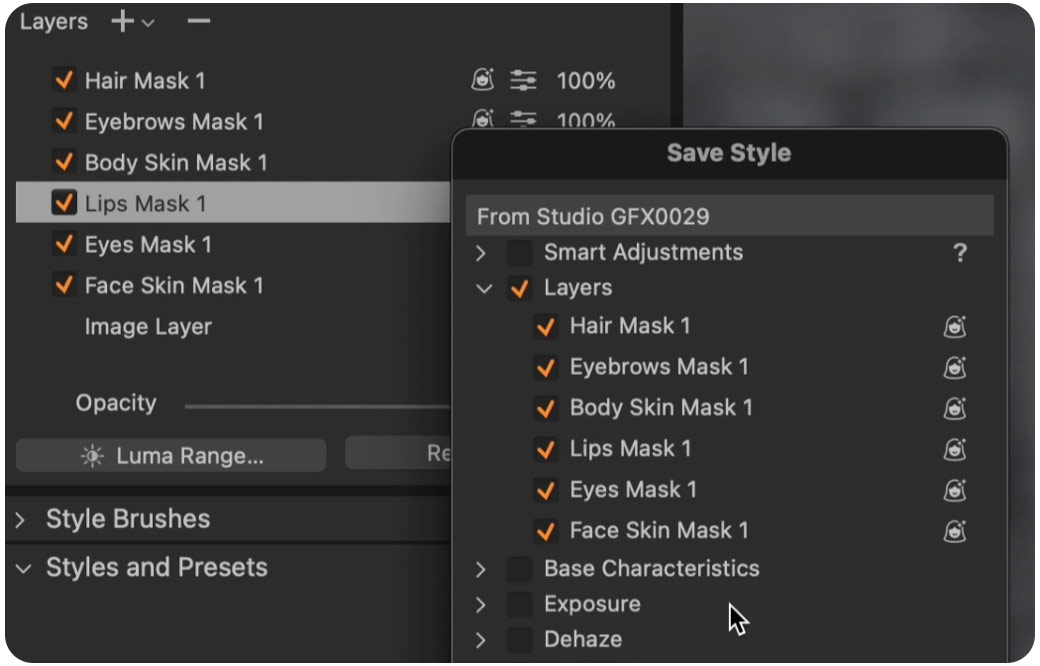
The Adaptive Styles set includes a collection of smart styles that adjust specific facial features. When you apply an adaptive style, it creates a unique mask on your image that contains predefined adjustments. For example, you can use these styles to easily enhance eyes or recover facial shadows:
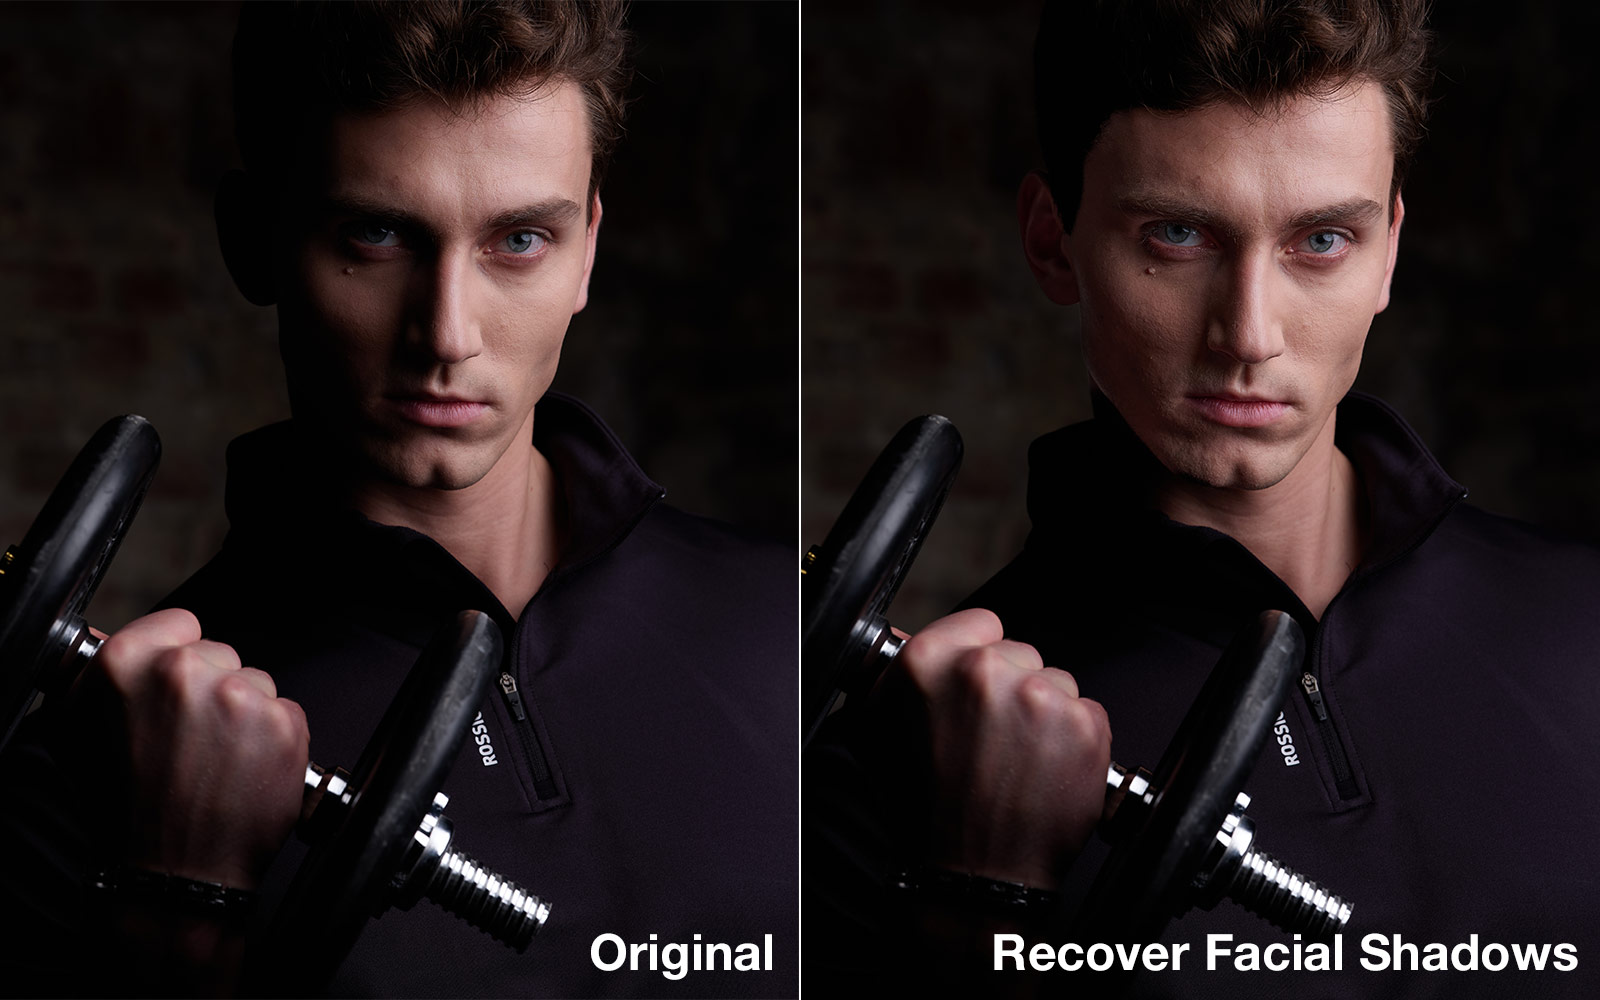
You can try these styles for free here.
Cloud Settings
Another excellent improvement is Cloud Settings, which allows you to sync your styles, workspaces, export recipes, and keyboard shortcuts between different desktop machines.
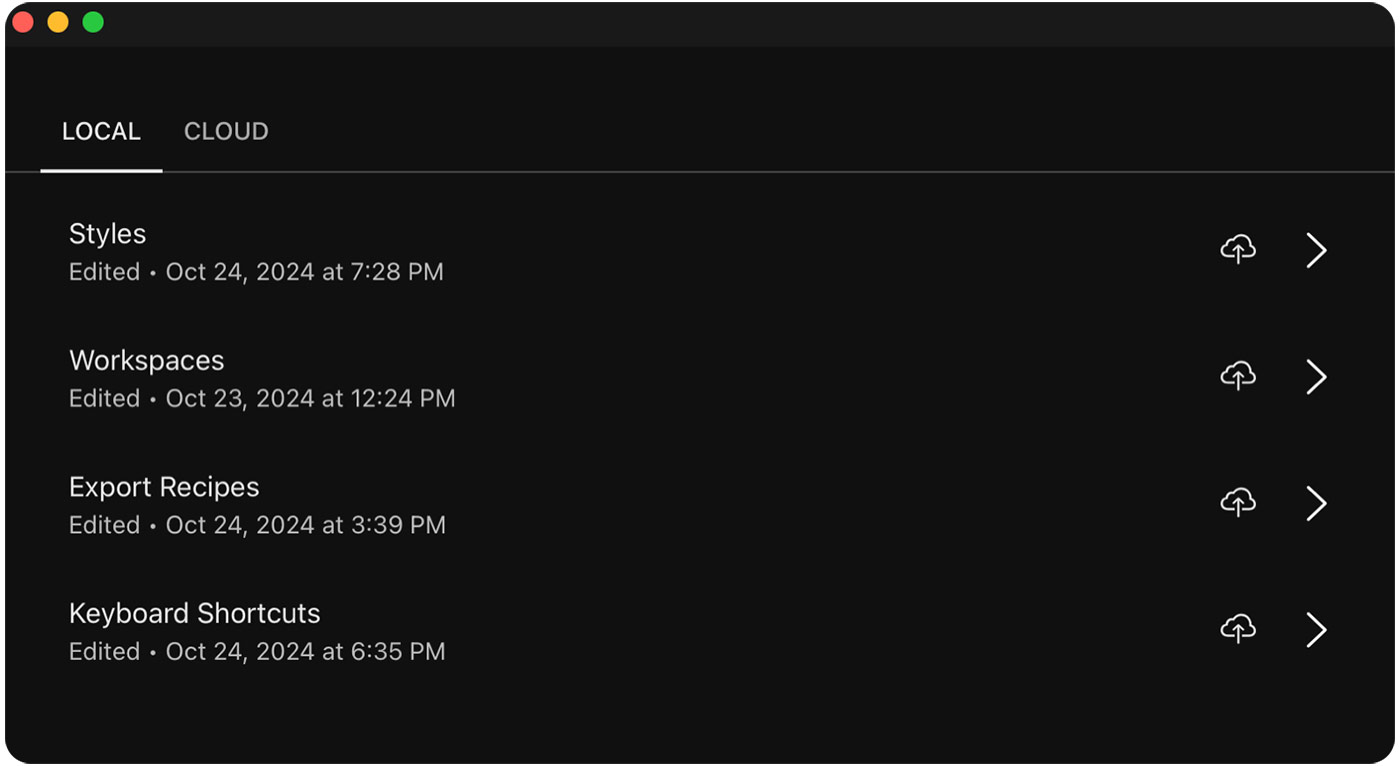 You can also use it to transfer styles from your desktop Capture One to your iPad and iPhone apps. Simply select the styles you want to sync on your desktop Capture One. Then open your iPad app and sync the styles, and they will automatically appear in your mobile app.
Finally, Capture One 16.5 brings several additional useful features.
- First, iPhone RAW files have received their own ProStandard profiles.
- Second, Capture One now has a built-in plugin for background replacement. The plugin uses the Photoroom service and requires a separate subscription.
- Third, Capture One can now add content credentials during export, showing what happened to an image while it was in the software.
Also, there are several minor but useful improvements to the tethering experience:
- The Camera tool displays options to launch an in-app tutorial and a link to a troubleshooting article if no camera is connected.
- A sound is played when a camera is connected or disconnected. This can be turned off in Settings > Notifications.
- The Capture button on your toolbar indicates whether a camera is connected or disconnected.
- On MacOS, if a connected camera has a non-empty memory card, the Camera Tool will notify you if the connection is slowed down by MacOS. This is a known MacOS limitation related to Spotlight indexing, and we can’t work around it.
- Error messages have been reworded for clarity, and new messages have been added for unsupported or busy cameras.


