Last year I had an opportunity to test several Sony and Fujifilm cameras, from compact full-frame Sony RX1 RII to the medium format Fujifilm GFX 50R. Obviously, each camera has its features; however, what I had been really looking for is how their RAW files act in Capture One.
So, after processing numerous images, I can now share my favorite hints for Sony/Fuji RAW files editing with you!
1. Try Generic and Standard color profiles
For some popular Sony cameras (A7, A7S, A7R, A7 II, A7S II A7R II, and several other models), Capture One offers two color profiles to choose from: Generic and Standard.

Standard profile is a bit of an enhanced version of Generic profile. This is especially noticeable with portraits; if Generic skin tone doesn’t satisfy your taste, try Standard profile before making any corrections. Still, I wouldn’t recommend Standard profile as a default choice for your images. For instance, in my case, it significantly increases magenta on a blue sky, losing natural colors of Generic profile.
2. Learn how Auto Curve works
Auto Curve in Base Characteristics is a crucial setting for Fujifilm RAWs.

For all the other cameras, Auto Curve simply applies Film Standard curve, but with Fuji cameras, it works differently.
For Fuji cameras, Auto Curve applies Fujifilm Film Simulation, which has been set up in camera during the shooting. In some cases, that’s fine, but for many images, you might prefer natural colors provided by Film Standard curve. Fortunately, you can easily set Film Standard as the default curve:
- Choose Film Standard Curve
- Click “…” icon in Base Characteristics tool
- Select “Save as Defaults for /Your Camera/”
3. Benefit from manufacturer lens profiles
Capture One offers lens profiles for most of the popular lenses. However, some rare or new Sony/Fuji lenses have no support in Capture One. In this case, manufacturer profiles will help you to achieve accurate lens correction.

Manufacturer profiles are “embedded” into a RAW file, and thus you can perform high-quality lens correction even when your lens is not supported. This feature helped me a lot with RAW files of my Sony RX1RM2 camera.
The only restriction of manufacturer profiles is that they have no “Sharpness Falloff” slider, a pretty useful tool for some images.
4. Master layers to get full control over editing
If you’ve just switched to Sony/Fuji Pro, I highly recommend you to dig deeper into layers in Capture One. Keep in mind that Layers in Capture One isn’t just a tool for local correction. You can have all your adjustments in layers and have full control over editing. Plus, try to use styles in layers! That’s just mind-blowing thing.

5. Use filters and smart albums to deal with JPG+RAW
On my Sony and Fuji cameras, I shoot a lot in JPG+RAW. JPGs fit the social media demand here-and-now perfectly.
Still, if I wish to get the maximum out of an image, I need a RAW file.
Here are two useful hints to manage JPG+RAW workflow:
- You can hide JPGs in View –> Global Filters when you don’t need them. Same works for RAWs, when you need to organize JPGs in your archive.
- Smart albums work well in sorting images of different formats.
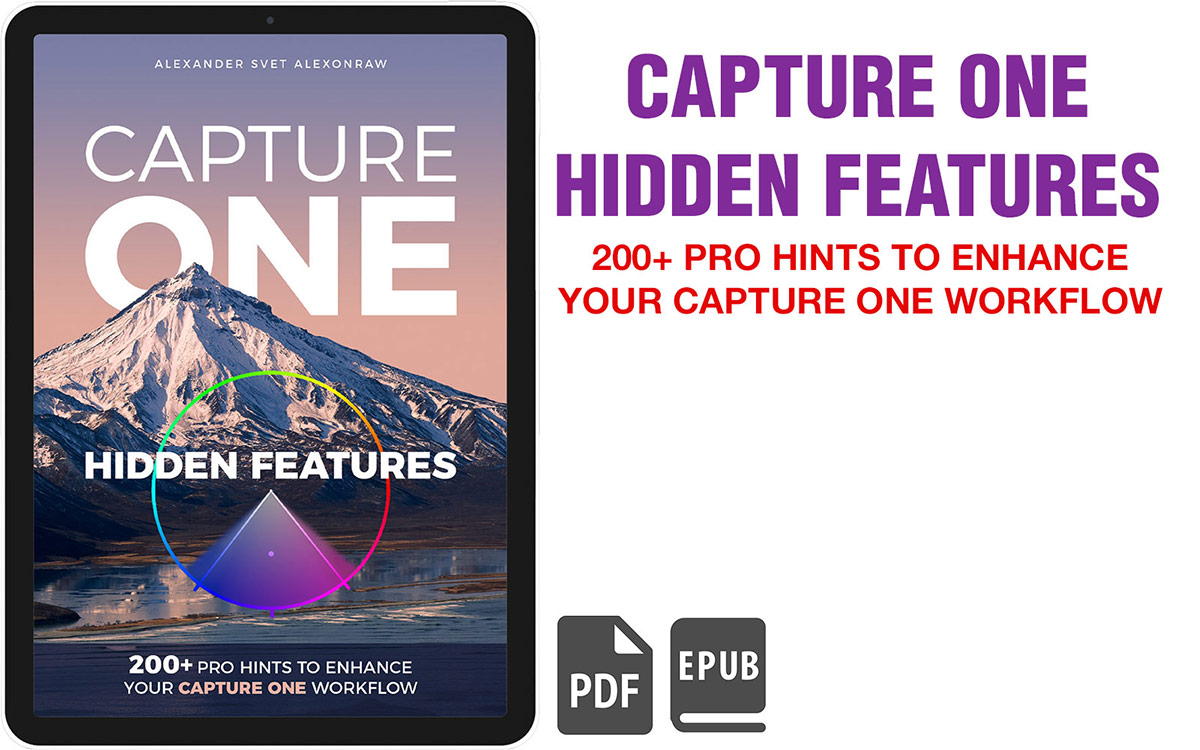
Capture One Hidden Features eBook
Capture One Hidden Features is a collection of more than 200 pro hints to improve your Capture One workflow, structured into an easy-to-read book.
You can download four chapters from the Capture One Hidden Features ebook free of charge:
- 3. Must-Have Shortcuts
- 14. Hidden Features of Layers
- 27. The Power of Mask Inversion
- 38. Automation with Macros
Simply subscribe to the AlexOnRAW newsletter by entering your email in the form below. After subscribing to the newsletter, you’ll immediately receive the four chapters from the book. Also, you’ll regularly get a friendly newsletter with free Capture One tutorials, image editing tips and tricks, and news from Capture One community.


