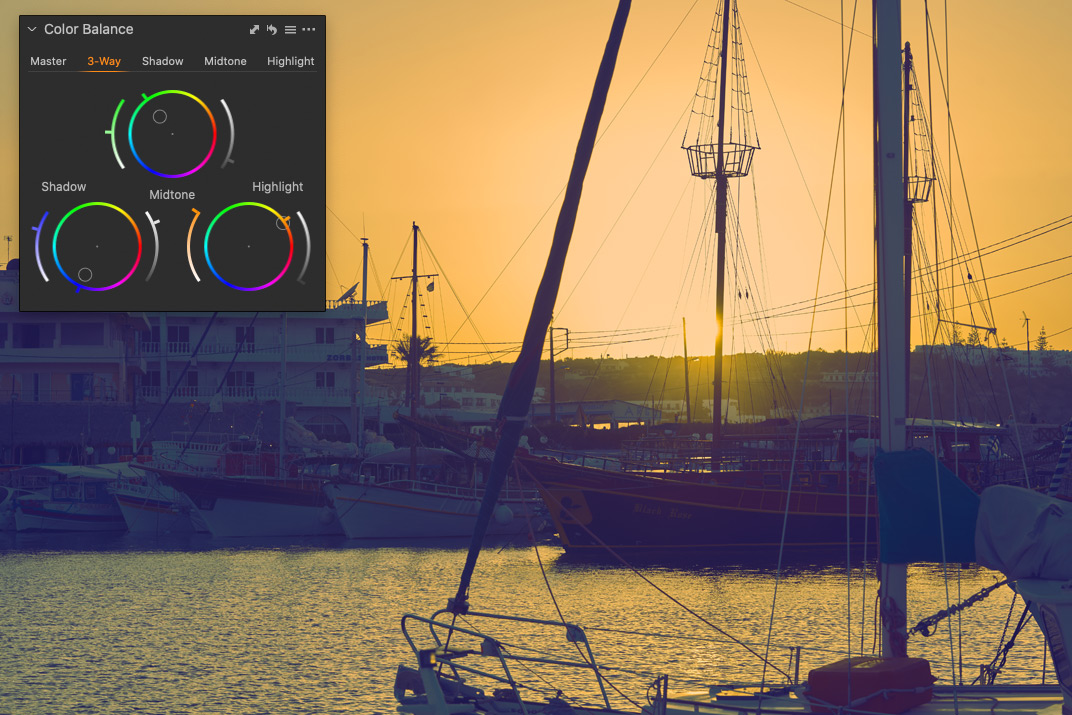
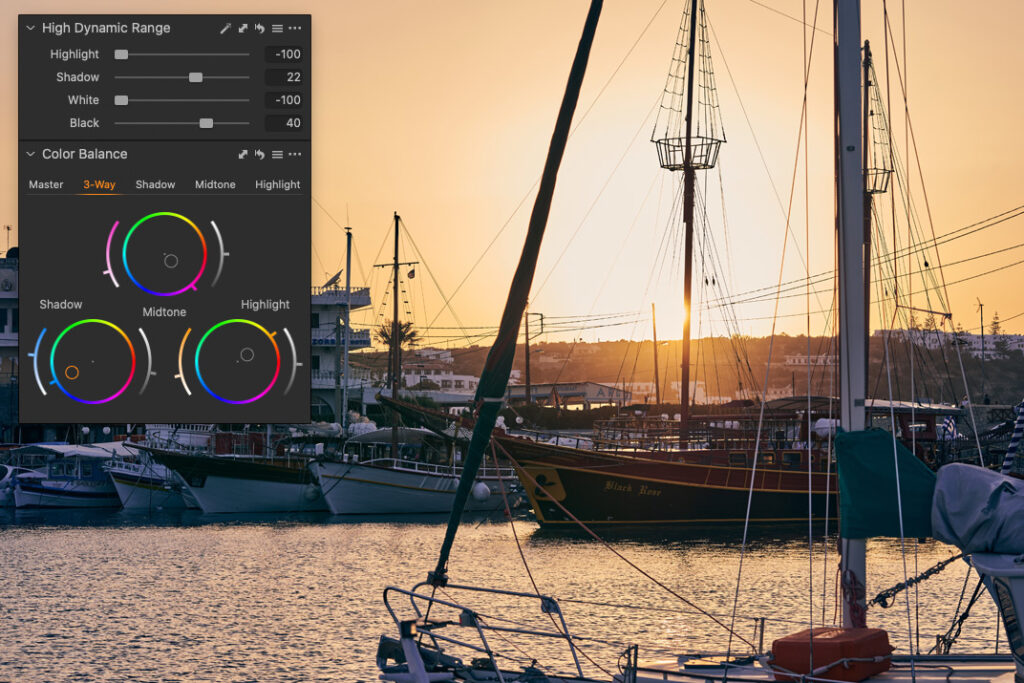
From my newsletter, you can learn how to apply Capture One tools in the right order. Due to the features of Capture One engine, it makes sense to fine-tune white balance and adjust image tone before you move on to color grading.
So, let’s start with White Balance!
Setting Correct White Balance
White Balance is an essential starting point for color grading; however, the “correct” white balance is not always a “100% technically accurate” one.
You need to focus on your image editing task in the first place. For some images, like product photography, the technical accuracy of White Balance is a necessity. Still, most images don’t require 100% correctness of White Balance. It’s good enough to set WB more or less close to some neutral values.
That’s why I always recommend relying on your eyes and a finely calibrated display. You have to see and feel how WB brings out your image; it’s a crucial skill for a photographer, especially when you’re taking images of people.
If you’re not quite comfortable with this idea, you can use two simple techniques:
Use White Balance Eyedropper
If your photo contains neutral gray areas in the plot-significant part of the image, you can click it with the eyedropper to quickly set WB.

White Balance might vary depending on the particular area you have clicked with your eyedropper. Still, for most of the images, even an approximate choice of WB is close enough.
Use Saturation to Set White Balance
This method works great for color-neutral images, where it’s challenging to set WB correctly.

I’ve described how to use saturation to set White Balance in this post.
However, your primary goal is to set WB in accordance with your editing task. Sometimes, incorrect White Balance works way better to reveal the atmosphere of an image.
If you feel that an “incorrect” WB delivers a better look for your image – use it. There is no need to always pursue some abstract or “accurate” WB values. Photography is just not about these numbers, even if sometimes they are important indeed.
Now, let’s see what to do with that image tone.
Adjusting Image Tone
Fortunately, there is a short and straightforward rule on image tone:
High tonal contrast reduces color grading opportunities.
In other words, if you need to work with color, you have to avoid high tonal contrast on your image. If your image has massive areas of very dark tones and very bright tones, you’ll not be able to apply some complex color grading. There will be no room for color left.
I’m sure you have noticed this on such high contrast images:

All you can do there is to adjust WB and apply some slight color toning.
That’s why Color Balance tool has Brightness sliders that produce a pretty bold effect on your image. Basically, they make very dark and very bright areas look grey so that you can color tone them.

Don’t get me wrong – high tonal contrast isn’t a bad thing. Some images look just gorgeous with it.
Still, if you need to apply complex color grading, you need to balance your image tone for it. It’s difficult to recommend some adjustments for this task; they highly depend on a particular image. However, HDR tool is almost always the safe choice.
HDR allows you to recover the darkest and the brightest areas so that you will have more “space” for color. Just avoid this awful look of early-HDR images!

Capture One Hidden Features eBook
Capture One Hidden Features is a collection of more than 200 pro hints to improve your Capture One workflow, structured into an easy-to-read book.
You can download four chapters from the Capture One Hidden Features ebook free of charge:
- 3. Must-Have Shortcuts
- 14. Hidden Features of Layers
- 27. The Power of Mask Inversion
- 38. Automation with Macros
Simply subscribe to the AlexOnRAW newsletter by entering your email in the form below. After subscribing to the newsletter, you’ll immediately receive the four chapters from the book. Also, you’ll regularly get a friendly newsletter with free Capture One tutorials, image editing tips and tricks, and news from Capture One community.


