

Previously, I shared my favorite tricks for adjusting skin tone in Capture One. Check them out to learn how to set a color sample and even out Lightness and Saturation in Color Editor Skin Tone.
This week, I’ll show you how to apply the best practices for skin tone correction using Color Editor styles. You’ll learn:
- How to create your default skin correction styles
- How to shift skin hue using styles
- How to use styles to adjust skin saturation and lightness quickly
But first, I have some exciting news for you!
Several years ago, I released Original Film Styles for Capture One. Since then, these styles have been approved by thousands of Capture One photographers worldwide.
Today, these legendary film styles are back with advanced layered versions and additional remastered looks:

✅ Layered versions of all film styles. Film styles now store all the adjustments in layers, allowing you to control color and contrast separately.
✅ B&W styles are also fully layered, giving you complete control over the black and white look. Adjusting the B&W layer will not affect saturation; your image will always stay black and white.
✅ 200 remastered film styles. In addition to the time-trusted looks, you’ll also get remastered versions of all the film styles. The remastered styles offer more complex adjustments, making it easier to find a look that fits your image best.
Here is how the new styles work in practice:
For a limited time only, you can get the complete set of 200 film styles with a 40% discount. And if you have bought the film styles before, check your email for the special upgrade offer.
Also, you can try the new film styles free of charge! Go to AlexOnRAW.com/film to download 20 sample styles.
Now, to the skin correction in Capture One!
Using Styles to Adjust Skin Tone
Creating Skin Mask
First and foremost, you need to work with skin color only in layers. Layers give you way more freedom in editing; plus, you can quickly adjust the layer opacity.
My rule of thumb is to create a skin color mask using Magic Brush. Then, I can apply a style directly to this skin color layer.
Keep in mind my advice from the first post:
Mask Skin, Not Lips
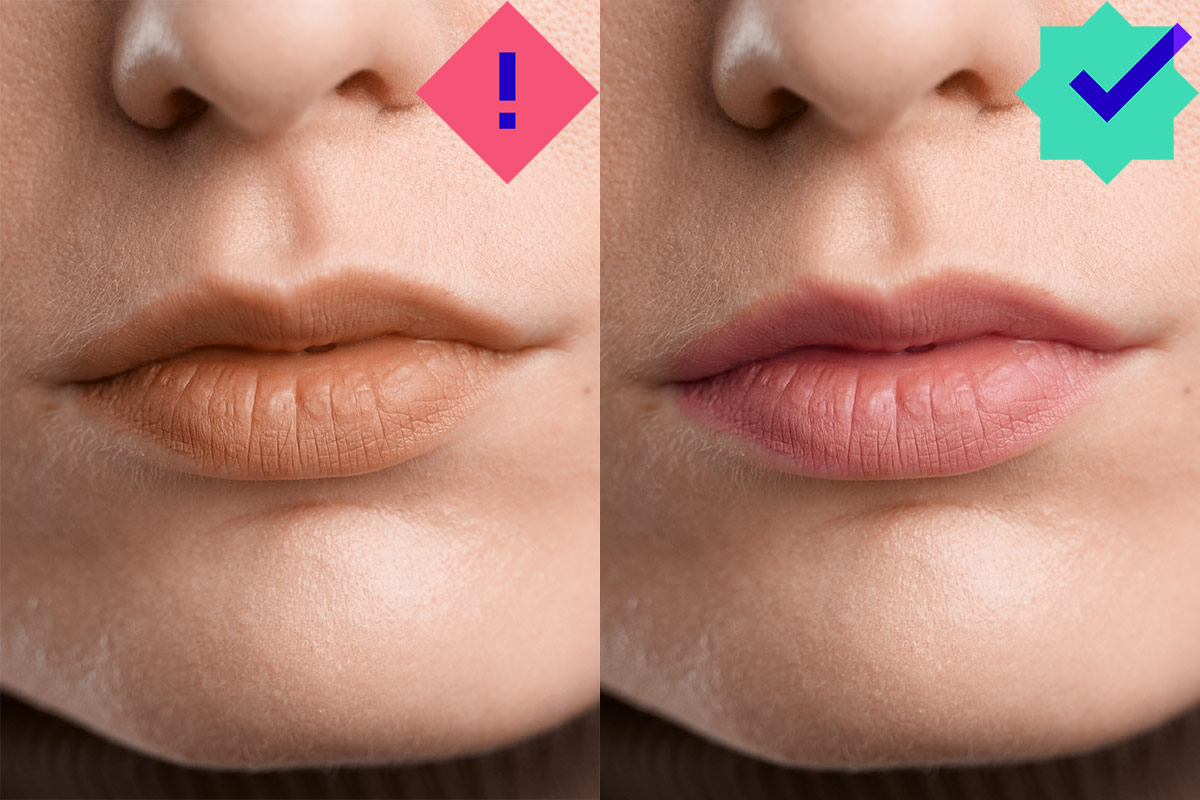
One of the most severe mistakes to avoid is evenning out lip color together with skin tone. Your image will immediately lose naturality, making the whole portrait look fake.
Default Skin Tone Styles
It’s impossible to create some universal styles to even out any skin tone.
The variety of skin tones and shooting conditions is so vast that you would need hundreds, if not thousands, of styles to cover all the major cases.
However, you can easily create your default skin tone styles designed to speed up skin correction.
What settings should such styles include?
The basic skin tone style should include at least two parameters:
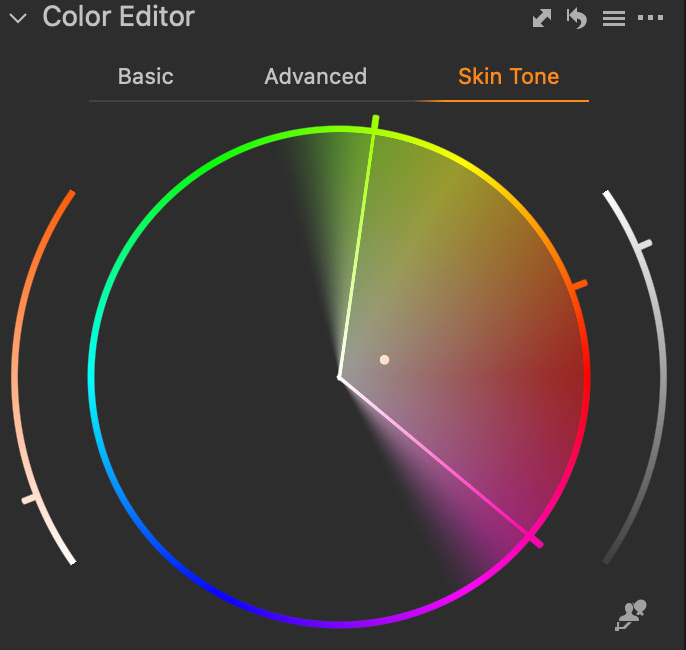
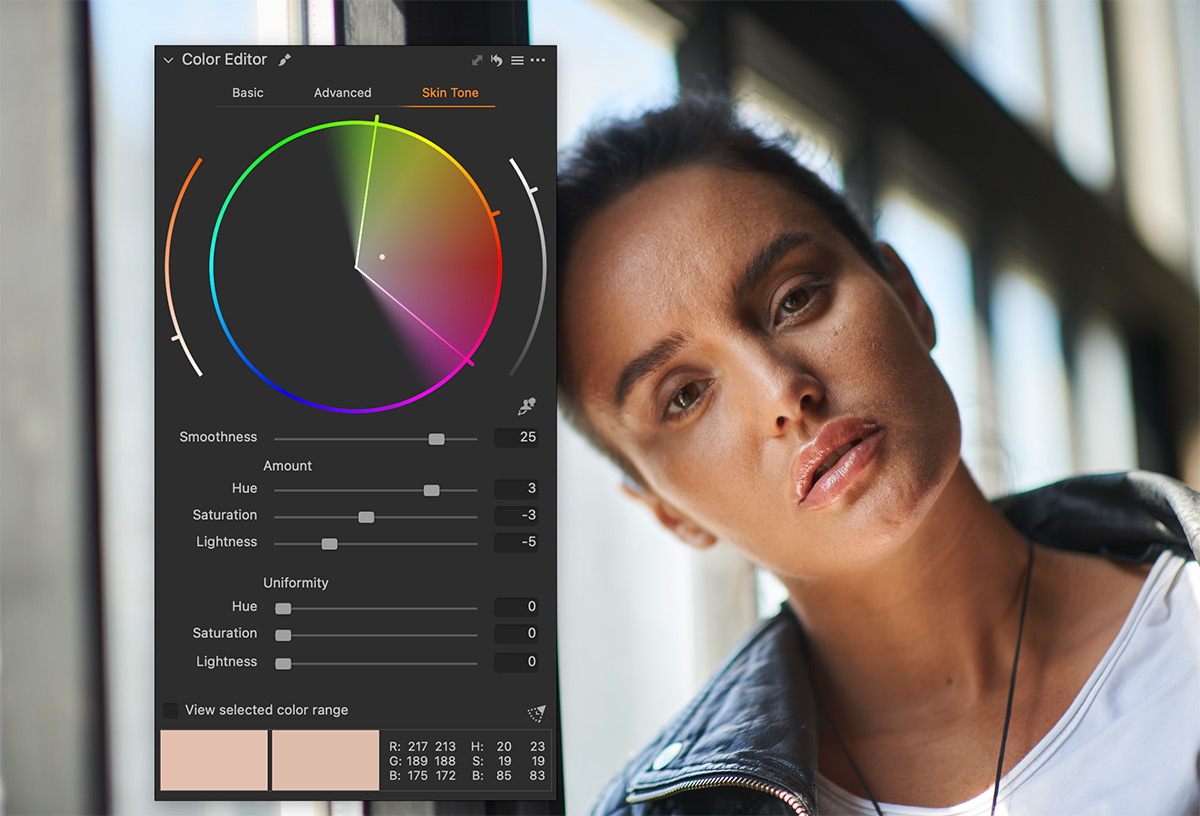
1) The typical skin color range. Since we’ll apply this style on a layer, feel free to set a wider color range to include a possible skin color cast:
2) Some safe Hue Uniformity value. Color Editor allows you to get a 100% even hue, but such skin tone looks rather unnatural. I recommend setting the Hue value around 30-70%, depending on a particular shot. Thus, it makes sense to create several styles with various Hue Uniformity values:
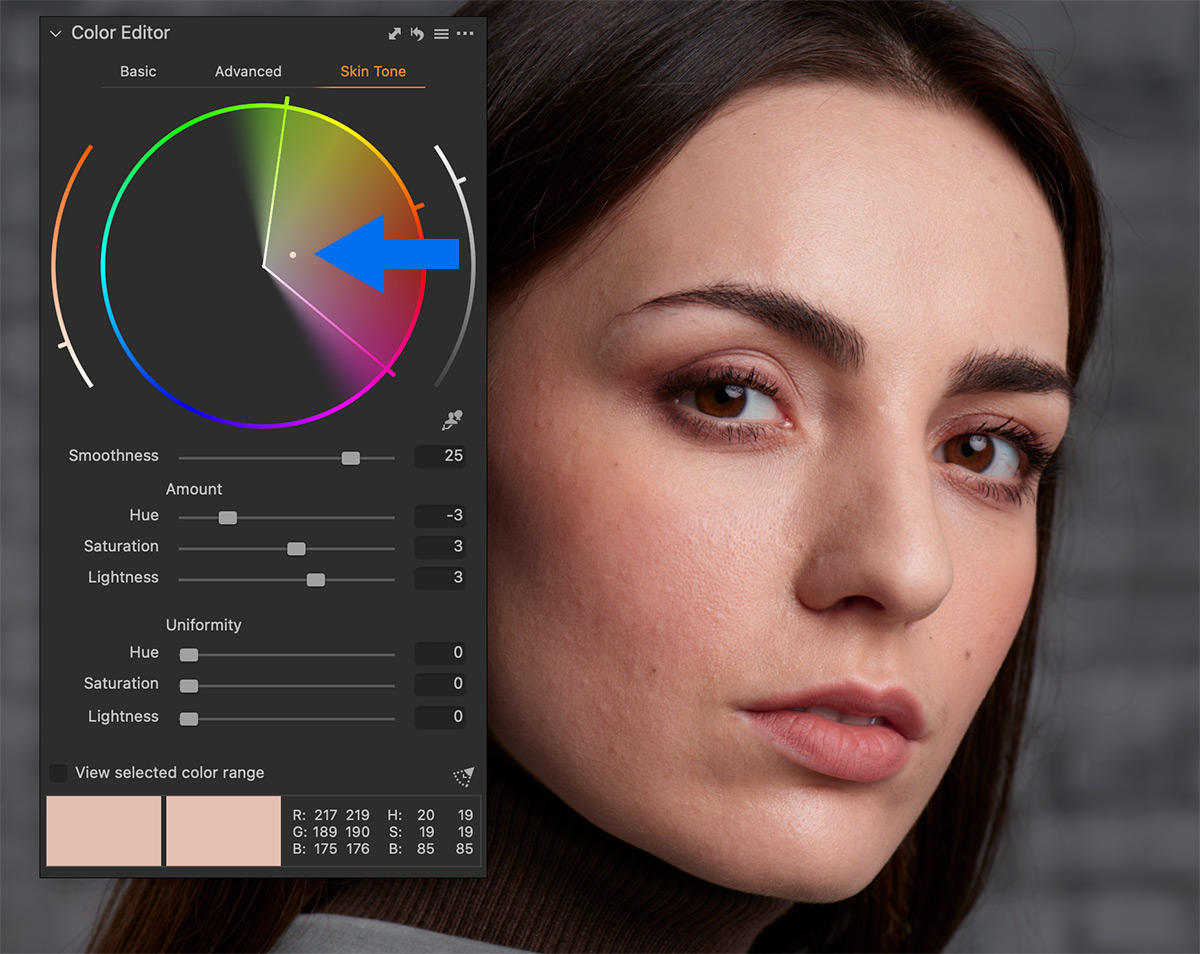
Now, you can even out skin color in two simple steps:
- Apply this style to a layer with a skin mask
- Move the dot in the color range to set the even-out target color:
How to Shift Skin Hue Using Styles
In some cases, you don’t need to even out skin tone but shift the skin hue a bit. For such images, you can create a simple yet super-useful style:
- Set the typical skin color range again.
- Adjust the hue: positive values shift the hue to green, and negative values add a magenta tint.
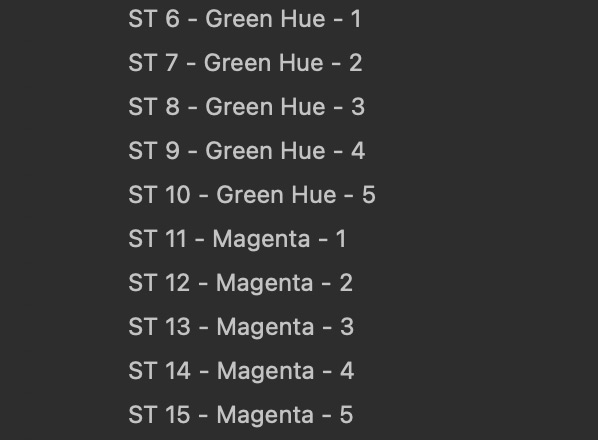
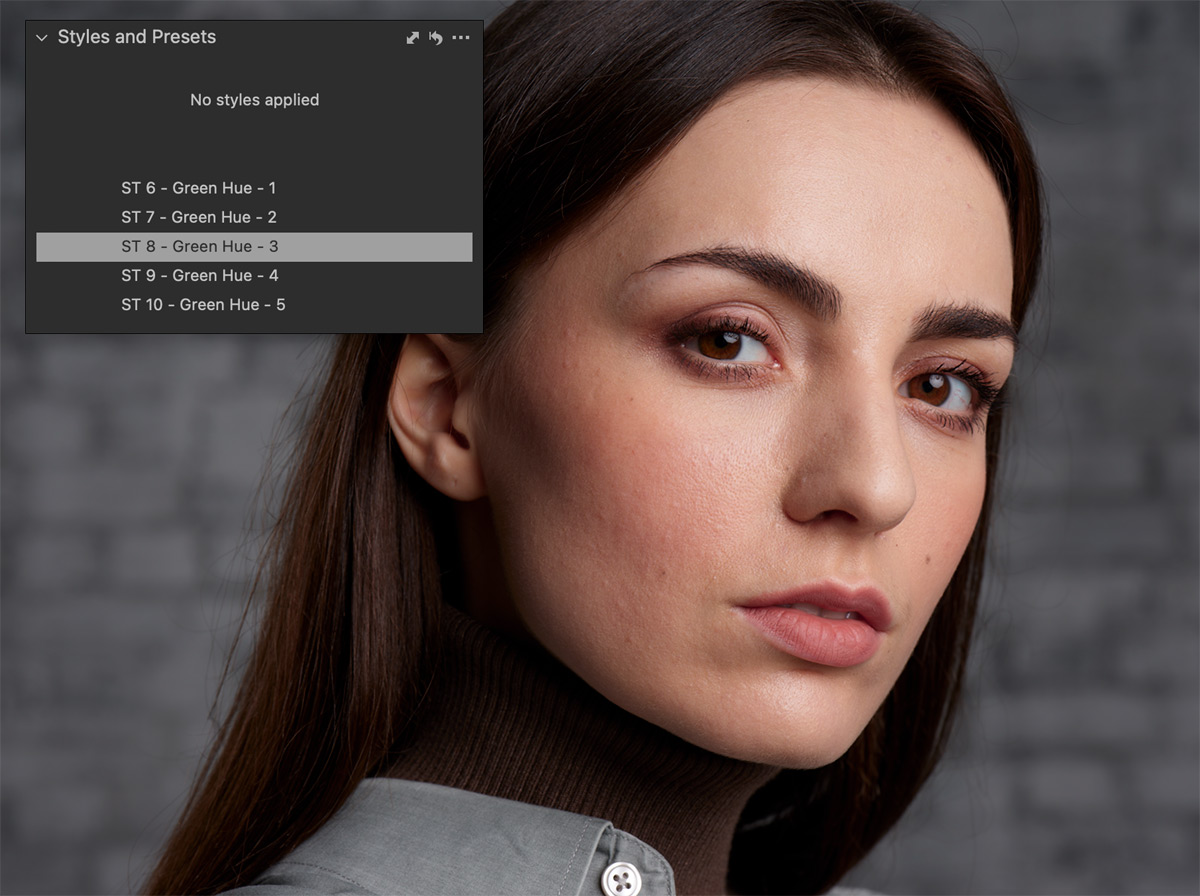
I recommend you to create a set of hue-shifting styles:
Now, you can simply hover the cursor over the styles to see how they affect the skin tone on your image:
How to Use Styles to Adjust Skin Saturation and Lightness Quickly
Finally, you can create styles that will affect skin saturation and lightness. From my experience, these two adjustments work great together, and you can get excellent skin tone by mixing them.
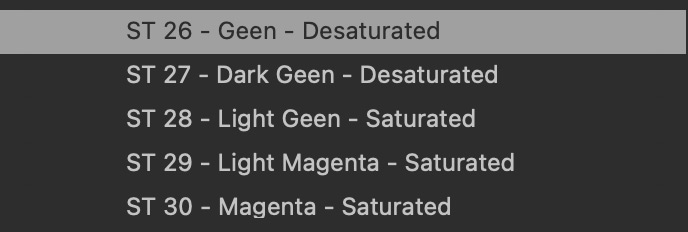
For instance, I love how decreasing saturation and lightness impacts some skin types:
Today, I have released a free upgrade for my Ultimate Capture One Toolkit, which adds a set of 30 Skin Tone styles.
The Skin Tone styles include:
- 5 Default Even Out styles
- 10 Skin Hue styles
- 15 Skin Saturation and Lightness styles
Try the Ultimate Capture One Toolkit free of charge!