There are several ways to copy the color grading from a reference image with Capture One. Today, I’ll show you the simplest method that doesn’t require advanced image editing skills.
However, you still need to understand two fundamental principles of working with reference images.
First, reference and target images should have a similar plot.
It’s pretty pointless to copy color grading from a landscape to a portrait or a wedding shot. Color plays an important but not the main role in how we perceive an image. Without a context, color simply loses the ability to deliver a message. That’s why we have no issues with associating red color with a “dangerous” look of blood and a “delicious” look of strawberries at the same time. As well as with Santa Claus, lips, tomatoes, sports cars, roses, YouTube, red stripes of USA flag, and a whole bunch of other different things. Context is everything, and you need to consider this when you’re working with a reference.
For this tutorial, I’ll take a still from Atonement (2007, Joe Wright) movie as a reference image:

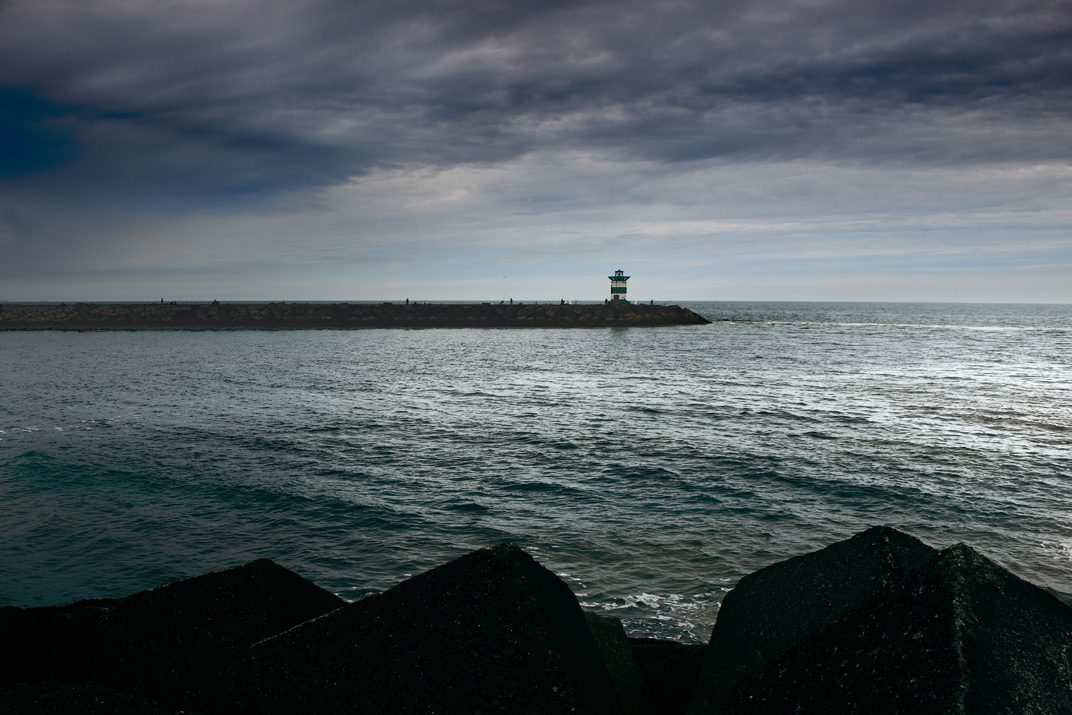
And will copy the color grading to a RAW with a pretty similar plot:

BTW, this RAW file is available in my 100 RAWs Set to download and practice in color grading.
The 100 RAWs Set is a professional solution for color grading practice and image processing training. The set contains 100 RAWs of different genres. From studio portraits and travel shots to street photography images and landscapes worldwide, that you can use for honing your image editing skills in Capture One.

This set is a perfect addition to AlexOnRAW tutorials, so that you can experiment with various image editing techniques, practice layer corrections, and enhance your color grading skills.
Second, both images should have similar tonal contrast.
The same color grading looks completely different depending on image tonal contrast. That’s why before working with color, you need to compare tone on reference and target images. The easiest way to do this is to desaturate both images:

As you can see, they have pretty different tonal contrasts, so I’ll crop my target image and adjust the key areas in layers to match the reference:
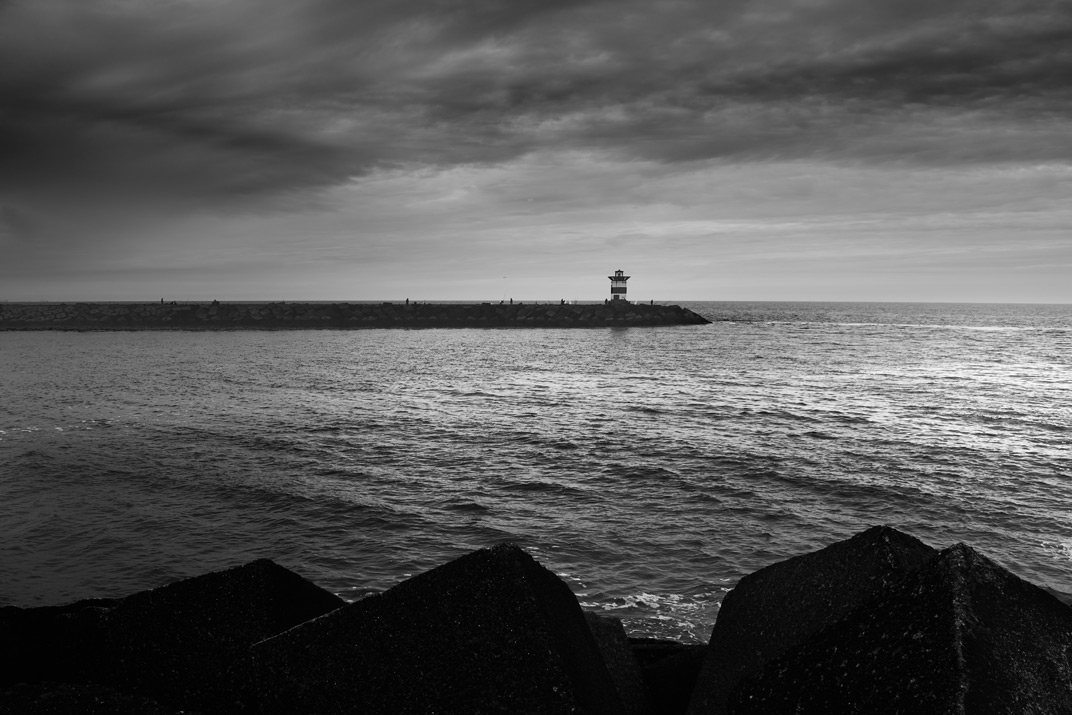
When images appear similar to each other, we can reset desaturation.

Now, it’s time to copy the color. Here I’ll use Normalize tool – it works excellently to replicate such a color grading. If you’re not familiar with Normalize tool, check out these tutorials:
Normalize tool replicates a reference color on a target image by adjusting White Balance.
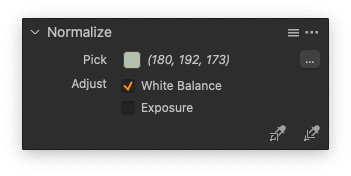
However, you can’t get the required color grading just by modifying the general White Balance. Usually, it makes sense to copy WB from three areas of your image: Shadows, Midtones, and Highlights. Unfortunately, Normalize doesn’t support layers, so you would need to do this manually.
First, let’s copy White Balance from the shadows. Create a clone variant of your target image – we’ll use it for color transfer. Pick normalize color on the shadow area of the reference image and apply normalization to the shadows on the cloned variant. Make sure to note the WB numbers.
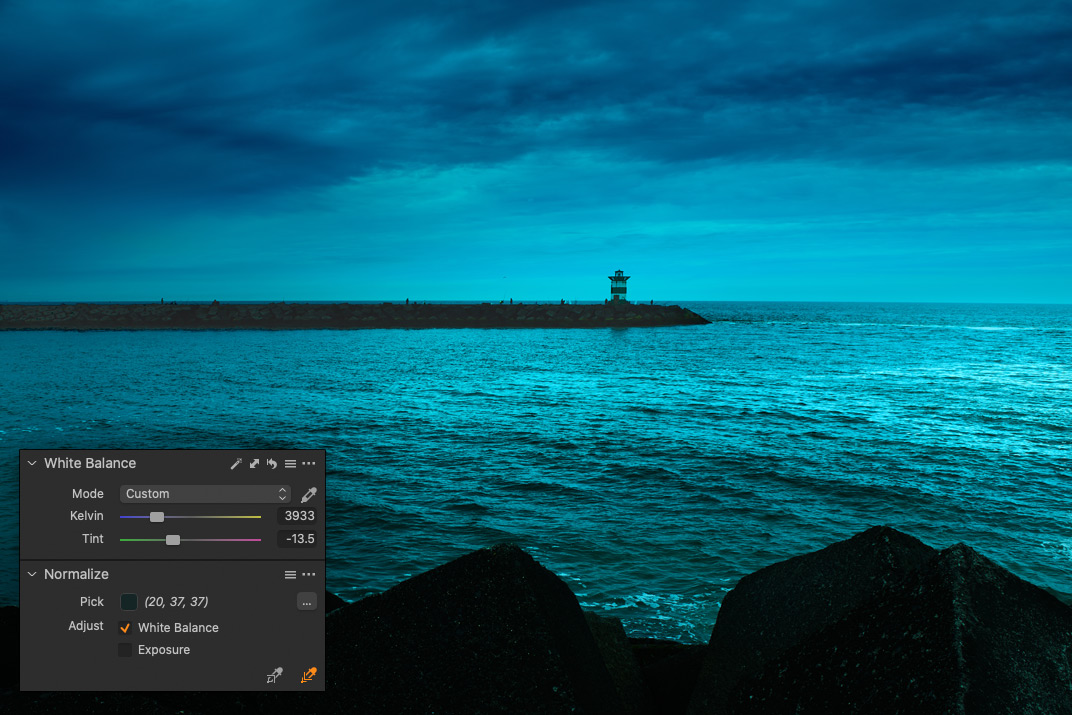
Next, create a new filled layer on your primary target image, and set Luma Range to include only shadows.

Thus, we now have a layer that affects only shadows. Copy WB numbers from the cloned variant:
We have replicated the color of the dark areas.
Reset the WB on the cloned layer and repeat these same actions with Midtones and Highlights. As a result, you should have three layers (Shadows, Midtones, Highlights) with respective Luma Range Masks.

Each layer will have a different WB picked with Normalize tool.
Color on your image should look pretty close to the reference now:

We’ll make some final touch adjustments, and the copying is done:

The EIP file with this editing is also available for my $9+ patrons. You can check out all the masks and adjustments I’ve used here.
Plus, there is still room for some additional corrections; for instance, you can decrease saturation and adjust the hue slightly to fit the reference better. So, go ahead and practice!
Capture One Hidden Features eBook
Capture One Hidden Features is a collection of more than 200 pro hints to improve your Capture One workflow, structured into an easy-to-read book.
You can download four chapters from the Capture One Hidden Features ebook free of charge:
- 3. Must-Have Shortcuts
- 14. Hidden Features of Layers
- 27. The Power of Mask Inversion
- 38. Automation with Macros
Simply subscribe to the AlexOnRAW newsletter by entering your email in the form below. After subscribing to the newsletter, you’ll immediately receive the four chapters from the book. Also, you’ll regularly get a friendly newsletter with free Capture One tutorials, image editing tips and tricks, and news from Capture One community.


