Aftershoot has been my go-to application for AI image culling for the past three years. I’ve culled over 83,000 images with Aftershoot and it has saved me a tremendous amount of time.
Last year, Aftershoot introduced an AI image editing feature called Aftershoot Edits with support for Capture One. Now, they are going to release the new AI retouching tool so you can do all the culling, editing, and retouching in one application.
Only through December 1, Aftershoot is offering a great Black Friday deal, and I’ve decided to share my Aftershoot lessons from the AI-powered Workflow for Photographers course for free!
- You’ll learn how to use AI editing in Capture One and how to train your personal AI profile.
- You’ll see how to combine Aftershoot Edits with Smart Adjustments for the fastest image editing workflow.
- You’ll discover how to get the most out of the AI Culling in Aftershoot.
Aftershoot Black Friday 2024
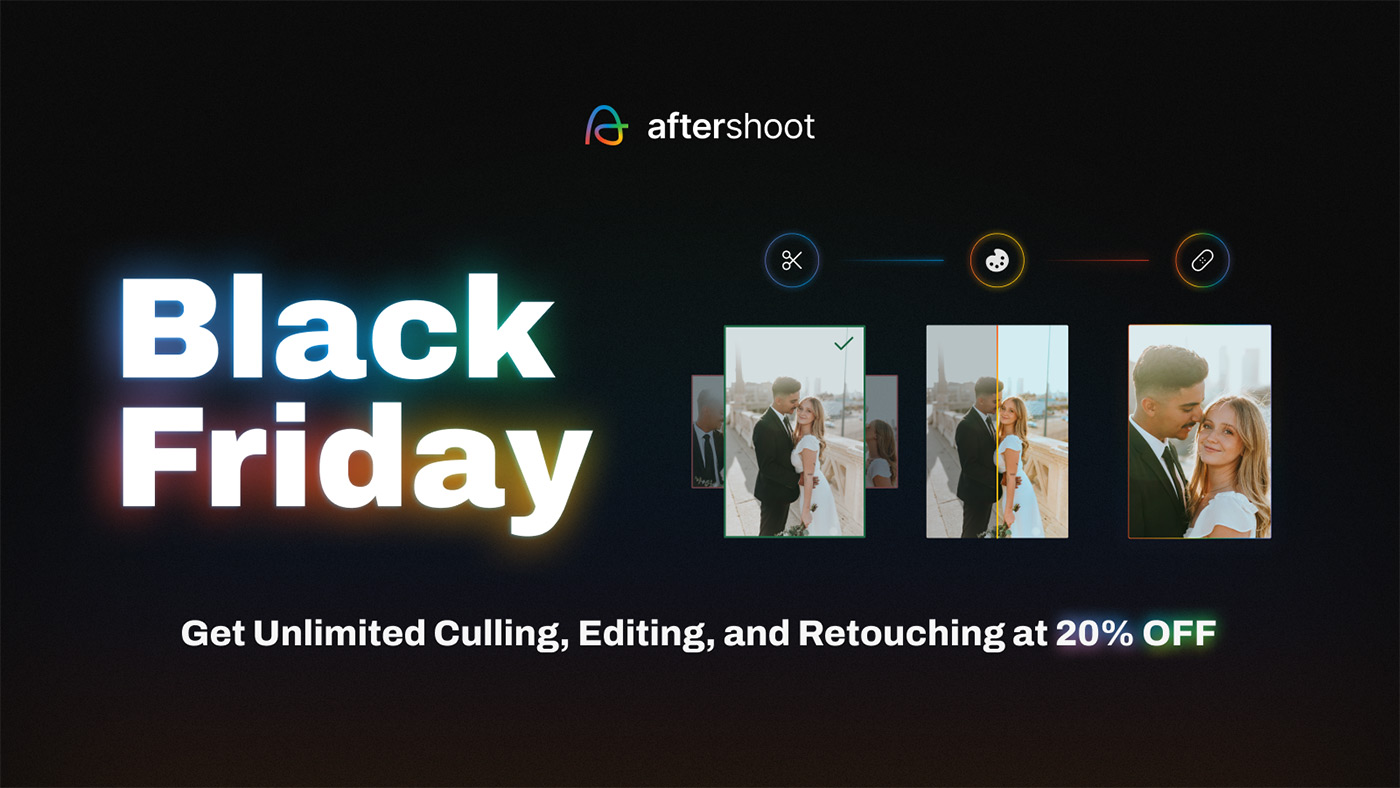
Now through December 1, you can save 20% on all annual plans and get unlimited Culling, Editing, and secure upcoming AI Retouching.
Pro subscribers will get one year of unlimited AI retouching at no extra charge, while Max subscribers will have it included as a permanent feature in their plan.
As I said in my class, I love Aftershoot because you can use it as much as you need. Cull, edit, and soon retouch as many images as you want – no per-image fees!
Capture One AI Editing – Aftershoot Edits Overview
In this video, you will learn how to train your personal AI profile and what are the best practices of AI editing in Capture One. Also, you’ll see how to combine Aftershoot Edits with Smart Adjustments for the fastest image editing workflow.
AI Image Culling
Image culling is one of the most time-consuming steps of image editing and certainly the most boring one. I’m pretty sure you’re familiar with this frustrating feeling you get when it takes more time to pick the best shot than color grade it. Add the constant need to check image quality, and you get the recipe for a perfectly lifeless practice.
The good news is that you can easily automate this process using AI. You’ll still need to pick the final images, but AI will handle everything else.
When choosing AI image culling software, I’m looking for two essential features:
First of all, it should take care of all the faulty shots. I don’t want to spend a lot of time evaluating focus quality or searching for closed eyes in my photos.
Second, this app should speed up decision-making. Yes, the final choice is always on you because no one knows your images as well as you do. But AI should sort all the duplicates and similar images for you, making the final choice easier.
For my AI-powered workflow, I’ve chosen the Aftershoot app, which offers a new approach to image culling, where a human makes final decisions only.
Aftershoot Culling Workflow & Settings
In this tutorial, we’ll cull a photo session to see the Aftershoot workflow in action. Also, you’ll learn how to adjust culling settings for optimal results and customize Aftershoot preferences for faster culling.
Aftershoot Best Practices
Now that you’re familiar with the Aftershoot workflow, let’s see how you can get the most out of AI culling.
This post contains affiliate links and/or codes, so if you purchase a product through such a link or with such a code, I may receive a small commission at no extra cost to you.


