The wait is finally over! Capture One has just introduced Masks and Layers to Capture One Mobile, making this the most anticipated update to the iPad and iPhone apps yet!
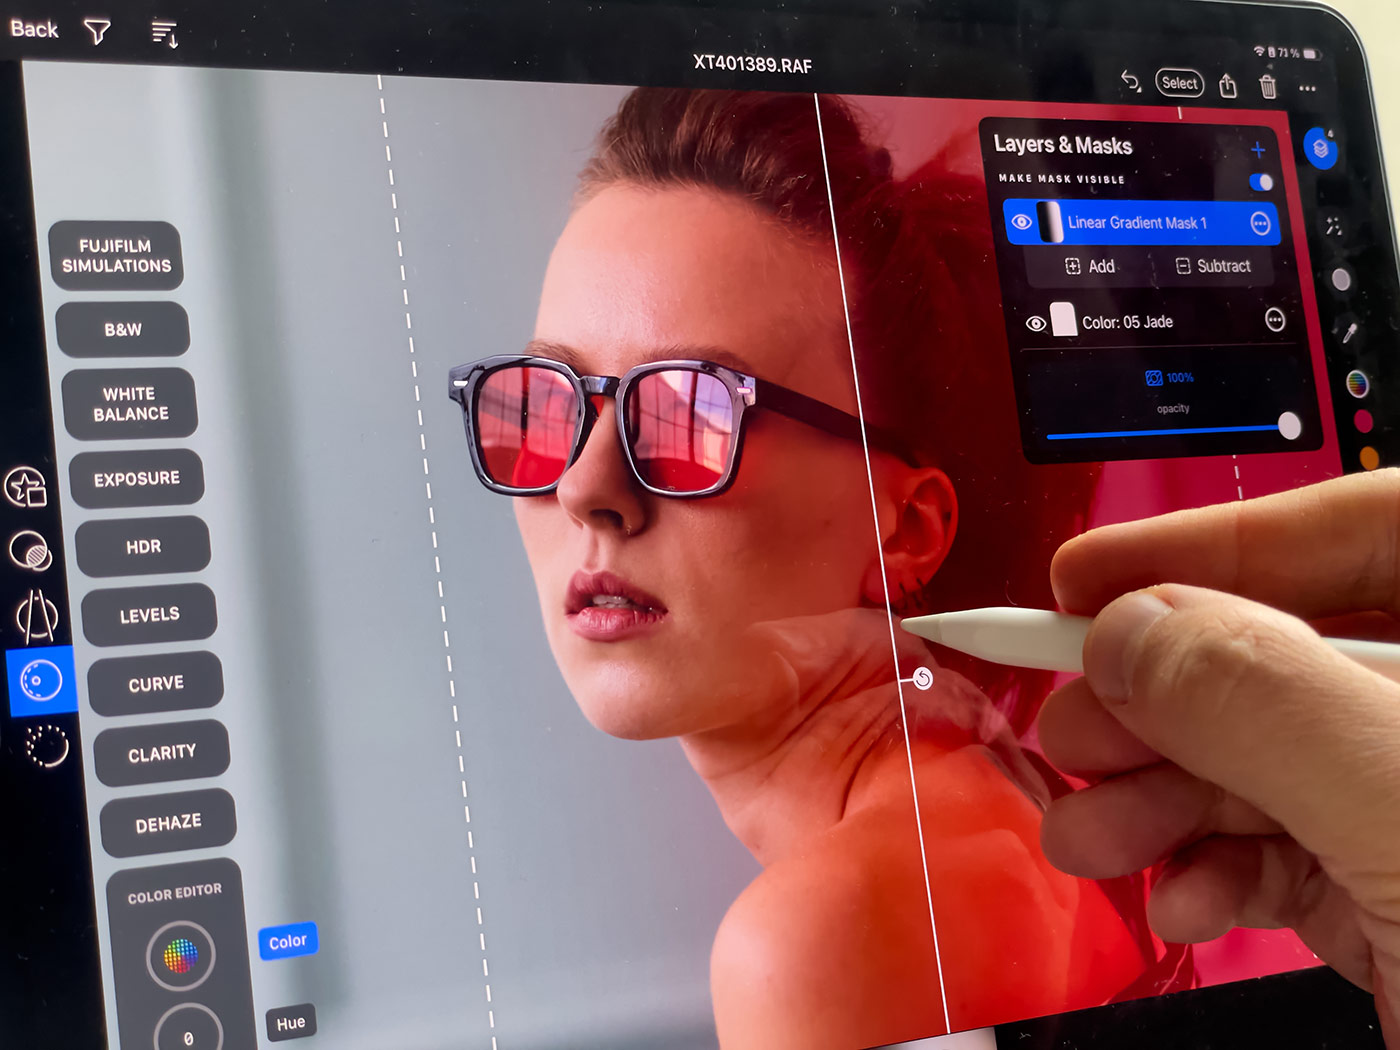 You can now draw masks, create gradients, adjust layer opacity, invert and duplicate masks, all right on your iPad or iPhone. And most exciting of all, you can apply layered styles and easily adjust the intensity of a style.
At the end of this post, I’ve included 10 FREE layered styles for you to try out with Capture One Mobile!
Let’s start with creating masks!
Creating Masks
There are four types of masks:
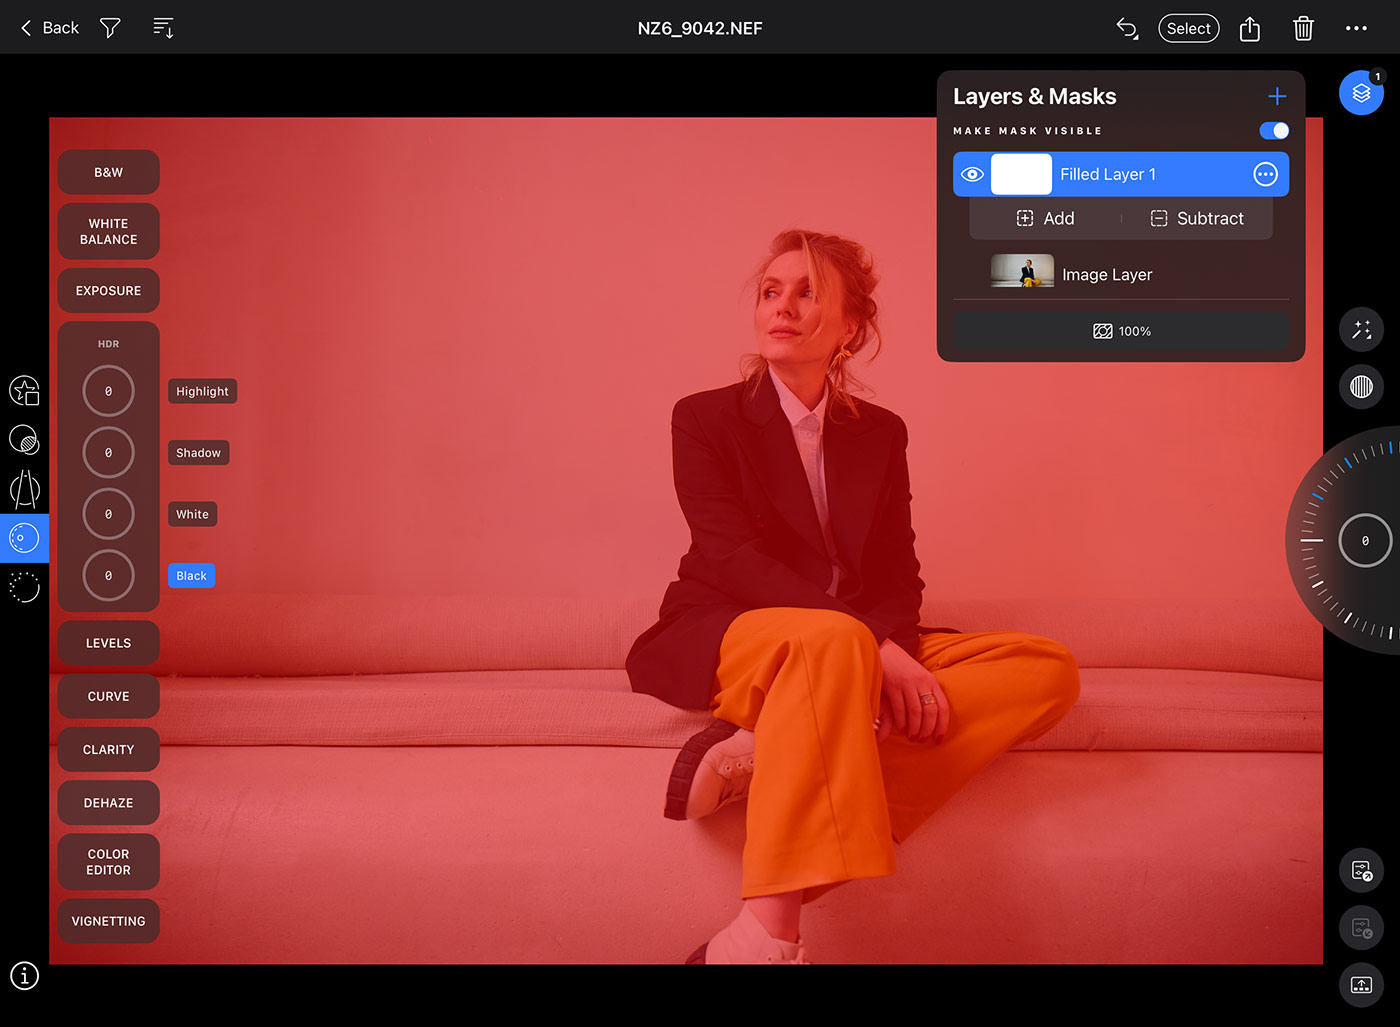
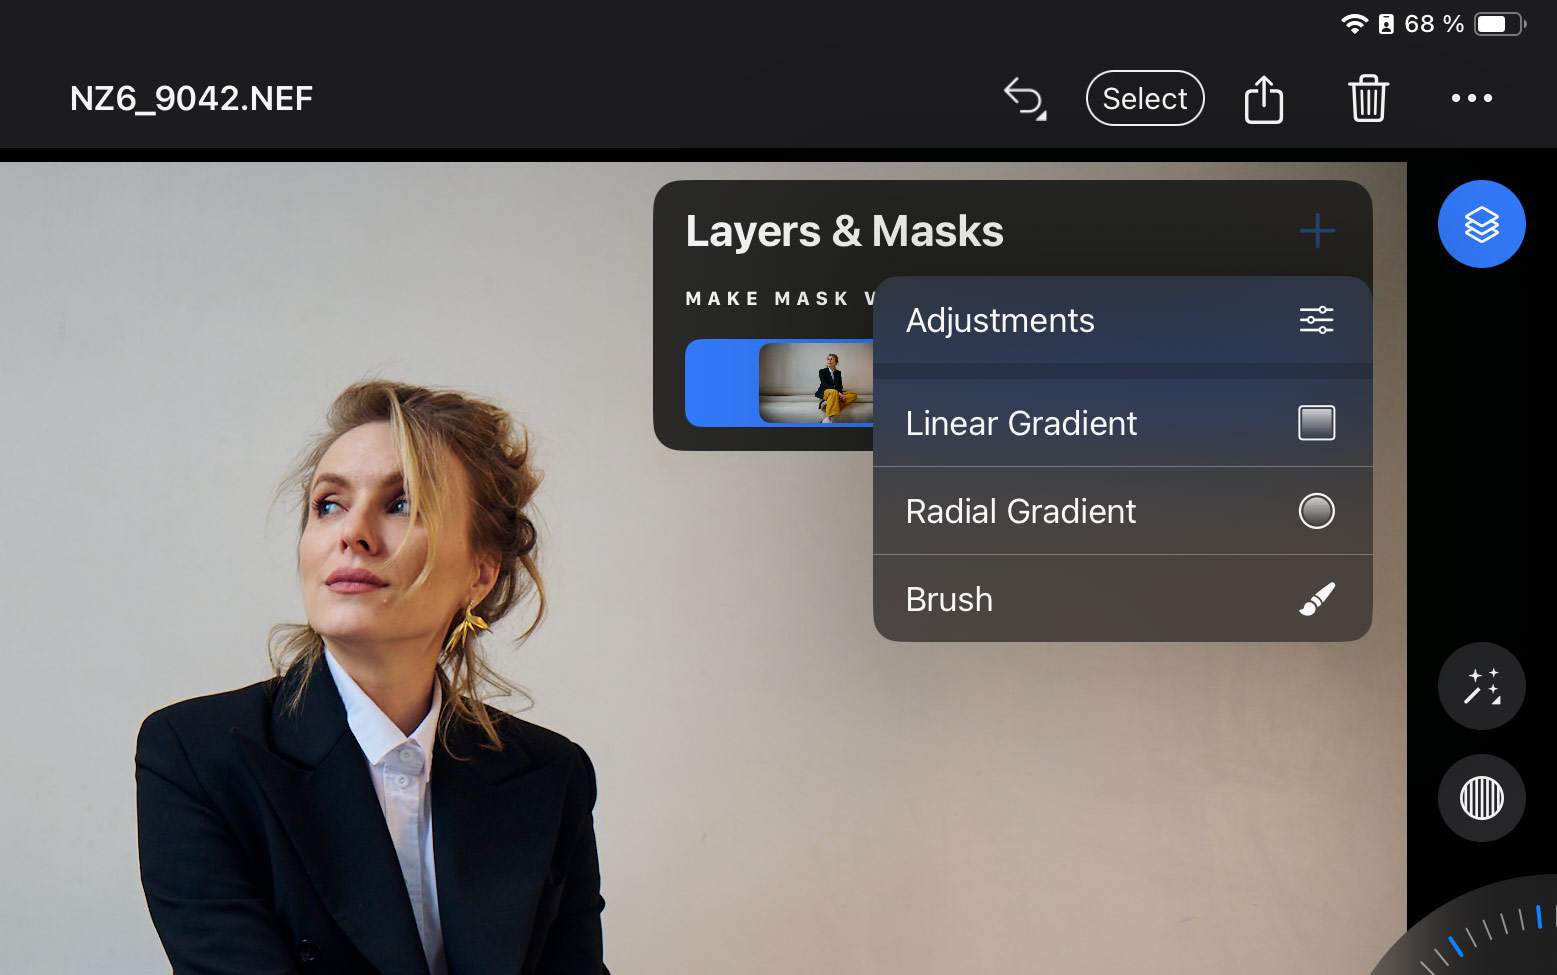 The Adjustments option creates a new filled layer:
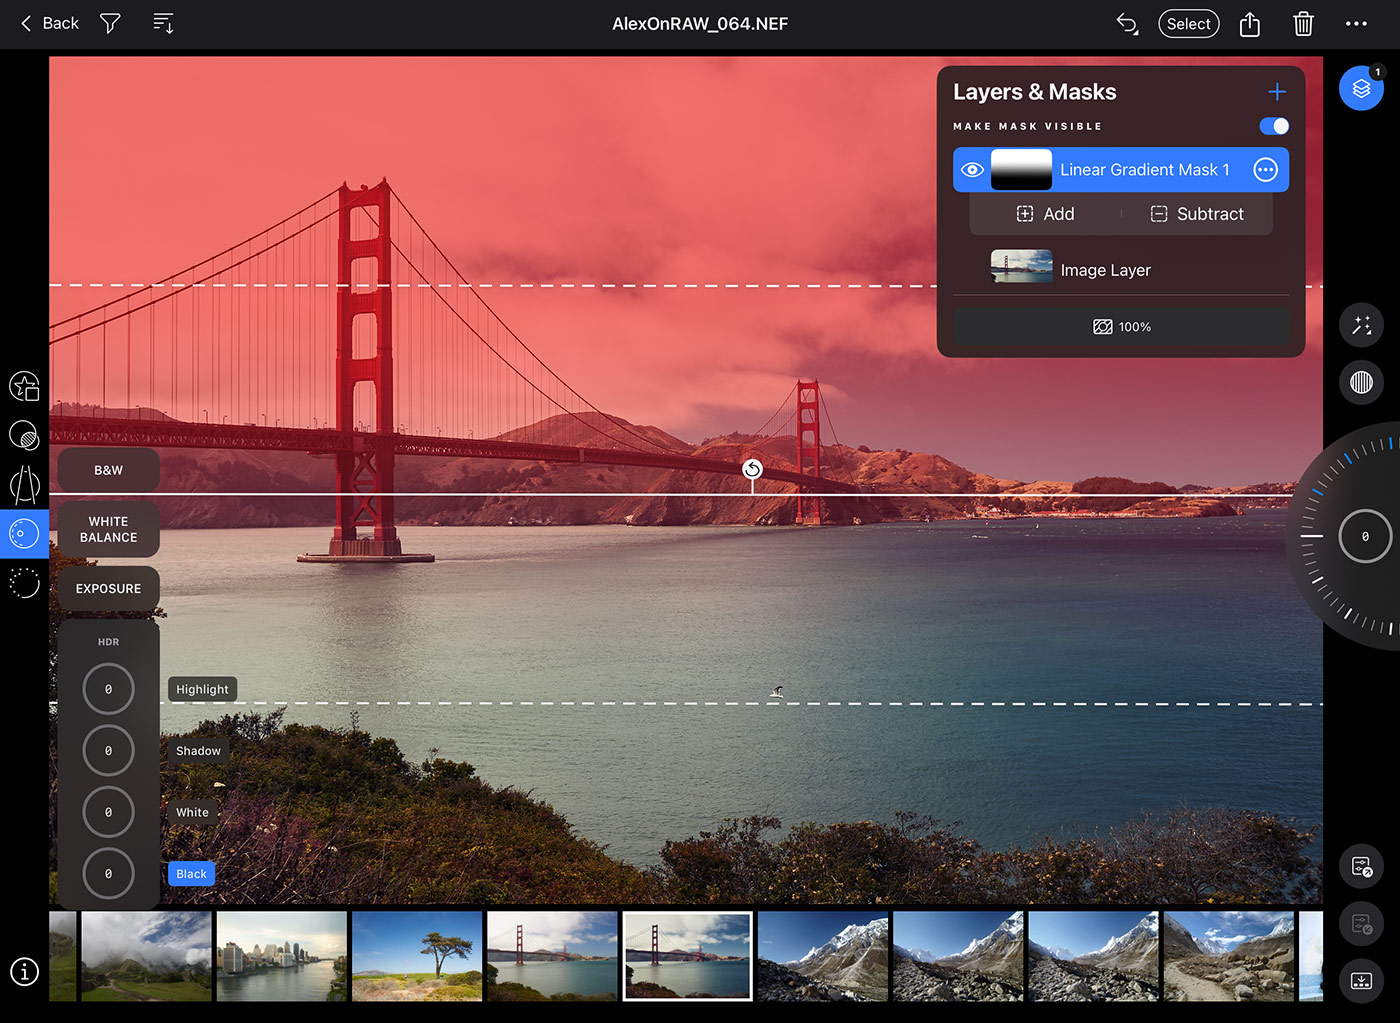
 The next two options are for Linear and Radial gradients:
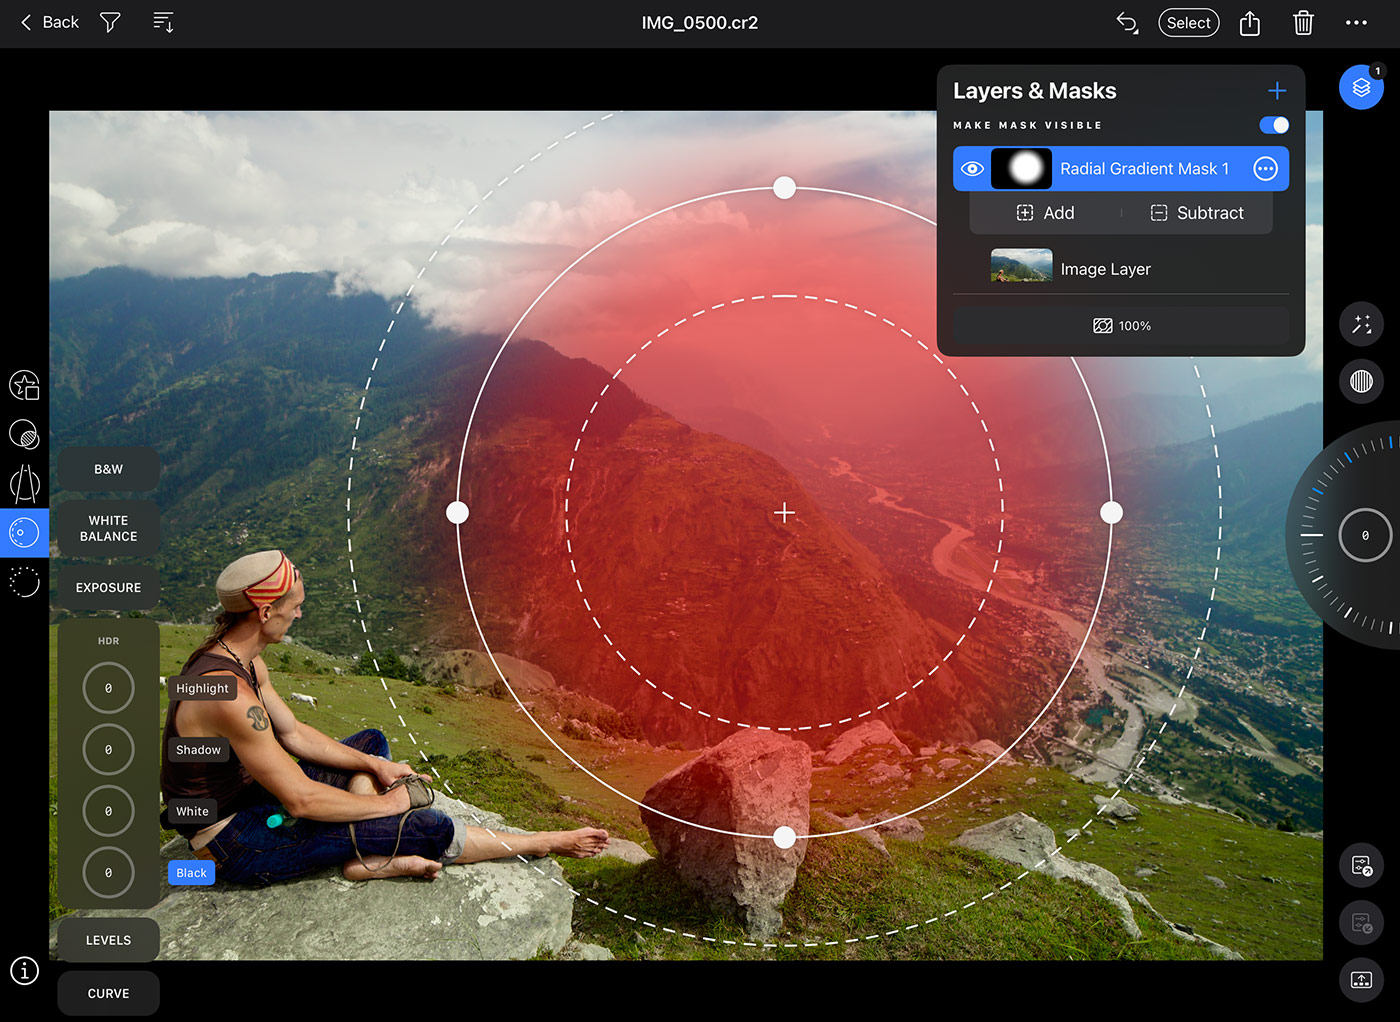
 You can easily reshape the Radial gradient using anchor points, just like in the desktop Capture One:
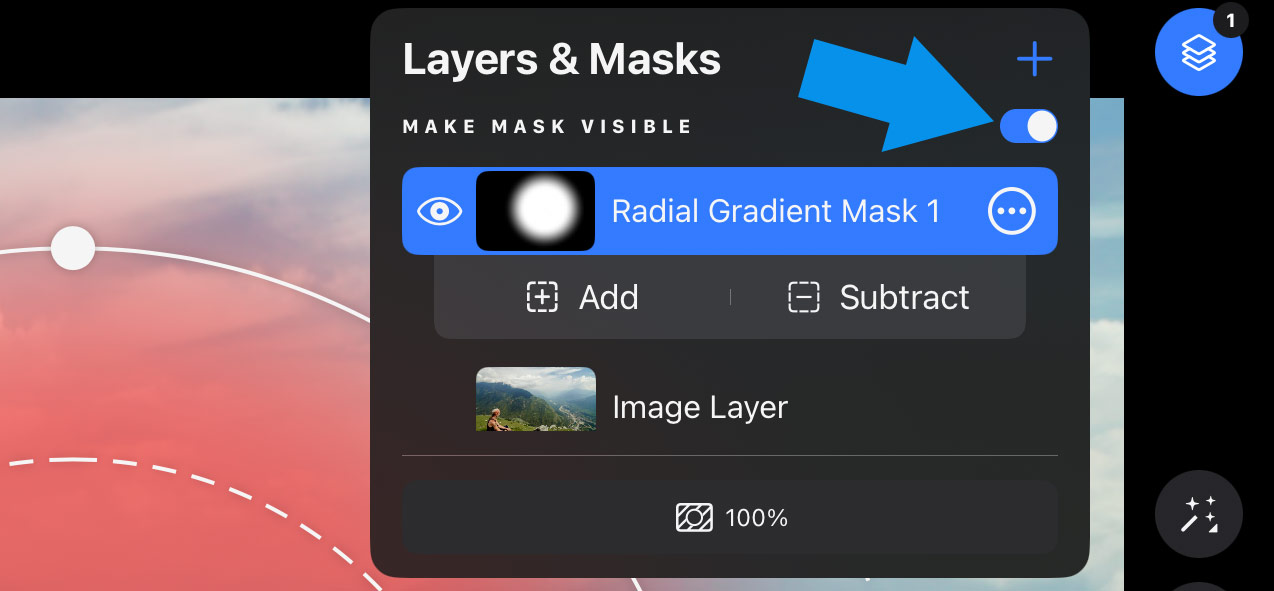
 BTW, you can quickly toggle the visibility of the mask with this switcher:
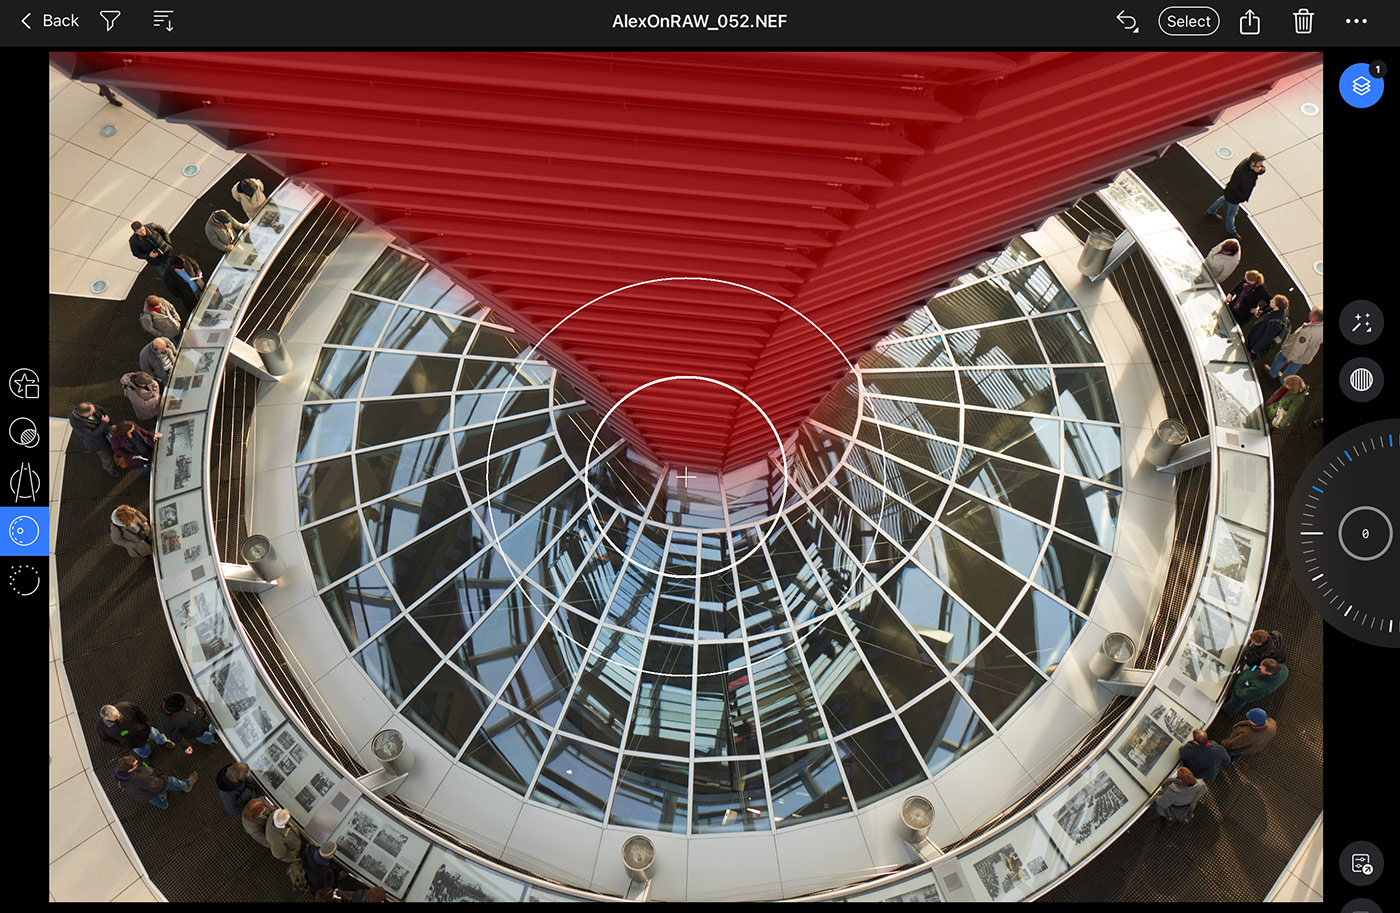
Finally, the last option allows you to draw a mask manually using the standard brush settings: Size, Hardness, Opacity, and Flow:
 The new AI masking tools are not yet supported in Capture One Mobile, nor are advanced features such as Luma Range or Refine Mask.
The mobile apps have the same layer limit as the desktop Capture One – 16 layers on an image.
Adjusting Layers
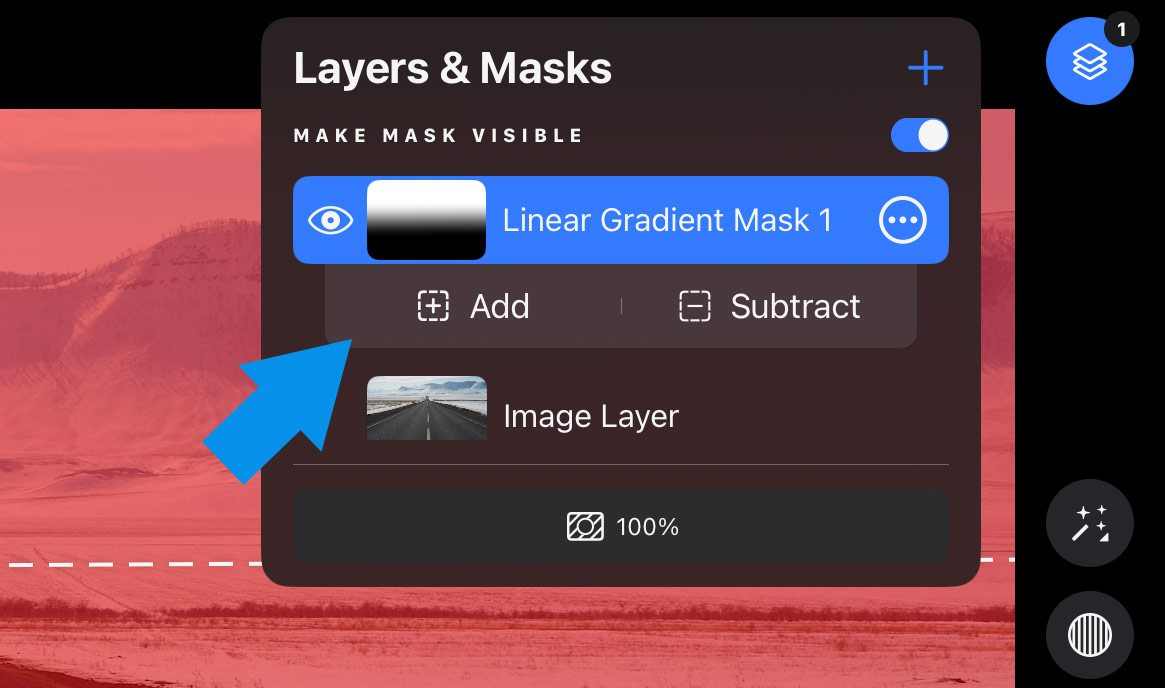
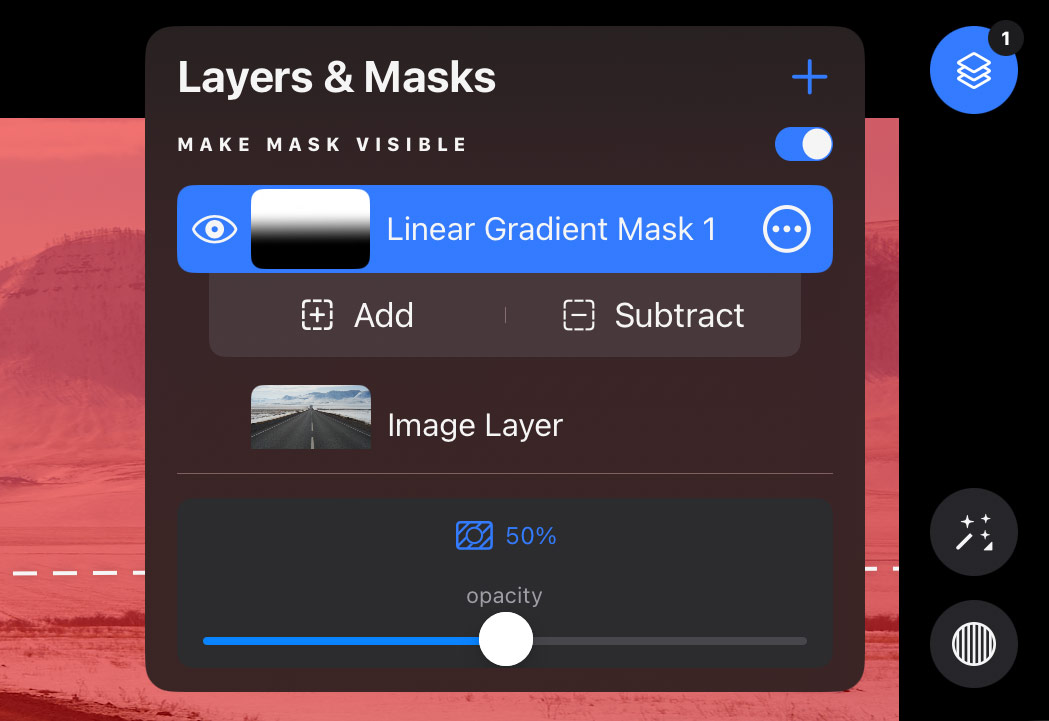
Once you have created a mask, you can modify it by Adding (Drawing) or Subtracting (Erasing):
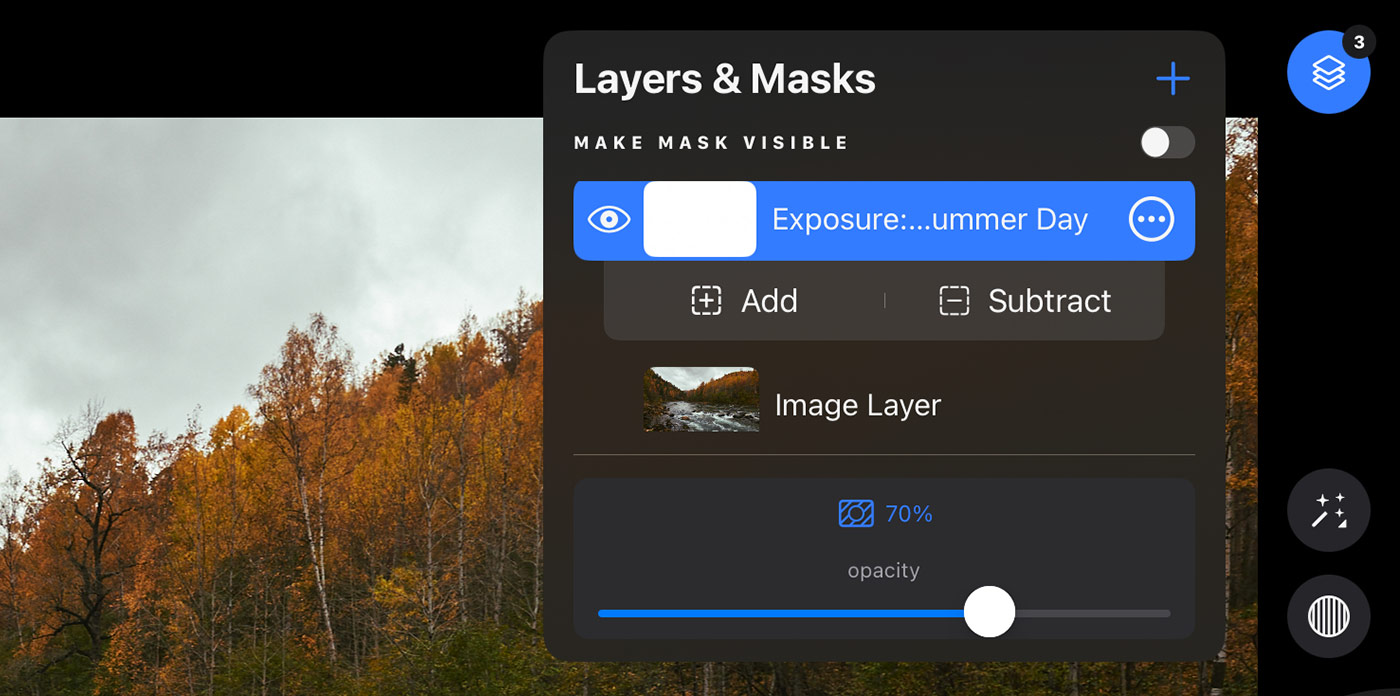
 Also, you’ll find the Opacity setting under every layer:
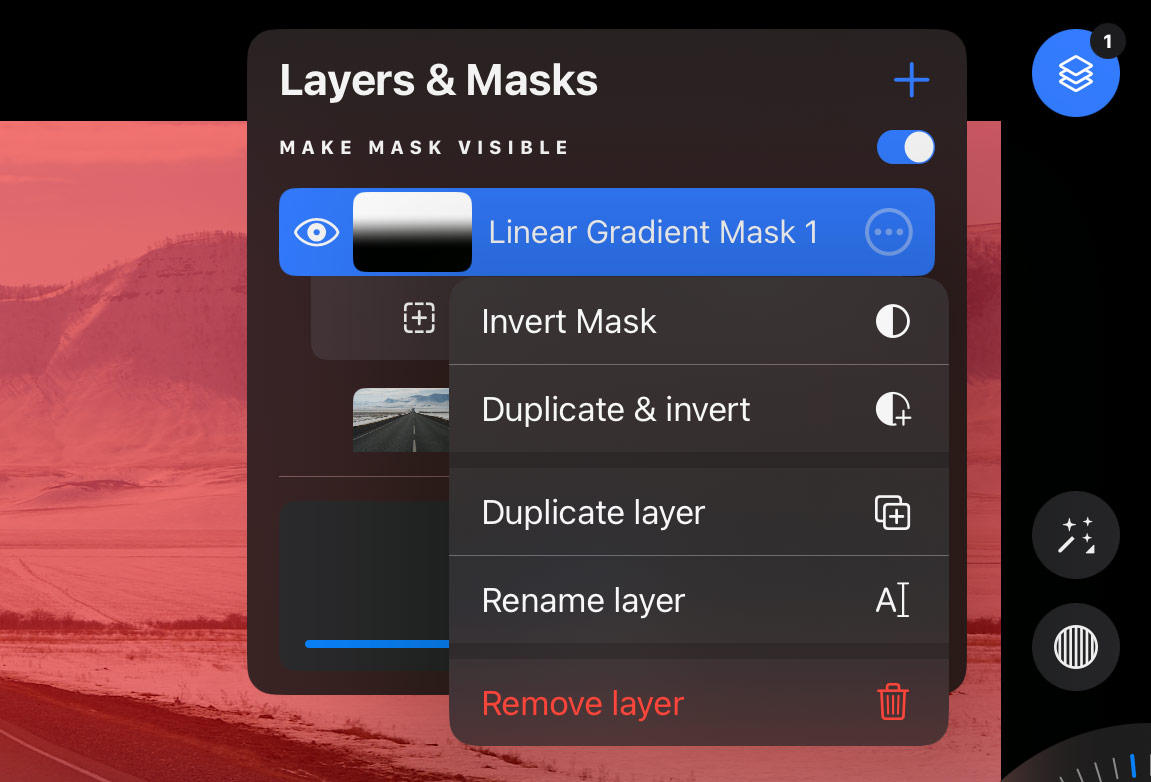
To access the layer settings, click the three-dot icon. Here you can invert the mask, duplicate the layer, or duplicate and invert it, along with standard options like renaming and deleting the layer:
 But the most exciting part of this update is the ability to apply layered styles!
Applying Layered Styles
If your styles contain layers, you can now apply them in Capture One Mobile and get the same layers with the same adjustments on your iPad and iPhone!
For example, most AlexOnRAW styles have layered versions with contrast, color, and curve adjustments on different layers:
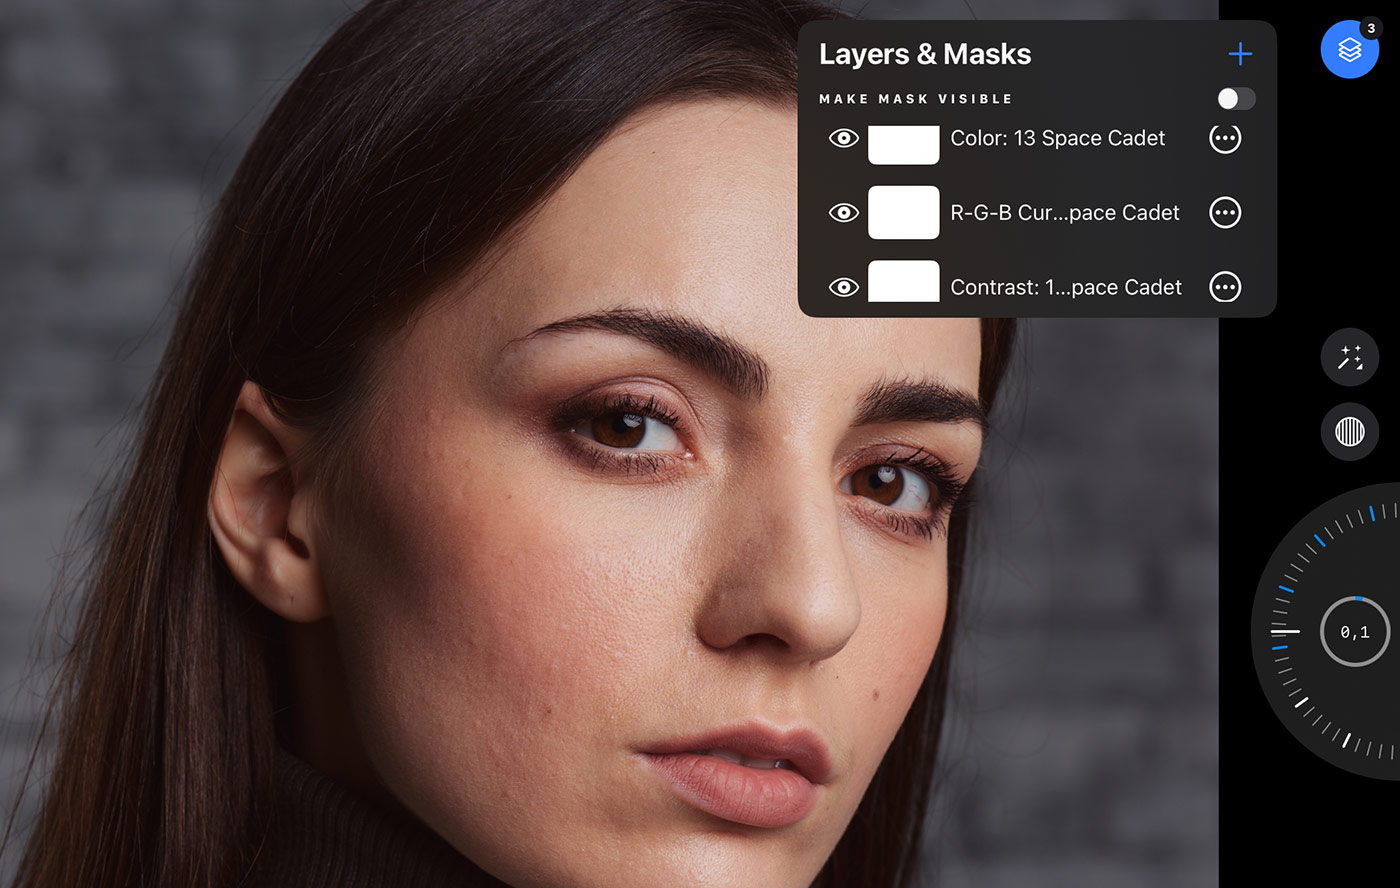 By applying a layered style in Capture One Mobile, you immediately gain full control over your editing.
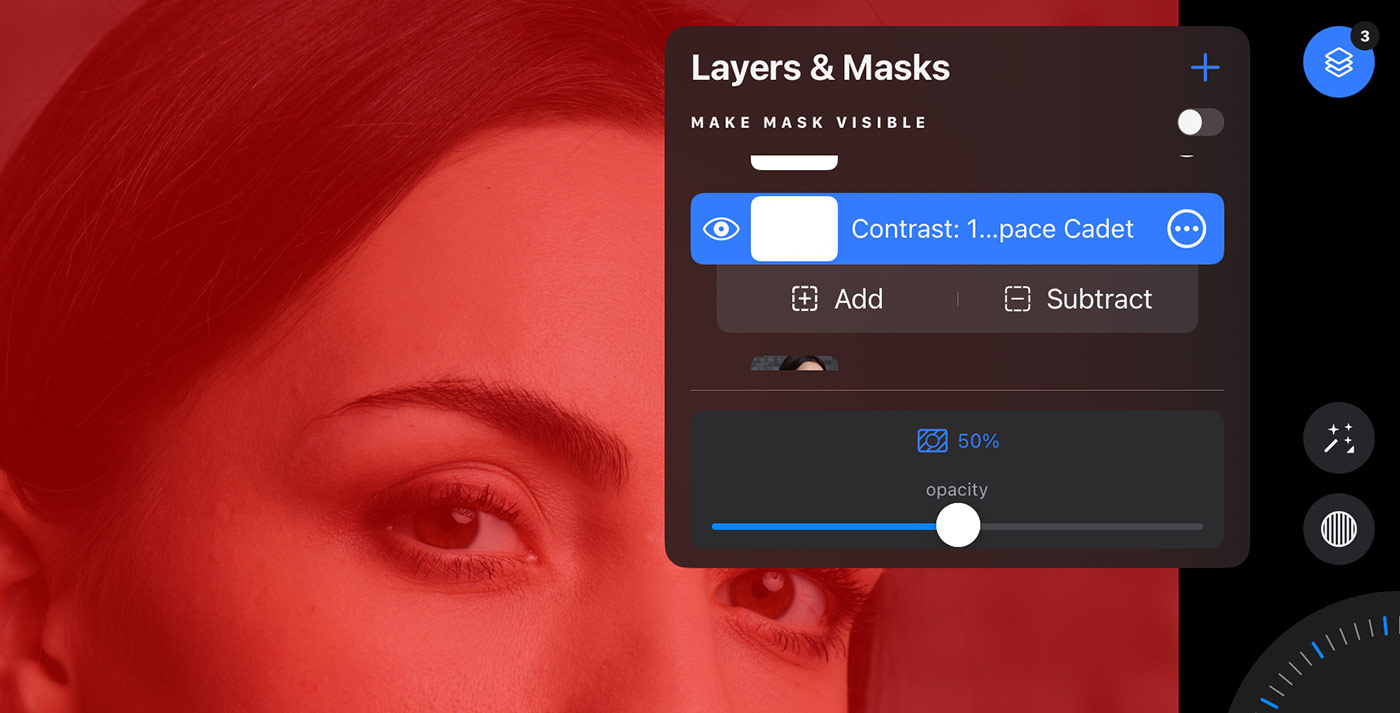
You can now adjust the opacity of each layer and decide if you need less contrast or more color grading:
 Feel free to try it for yourself; here you can download 10 sample layered styles.
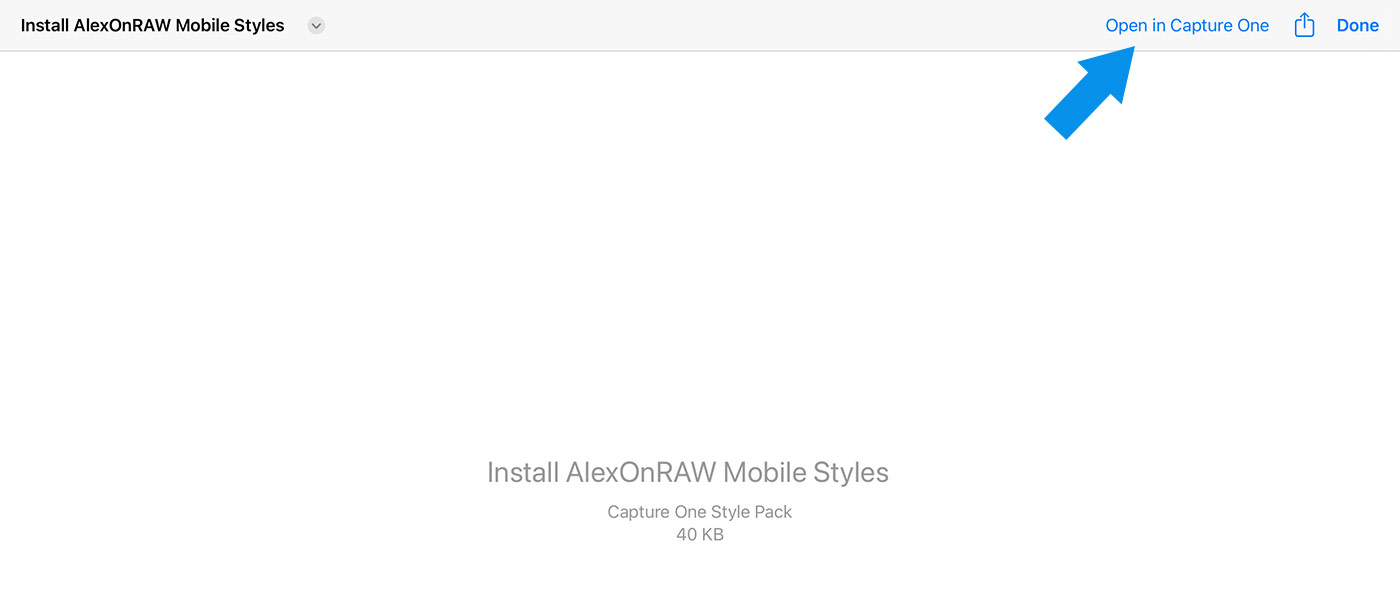
Simply download this file to your iPad/iPhone, or AirDrop it from your desktop:
- If you download it, just open the file, and the styles will be installed automatically.
- If you airdropped it, you’ll see this message on your iPad/iPhone; click “Open in Capture One”:
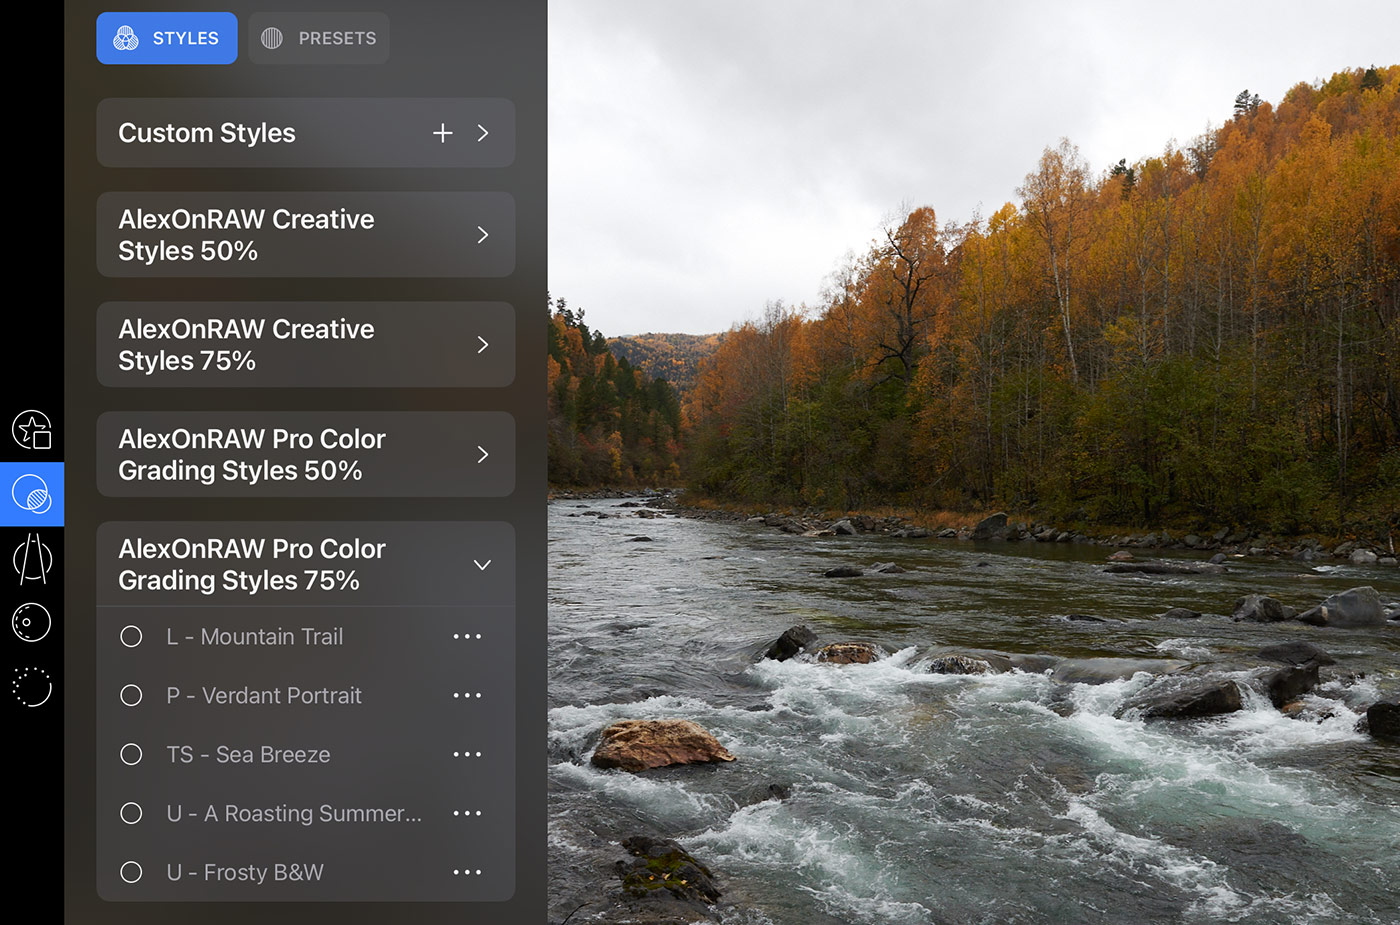
Now you can access them in the Styles panel:
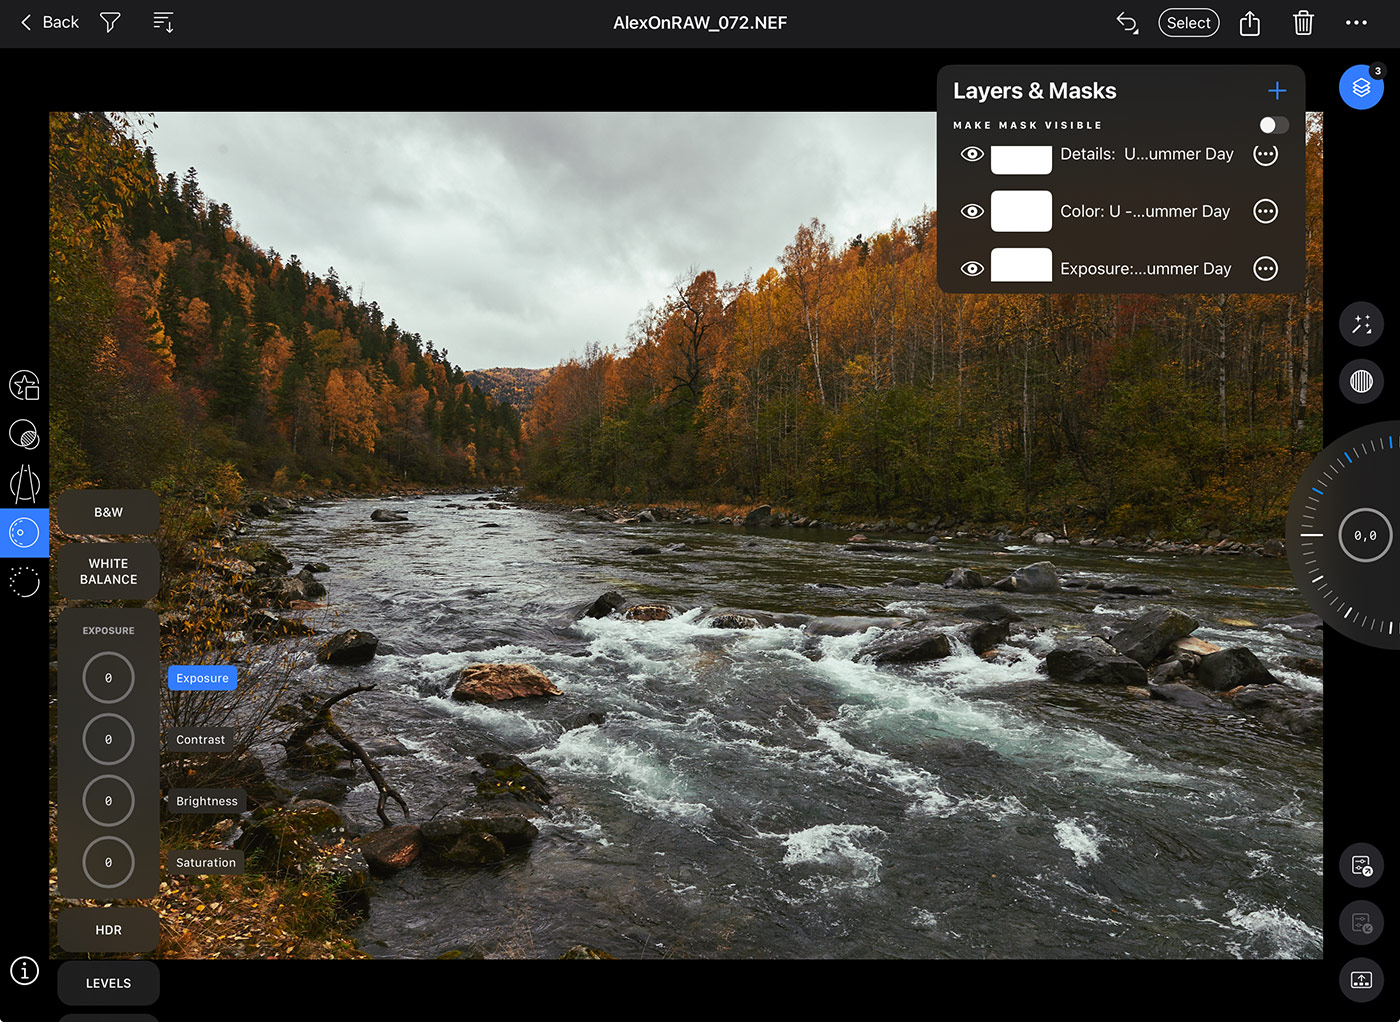
 Select a style and apply it to your image; it will immediately create multiple layers with adjustments:
Now, you can select each layer and adjust its opacity to regulate the color grading effect:
Save $30 on Mobile Styles
To celebrate the release of this update, I’m offering $30 off Pro Color Grading Styles and Creative Styles. Simply enter this code at checkout: MOBILE
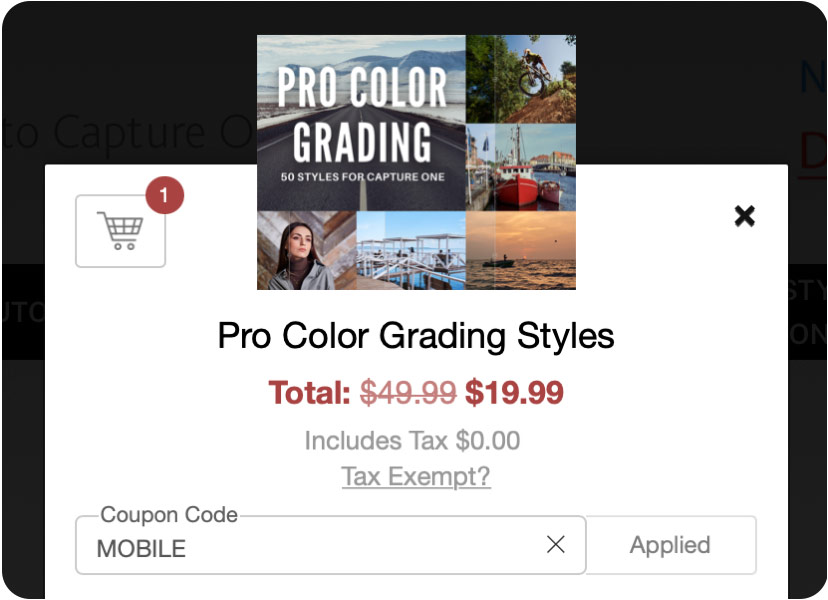
Pro Color Grading Styles is a set of 50 unique styles for Capture One. It allows you to apply various color gradings to your images quickly. Just scroll through the styles, and you’ll find the look that fits your image best.
★★★★★
“The AlexOnRaw presets for Capture One are a pure joy to use, and the amount of work Alex has put in has really surprised me.”
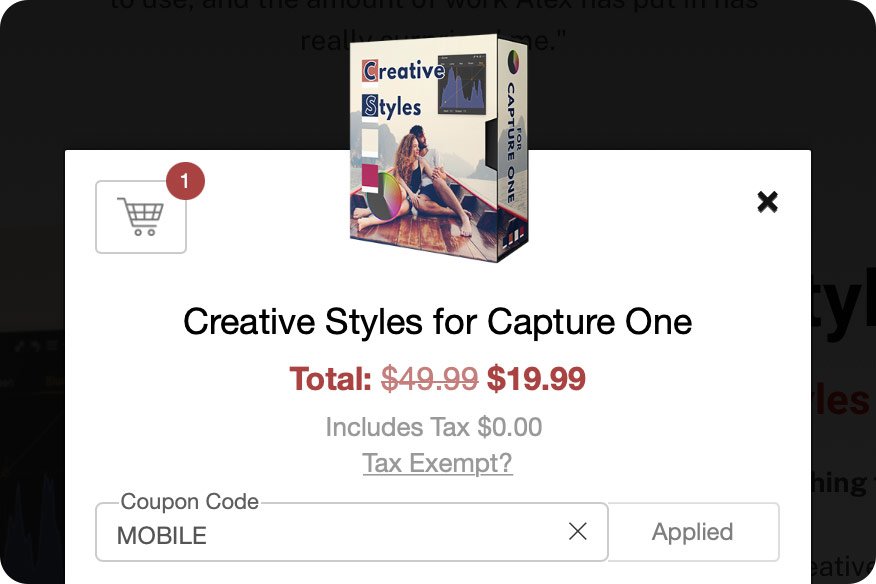 50 styles and 50 styles brushes for creative inspiration.
- Perfect for Portraits. Creative Styles are crafted with portrait photography in mind, however they suit various genres, including wedding, street, and travel photography.
- Layered versions of all styles. Creative Styles store all the adjustments in layers, allowing you to control color and contrast separately.
- Freedom of Editing. Creative Styles use only three essential tools: Curves, Advanced Color Editor, and Color Balance. This gives you the freedom to choose any other tools for further editing in Capture One.

