Capture One has finally released Capture One for iPad, and, to be honest, this is the most controversial release of Capture One. Ever.
I just love this app; for the new, ultra-convenient interface, for the same processing engine as in the desktop Capture One.
It’s just fantastic to have the natural and realistic color rendering on iPad. And this app is so fast!
At the same time, the very first version of Capture One for iPad lacks Layers, Curves, and many other advanced tools. Fortunately, there is a way to apply the missing adjustments using styles, making the Capture One for iPad a solid stand-alone app!
I’ve prepared a detailed overview, so grab your iPad, and let’s see how to get the maximum out of the new app!
Capture One for iPad Video Overview
Before we proceed, I have some awesome news for you!
I’ve published my new book Capture One Hidden Features: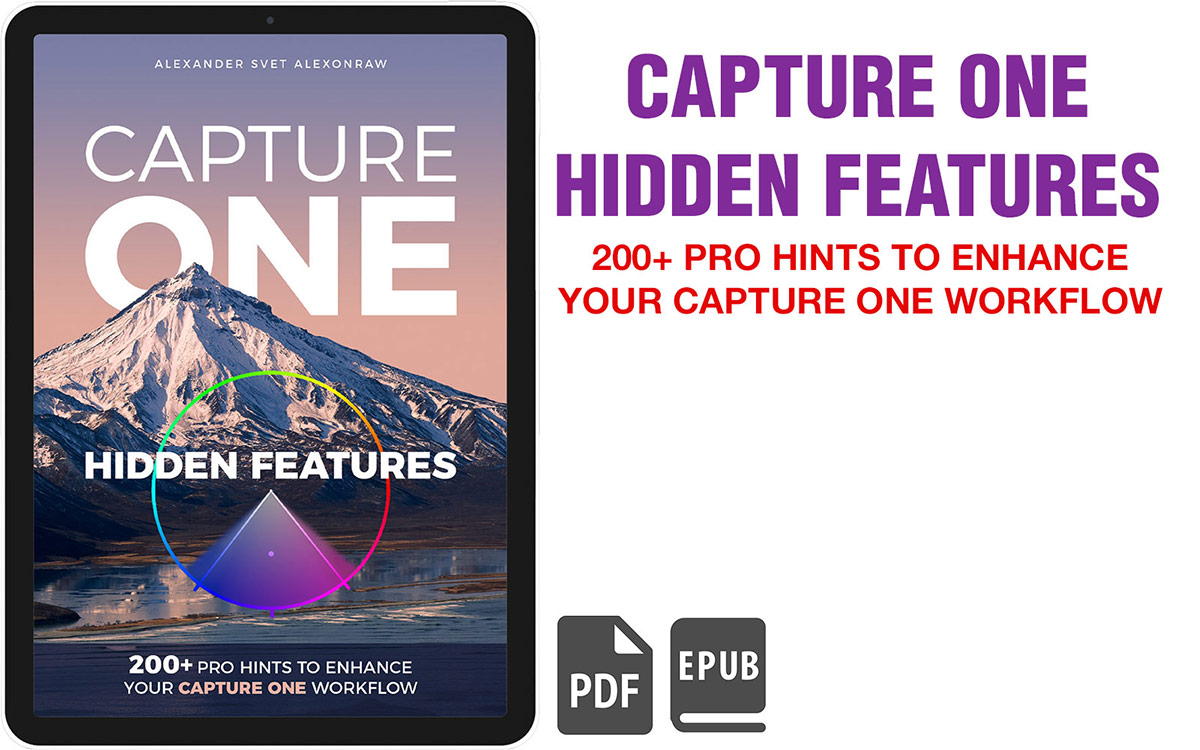
Capture One Hidden Features is a collection of more than 200 pro hints to improve your Capture One workflow. I’ve updated and enhanced what I’ve published in the past eight years, have added new tutorials and structured them into an easy-to-read book.
This book was created for Capture One users who are familiar with all the essential features and are looking to discover advanced tools and workflow hints.
Capture One Hidden Features comes in two formats, PDF and ePUB, so it’s super convenient to read on your iPad.
You can download four chapters from the Capture One Hidden Features ebook free of charge:
- 3. Must-Have Shortcuts
- 14. Hidden Features of Layers
- 27. The Power of Mask Inversion
- 38. Automation with Macros
Simply subscribe to the AlexOnRAW newsletter by entering your email in the form below. After subscribing to the newsletter, you’ll immediately receive the four chapters from the book. Also, you’ll regularly get a friendly newsletter with free Capture One tutorials, image editing tips and tricks, and news from Capture One community.
Now, to the Capture One for iPad!
Image Import
Let’s start with the image import. You can import photos from your cloud drives, such as iCloud or Dropbox. Also, you can connect your camera or card reader to the iPad to upload images directly. I’ll go with a card reader.
After the import, you can organize images into albums by dragging a single image into an album or selecting a batch of images in the right upper corner.
BTW, to change thumbnail size, make a simple two-finger gesture:

Now, let’s edit an image and see how all the controls work.
Interface
I love the interface of Capture One for iPad; it’s a brilliant mix of simplicity and usability.
It’s designed for a two-hands workflow, where you select tools with your left hand and adjust them with your right hand. Tools are not blocking the image; your attention is always focused on it. This approach allows you to control adjustments quickly and intuitively.
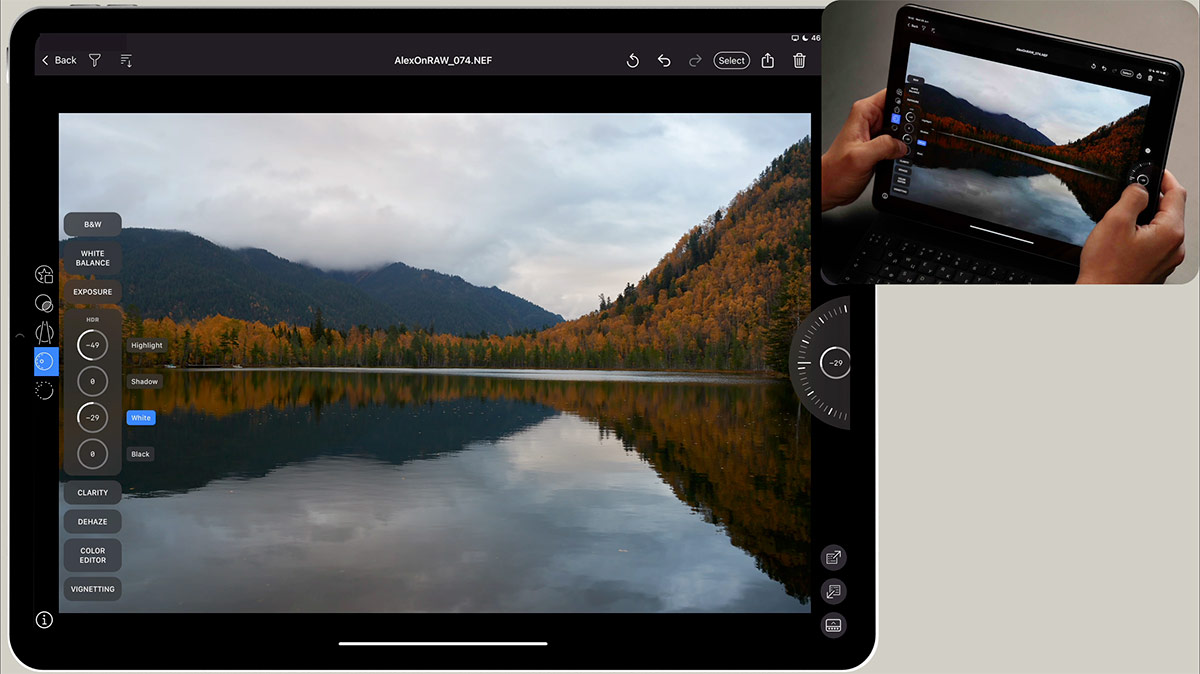
BTW, the RAW file of this image is available in my 100 RAWs for Image Editing Practice set.
If you prefer, you can switch tools to the right side of the screen. Also, there is a way to control all the adjustments with a single hand. Simply hold down a tool and move your finger. BTW, I like how this setup works with Apple Pencil.
Here are several hints to make your editing faster and easier:
- Double-tap on an image to zoom in to 100%.
- A long tap on an image activates Before/After mode.
- Two-finger tap brings up the histogram.
- Double-tap on a dial to reset an adjustment.
- Also, you can move Tool Panel if it covers an important part of your image.
Now, let’s have a quick walkthrough of all the tool tabs.
The first tab is for image culling, where you can set ratings and color tags.
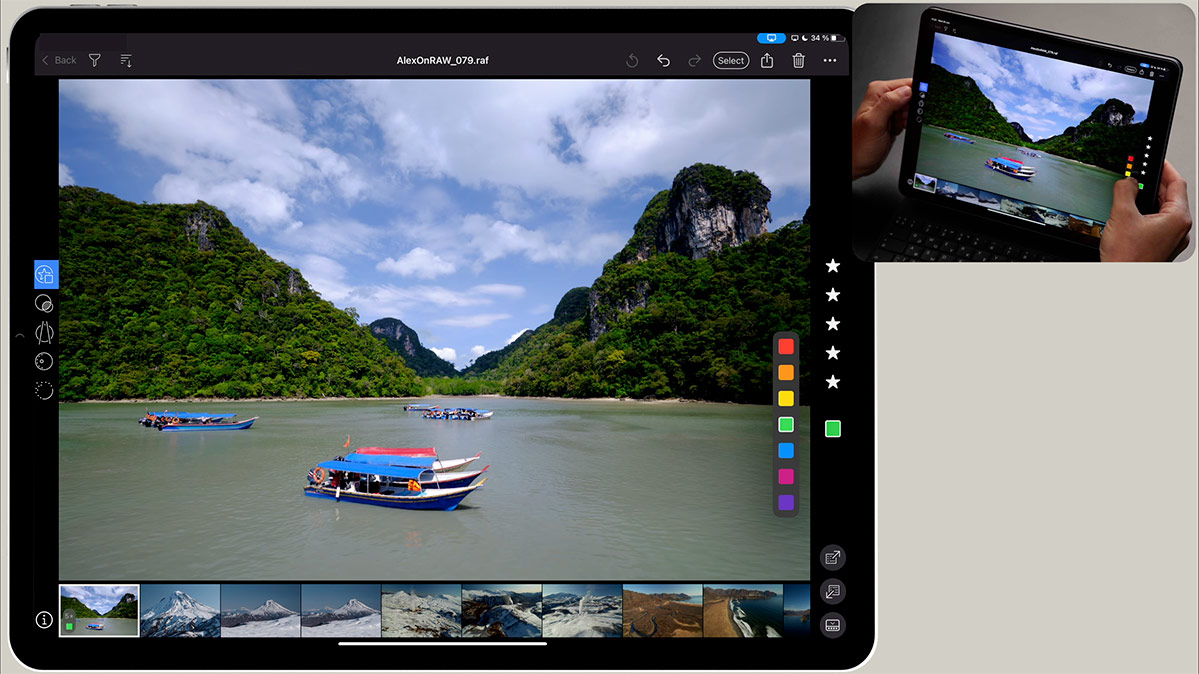
The RAW file of this image is available in my 100 RAWs for Image Editing Practice set.
The second click on a rating or a color tag resets them.
Also, here is a hint to speed up image culling:
You can set rating and color tag, copy these adjustments, and apply them in a single click. Just keep in mind that ratings and tags don’t copy by default, so you need to click Modify after copying the adjustments and select them manually.
Next, we’re switching to the Shape tab, where you’ll find Crop, Rotation, and Keystone tools.

The RAW file of this image is available in my 100 RAWs for Image Editing Practice set.
The Crop tool works just as you expect; there is a common choice of aspect ratios, and the cropping is pretty intuitive.
Rotation and Keystone tools have fewer possibilities than the desktop app, but I think we’ll see improvements in future updates.
So, now we’re ready to adjust the exposure and color on an image! Here comes the real advantage of Capture One for iPad – natural color rendering and an advanced processing engine.
Color Rendering and Processing Engine
Initial color rendering is my real issue with Lightroom Mobile and other iPad image editing apps. See, here is how Capture One for iPad renders color on this portrait:
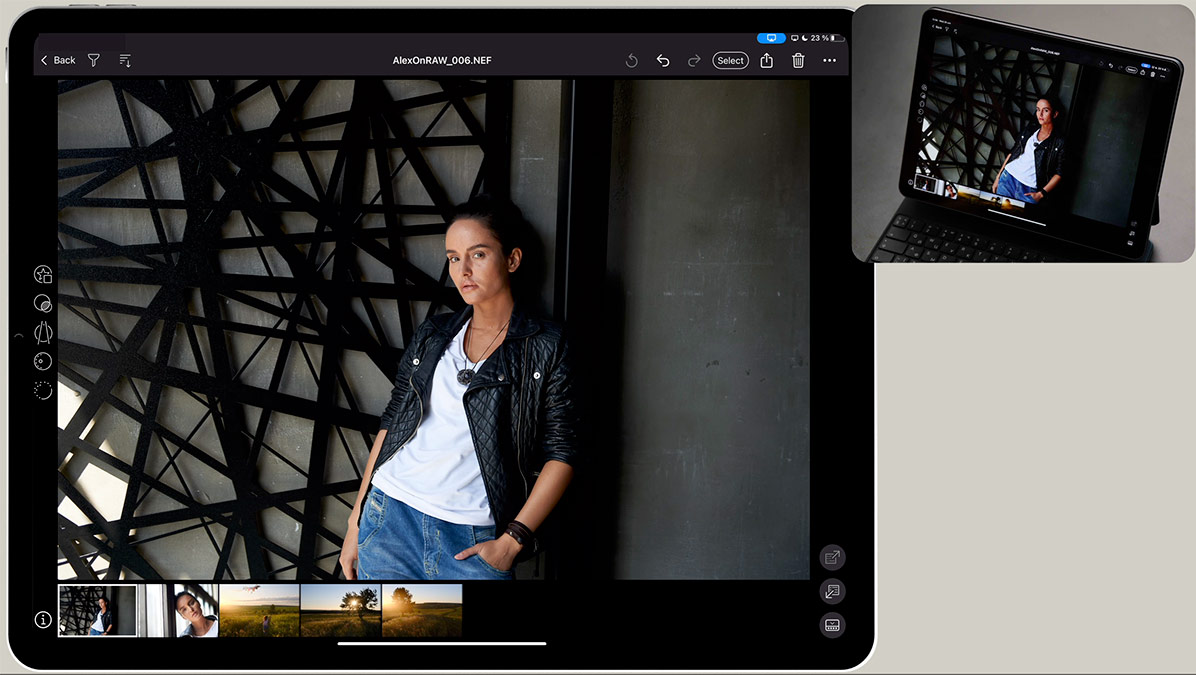
The RAW file of this image is available in my 100 RAWs for Image Editing Practice set.
Do you see? This is the natural skin color I’ve expected here. Right out of the box, no additional adjustments are required.
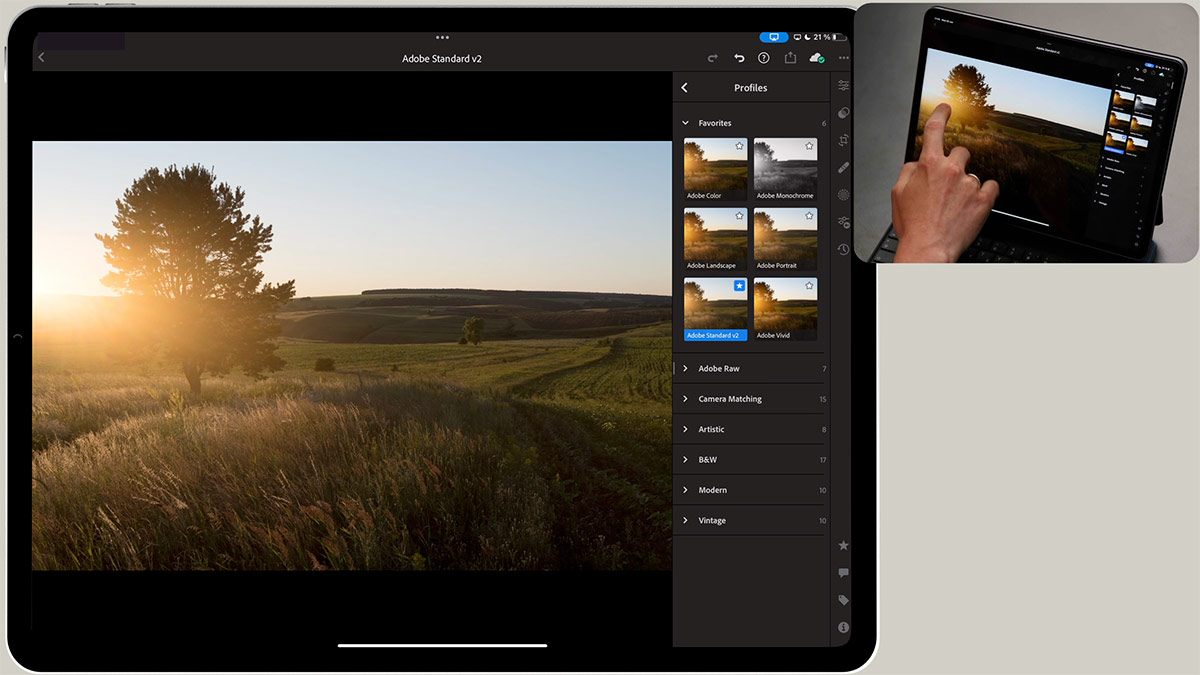
Now, let’s compare it to Lightroom mobile:

The same goes with landscapes; Capture One renders all the fine details in shadows and highlights, providing a natural and realistic look:

The RAW file of this image is available in my 100 RAWs for Image Editing Practice set.
In Lightroom, you had to spend some time adjusting the image to get rid of this lifeless look.
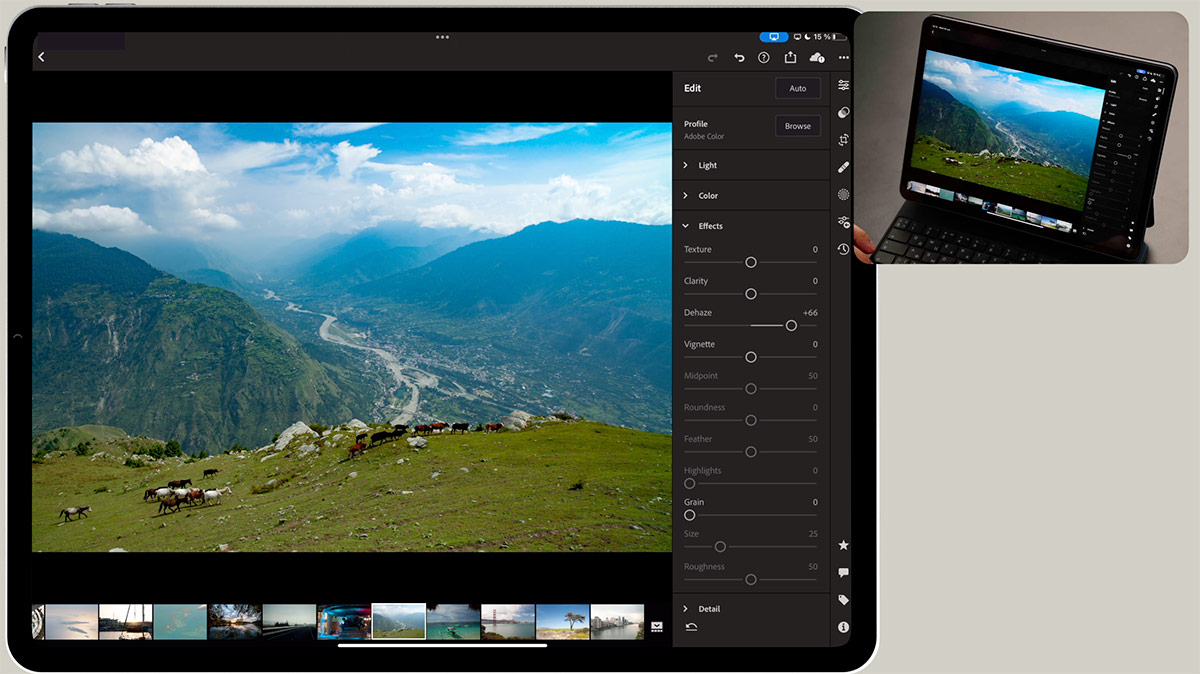
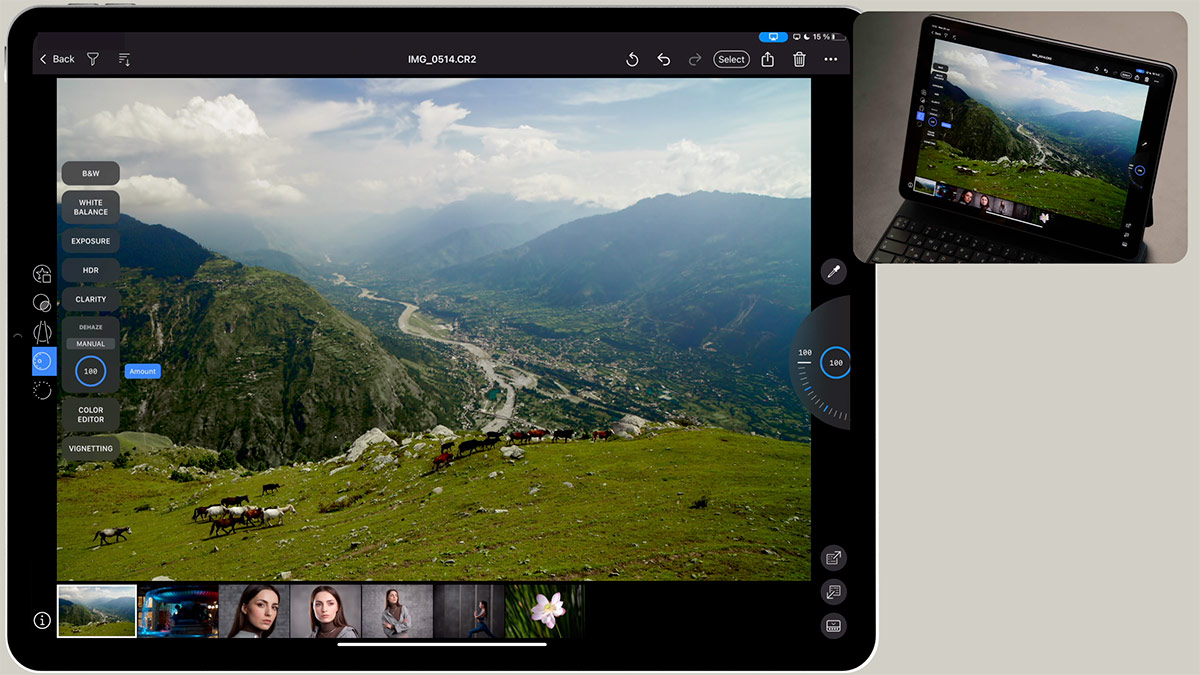
The Clarity tool also works way more accurately compared to Lightroom mobile. Plus, you can choose from various Clarity modes.
HDR tool in Capture One and Lightroom has always worked differently despite the similar names of the sliders. The result of this is that in Capture One, you can accurately recover information from the darkest and brightest areas of the image without making the whole image look flat.
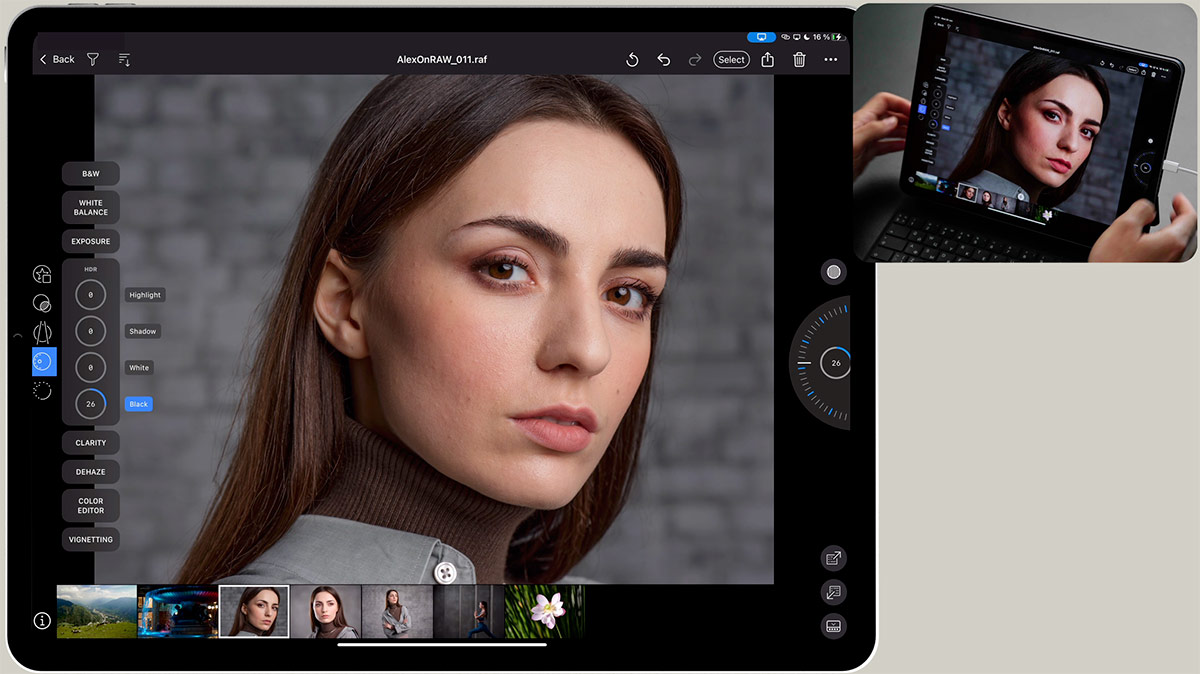
The RAW file of this image is available in my 100 RAWs for Image Editing Practice set.
In the next tab, you’ll find tools to make the final touches in your editing: Sharpening, Noise Reduction, and Film Grain.
Styles for Capture One for iPad
Yet, the first version of Capture One for iPad lacks almost all advanced tools, such as Curves, Levels, and Color Balance.
The great news is that there is still a way to apply them on iPad!
Capture One for iPad uses the same processing engine as the desktop app. Thus, it has all the tools built-in, but there is just no interface yet to control them. The solution is to use Capture One styles from your desktop app. Styles apply saved adjustments on an engine level. You don’t need access to the Curve tool or Color Balance to apply a style with these settings.

Here is how you can import styles into Capture One for iPad and enhance your workflow.
First, you need to locate an installation file of a style pack on your desktop machine and transfer it to an iPad.
Next, double-click on this file, and styles will automatically appear in Capture One for iPad.
Now, you can enhance your iPad workflow with the desktop Capture One color grading tools. Basically, you can now apply the pro-quality looks to your images anywhere: on the trip, when waiting for an appointment, or just browsing images after the shoot.

The styles I use in this video are from my new set of Pro Color Grading Styles.

Pro Color Grading Styles is a set of 50 unique styles for Capture One. It allows you to apply various color gradings to your images quickly. Just scroll through the styles, and you’ll find the look that fits your image best.
Using the styles, you can quickly evaluate how different color schemes affect your image. Do the warm colors suit your photo, or does it look better with cool colors? Do you need a high contrast on an image, or does a hazy look suit it best?
The styles are compatible with both desktop Capture One and Capture One for iPad.
You can download five sample styles free of charge!
Simply subscribe to the AlexOnRAW newsletter by entering your email in the form below. After subscribing to the newsletter, you’ll immediately receive five sample styles. Also, you’ll regularly get a friendly newsletter with free Capture One tutorials, image editing tips and tricks, and news from Capture One community.
When you have found a look that fits your image well, you can easily apply these adjustments to other photos.
First, you need to copy adjustments by clicking this icon. If you need to exclude some adjustments from copying, click Modify. BTW, here you can see that our image contains adjustments that can only be edited in Capture One Pro. These are the adjustments from the style we have applied before.
Next, click Select to choose images to apply the adjustments. You can pick images manually or quickly select all photos in an album.
Now, click the apply icon, and you’ll see all your images are getting a new look.
Image Export
Finally, let’s see how to export your images from the iPad.
The first way is to use the built-in exporter. Here you can choose between exporting into JPEG or EIP formats.
For JPEG, you can set resolution, image quality, and a watermark.
EIP format allows you to pack your RAW file and all image adjustments into a single file.
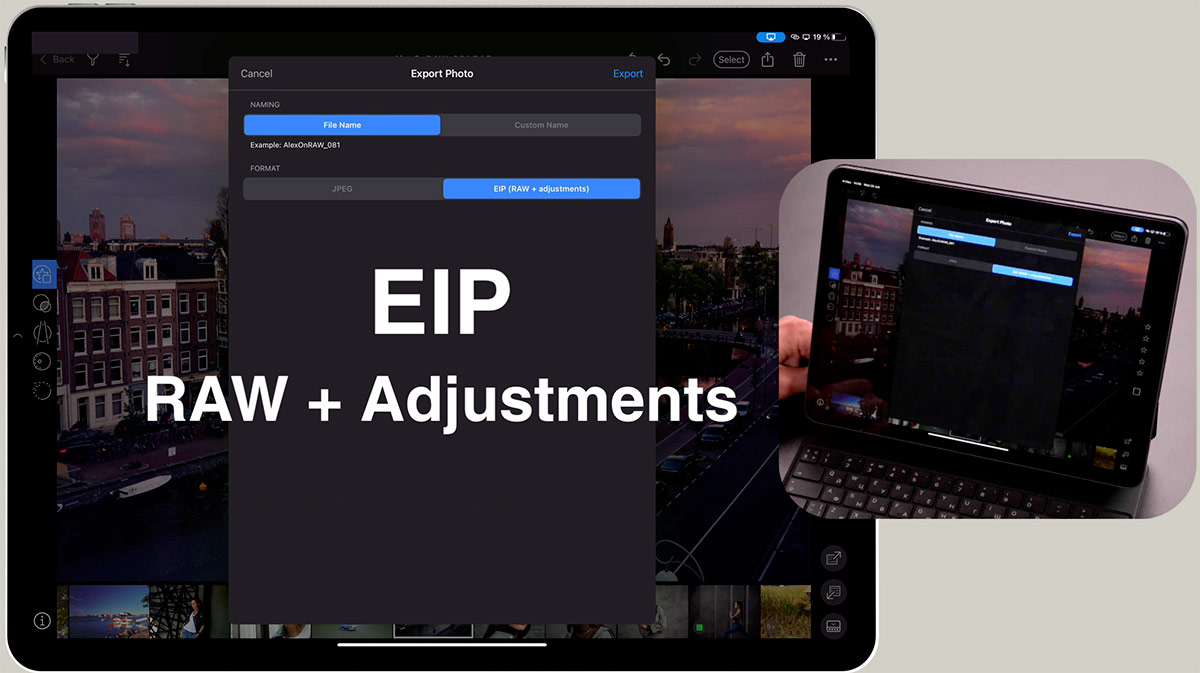
You can open this file on a desktop machine with Capture One and continue the editing.
Now, let’s click Export, and here we can set the destination. You can save your image to Photos, files, Dropbox, or just airdrop it to your desktop computer.
Still, if you make only initial adjustments on iPad and you need to finish the editing on your desktop Capture One, it’s way easier to send images using the Cloud Transfer.
Cloud Transfer requires Capture One 22 version 15.3 or newer, so make sure to update your software. In Capture One, right-click on the Toolbar and choose Customize. Here you’ll find the Cloud Transfer icon, drag-n-drop into the Toolbar.
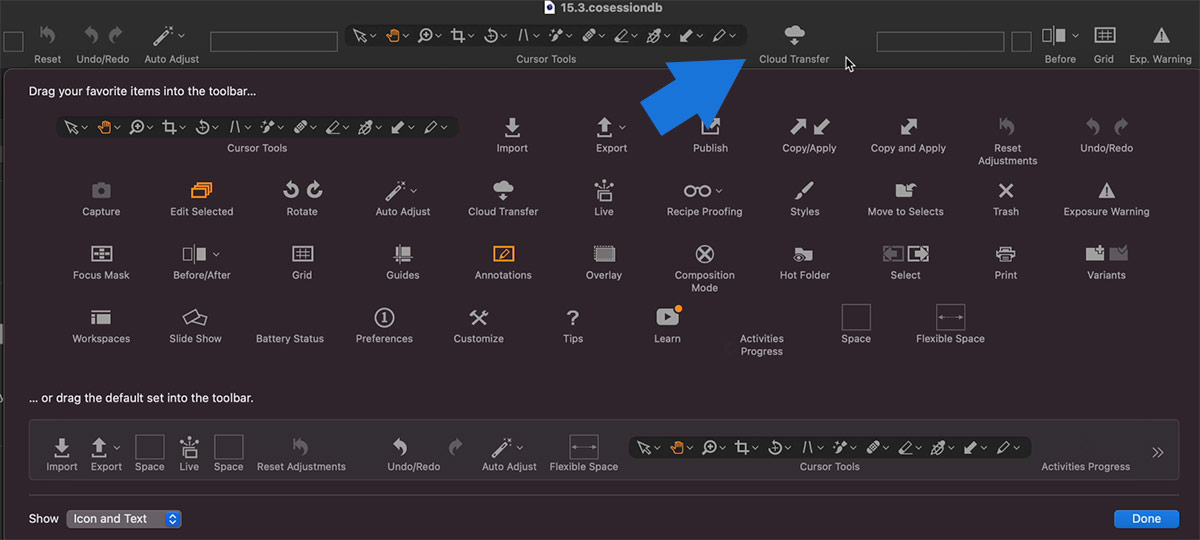
Now, click the icon, and you’ll see the Cloud Transfer settings. Simply choose any album from your iPad that you wish to transfer and a location where to import the images.
BTW, there is a reason why this feature is called Cloud Transfer and not Cloud Storage. Capture One for iPad doesn’t store your images in a cloud; keep this in mind before deleting any images from the iPad.
The transfer is finished; as you can see, we now have the RAW files, with all the adjustments and ratings on the desktop machine. So, you’re free to continue the editing.
So, let’s see what we got with the first version of Capture One for iPad.
Foremost, we now have realistic and natural color rendering on iPad. The amount of tools is pretty limited yet; still, you can apply advanced image adjustments with Capture One styles. Also, you can easily transfer RAW files to finish the editing on the desktop.
What do I miss the most? Obviously – Layers. The touch screen is just created for Layer. Drawing maks with an Apple pencil is an entirely new image editing experience. I hope Capture One developers will make Layers available in one of the upcoming updates because it’s a real game-changer for image editing on iPad.
Tethered shooting with an iPad would also be great to have, as well as direct access to advanced tools.
Nevertheless, I think it’s really important to support Capture On developers now. I mean, yes, Lightroom Mobile offers a whole bunch of tools on iPad, but there is no natural color that we love and that we need. And if we wish to have all the advanced tools in Capture One for iPad, we must show the developers that we’re here, waiting for them.


