My mobile shooting setup is pretty simple: iPhone 12 Pro with Halide as the shooting app. Besides excellent control over the camera, Halide can capture ProRAW DNG + HEIC files. HEIC quality is fine enough for all the regular images, and ProRAW allows you to get maximum out of the shot when you need it.
Usually, I process most of the images right on the phone, but some shots deserve development in Capture One. Here are my top 5 tips on how to edit mobile photos quickly and efficiently with Capture One!
Apply Looks with Styles
Styles allow you to switch dozens of looks quickly and find the one that fits your image best. Since we’re working with a RAW file, these adjustments have a way deeper impact on your image than some regular mobile filters. That’s why styles are always the first step in my mobile editing workflow.
For instance, here, I’ve applied the Travel Notes style from the Pro Color Grading Style set to get the initial look. Then, I added a bit of warm color toning in highlights and adjusted Clarity to get the final picture.
BTW, Pro Color Grading Styles are 100% compatible with Capture One for iPad; here is how they work in a tablet workflow:
Add Color Contrast
Classical color contrasts, such as warm-cool contrast, are naturally created for mobile shots and social media!
When you have a strict warm-cool contrast on an image, viewers can evaluate the picture faster and with less effort. This simplicity of perception makes it easier to recognize objects on an image and understand the general plot. As a result, your photos will be noticed more easily in the social media news feed.
Here is how it works in practice. I took this shot a couple of evenings ago:

First, I’m going to create an initial look with the Time Traveller style:
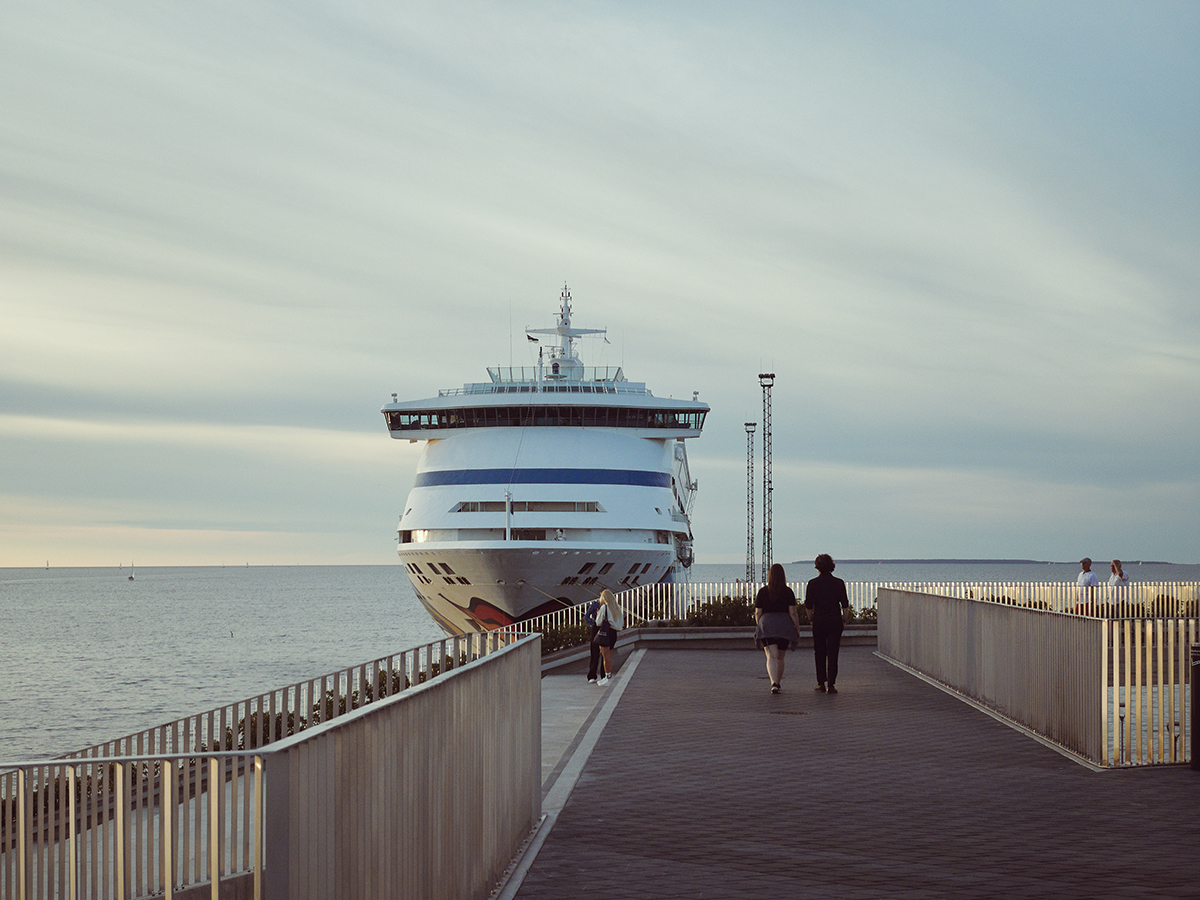
The picture already has the cool component of the warm-cool contrast. To add the warm part, I’m going to mask the sky and the sea:

Now, let’s increase the saturation of this area and apply warm color toning to highlights to complete the warm-cool scheme:

BTW, the DNG file of this image with layers is available for all my patrons. Thus you can download it and practice image editing!
Retouch and Correct Keystone
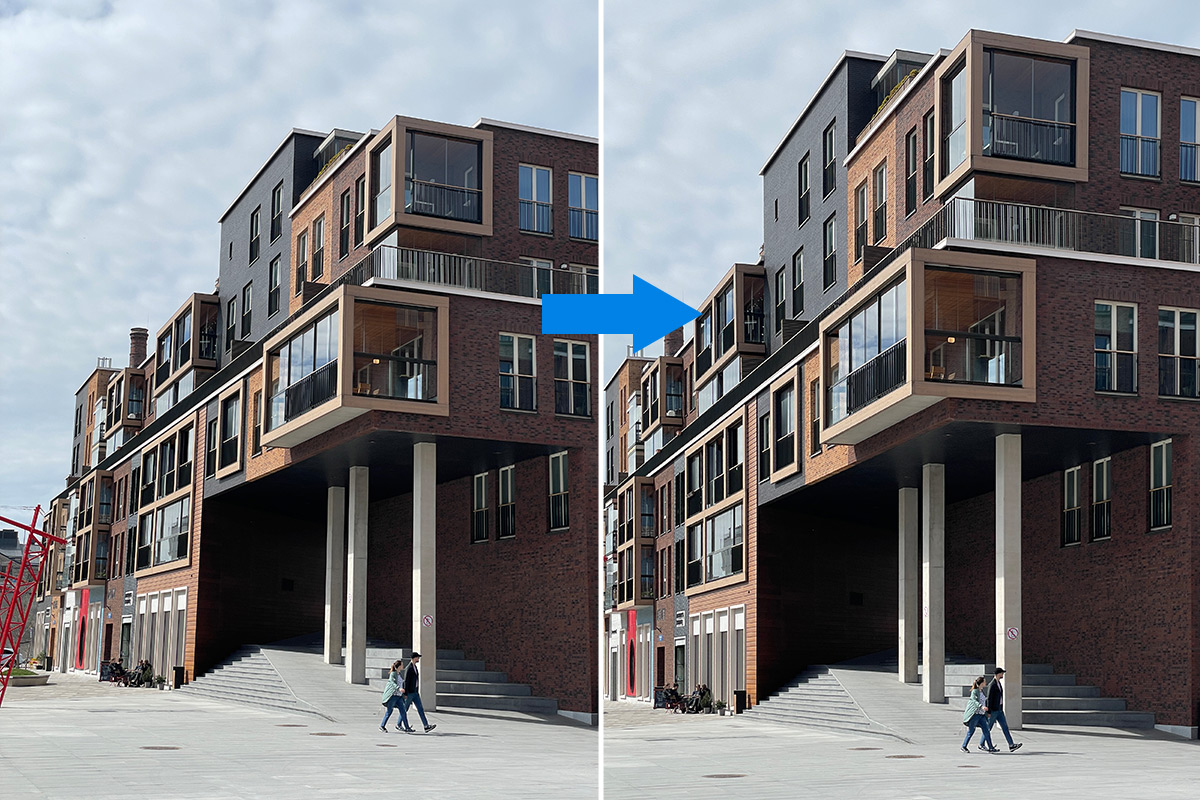
There are two tools that are incredibly beneficial for mobile shots: Auto Keystone and Healing Mask.
Auto Keystone allows you to fix perspective distortion in a single click:
Next, you can notice these signs that ruin all the aesthetics of this shot:
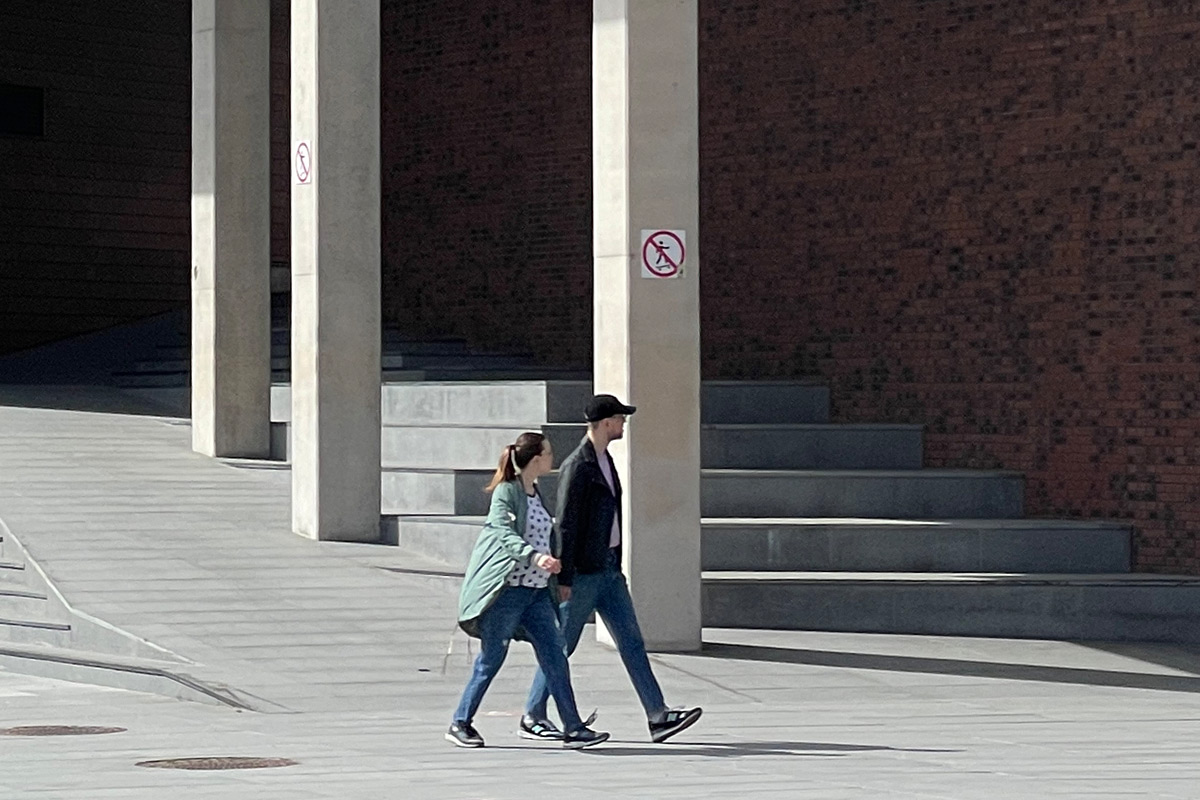
We can quickly remove them with the Healing Mask:
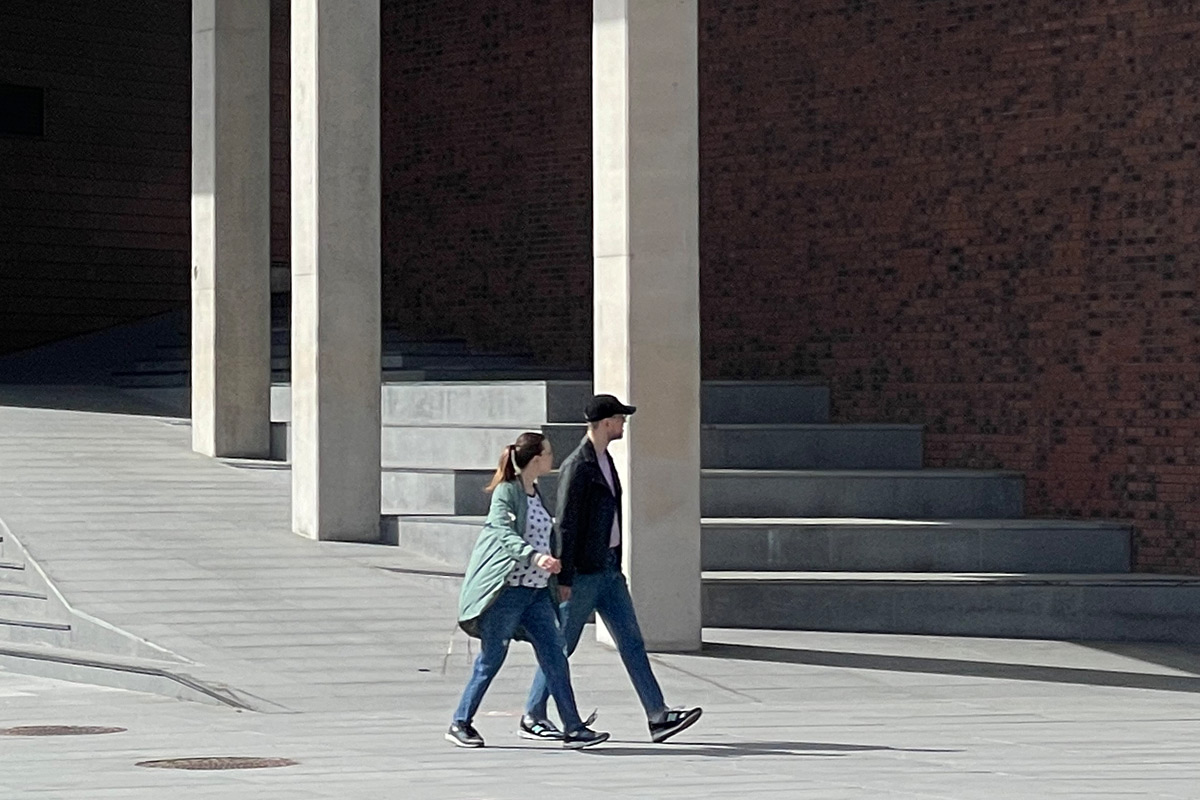
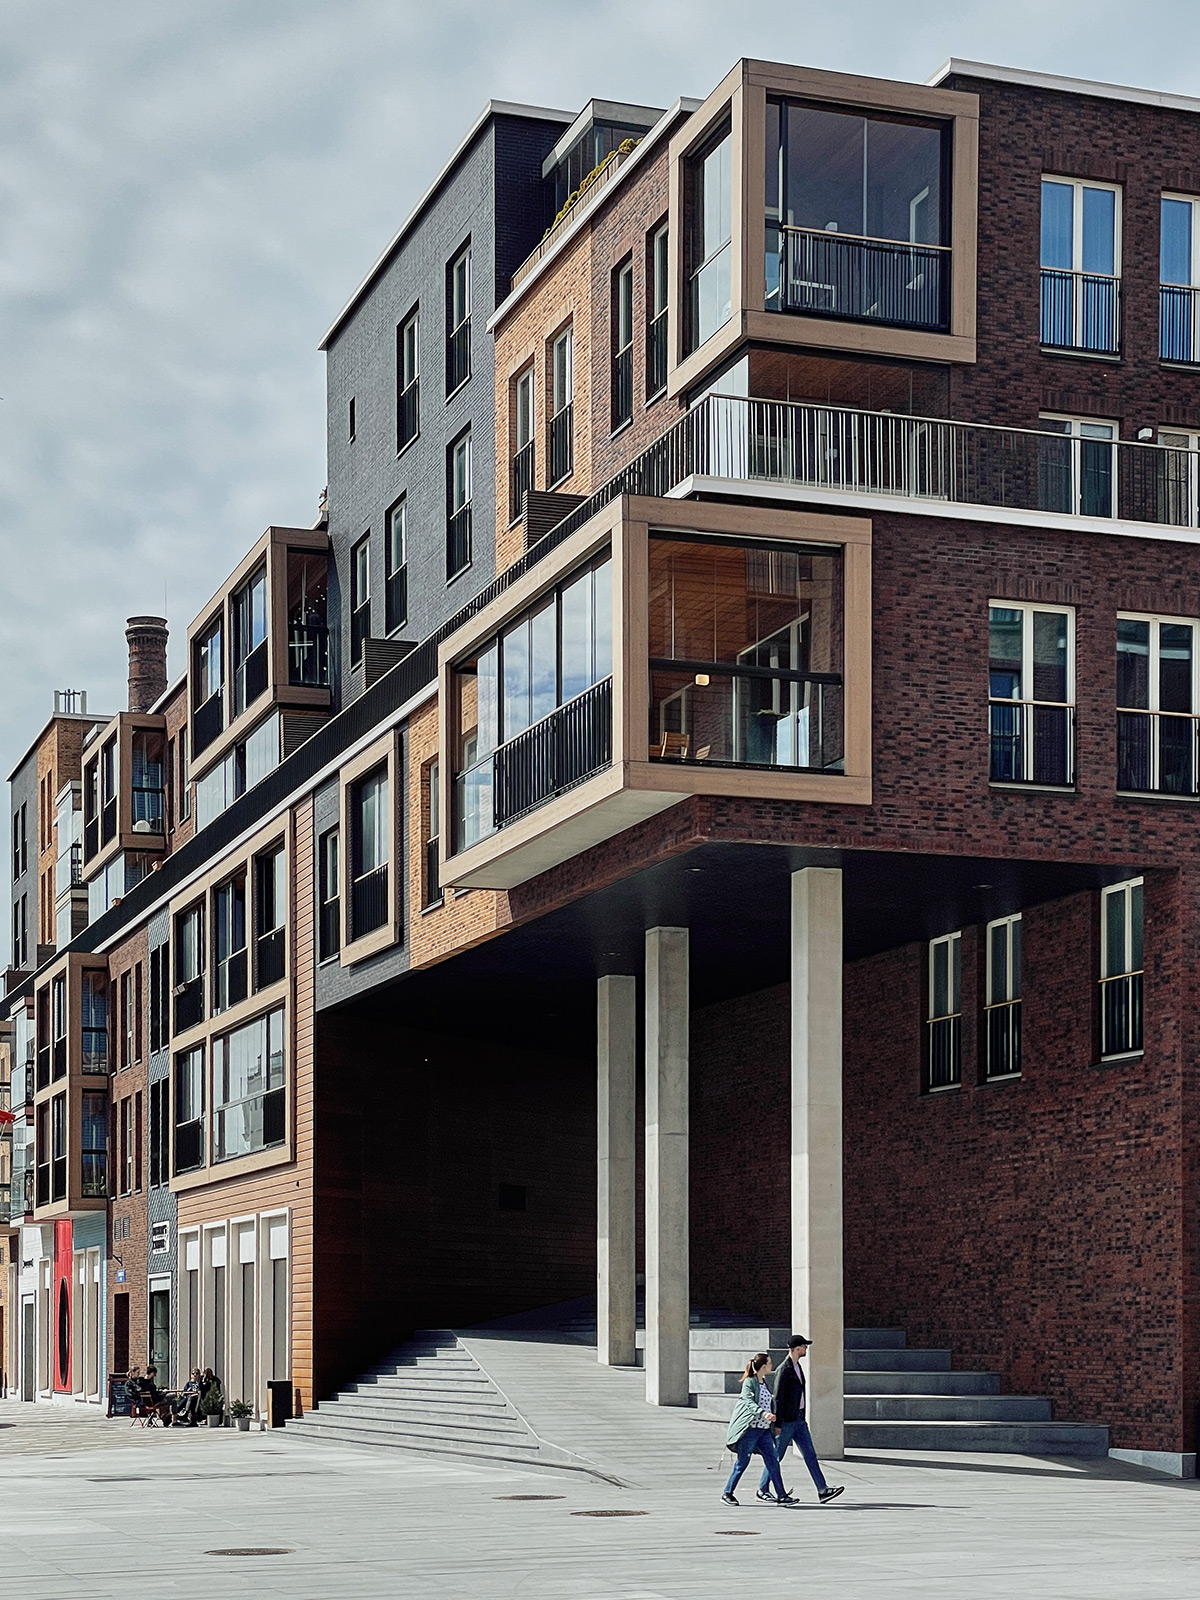
Next, I’m going to apply the Concrete Jungle style to give this image the final look:
Here you can download 5 styles and 5 style brushes from the Pro Color Grading Set free of charge!
Simply subscribe to the AlexOnRAW newsletter by entering your email in the form below. After subscribing to the newsletter, you’ll immediately receive five sample styles. Also, you’ll regularly get a friendly newsletter with free Capture One tutorials, image editing tips and tricks, and news from Capture One community.
The full set includes 50 unique styles. All the styles support layers, and you’ll also get 50 style brushes to draw with the same color gradings on your image.
Add Depth with Layers
Speaking of masks, here is how you can easily add depth to your shot. Let’s take this photo:
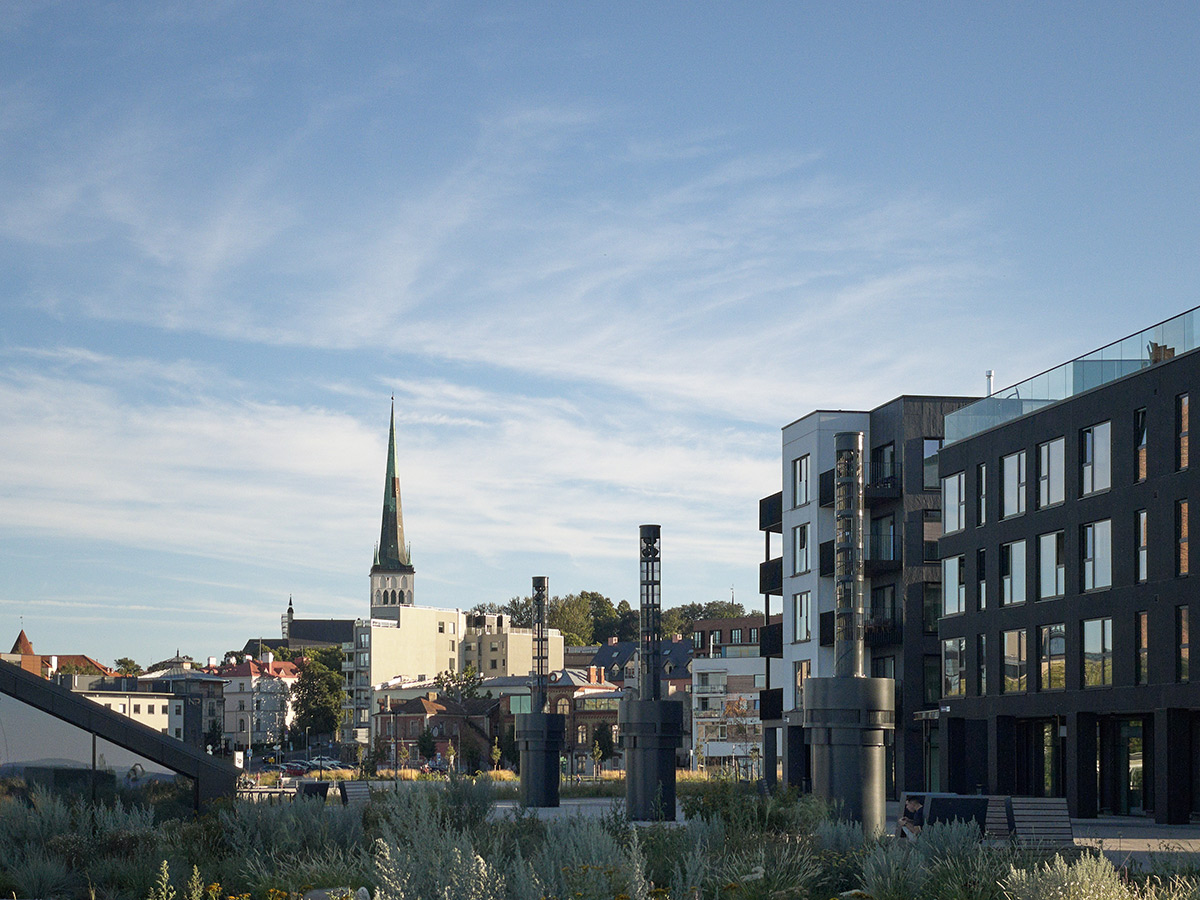
I’ll start with applying the Street Food style to get some nice basic colors:
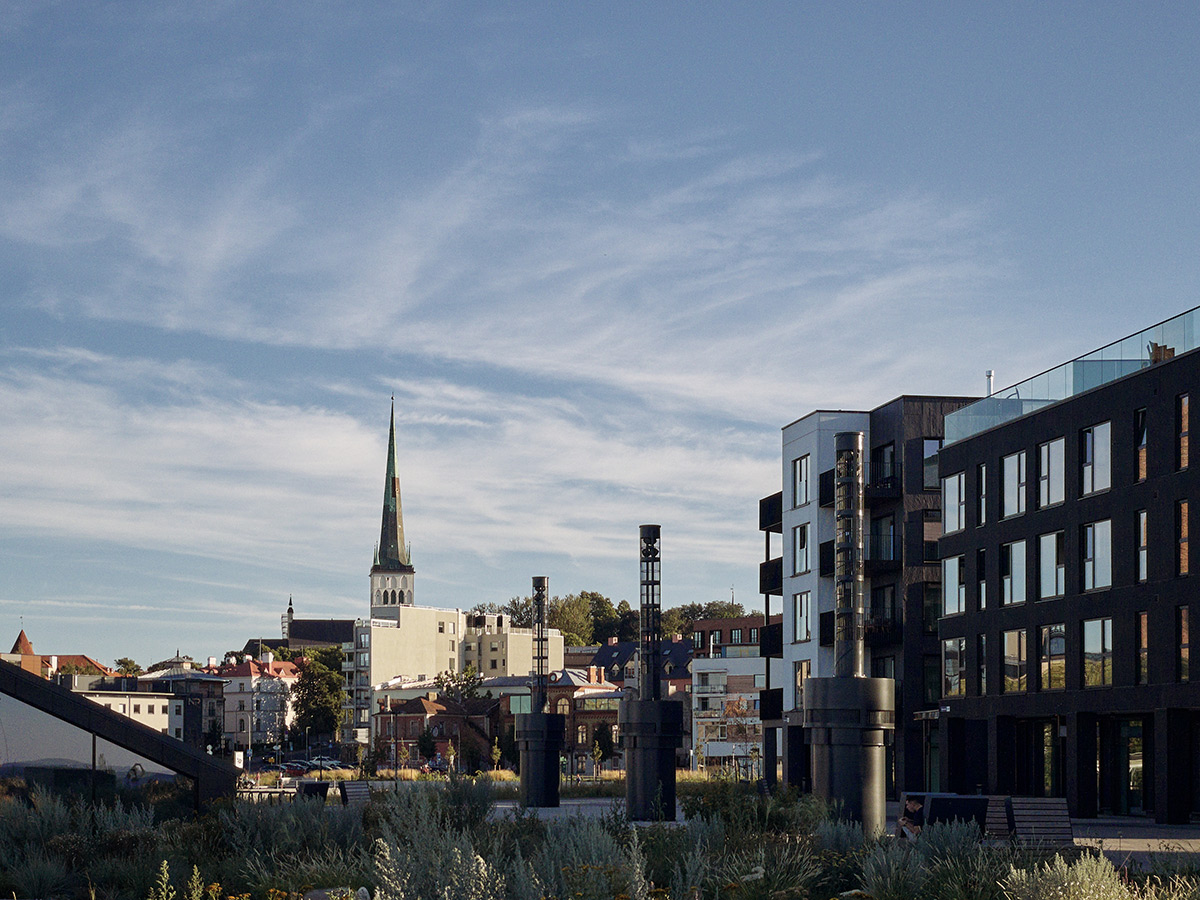
Next, I’m going to add depth by adjusting three problematic areas in layers.
First, the grass. Let’s make it more noticeable by increasing exposure and saturation. Also, I’m going to color tone this area in Color Balance:
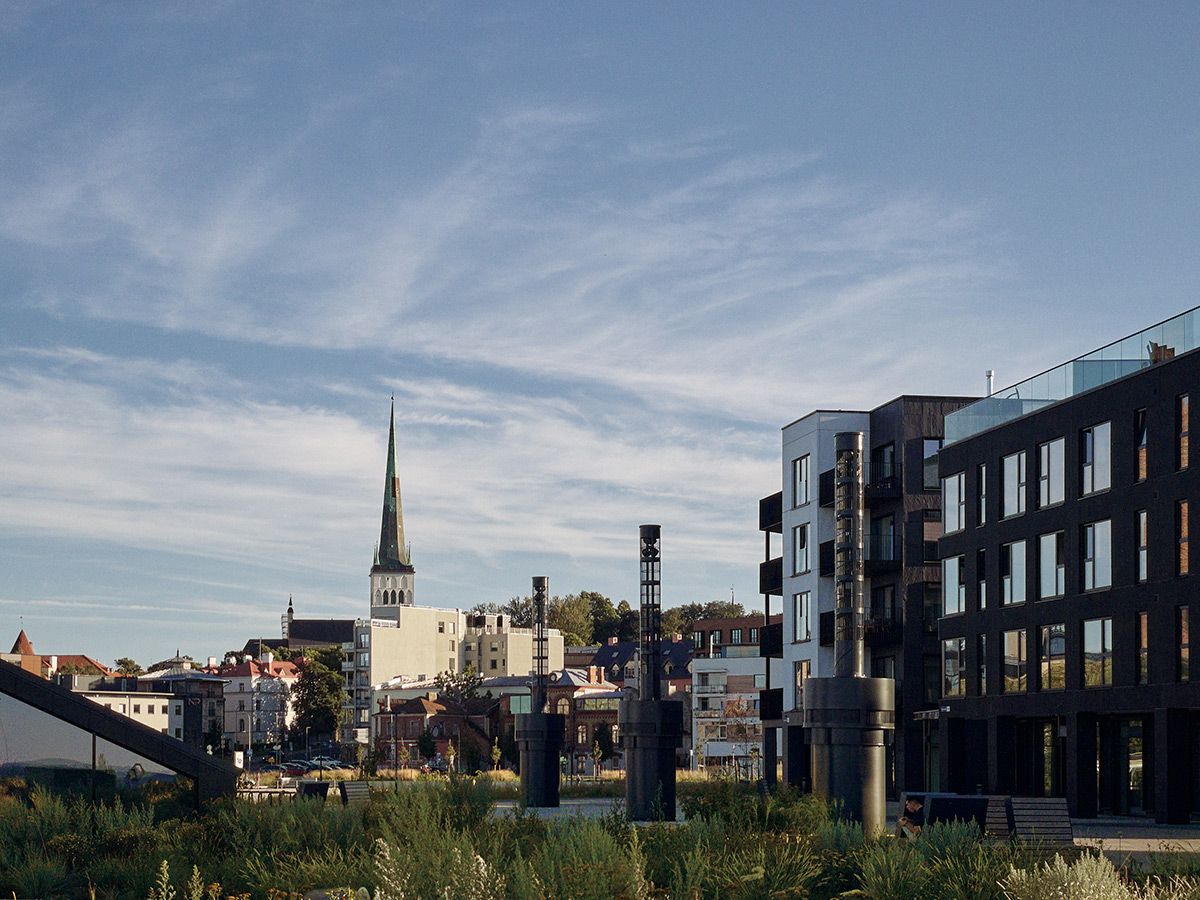
Next is the building. I’m going to recover some details in shadows and add Clarity there:
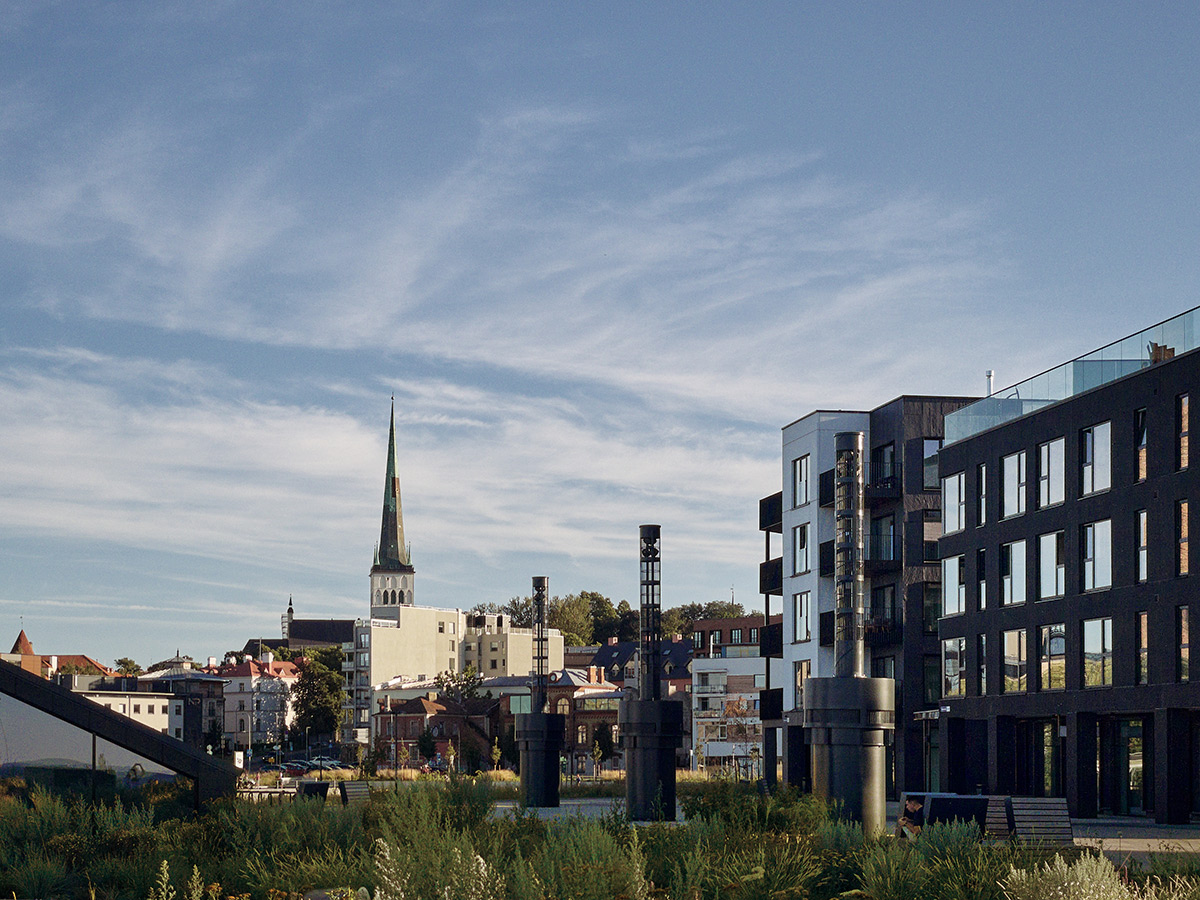
Finally, the sky. Here I’m going to reduce lightness of the blue color to make it look more saturated, and add a bit of Clarity:

The DNG file of this image with layers is also available for all my patrons!

Adjust Details
In the final step, I’m adjusting the details on my shots. It’s hard to give some particular advice here because all the phones are pretty different in image quality. Still, I’ve noticed that two issues are pretty common:
- Mobile photos tend to have dark vignetting, and it makes sense to fix it with the Light Falloff tool.
- Capture One tends to over-sharpen your mobile shots, so I recommend you to decrease the sharpening adjustments.


