

I enjoy experimenting with classical color contrasts in Capture One!
One of my favorites is warm-cool contrast; it works excellently to enhance your image perception.

When you have a strict warm-cool contrast on an image, viewers can evaluate the picture faster and with less effort. This simplicity of perception makes it easier to recognize objects on an image and understand the general plot. Our brain just loves such warm-cool contrasts!
Here are three Capture One tools that will help you to implement it in your editing.
Gradients
The main feature of gradients is the smooth transition of the masked area. Thus, you can apply warm-cool contrast accurately, making the overall look way more natural.
Here is how it works. Let’s enhance this image with warm-cool contrast:

First, we create a radial gradient on the lamp:
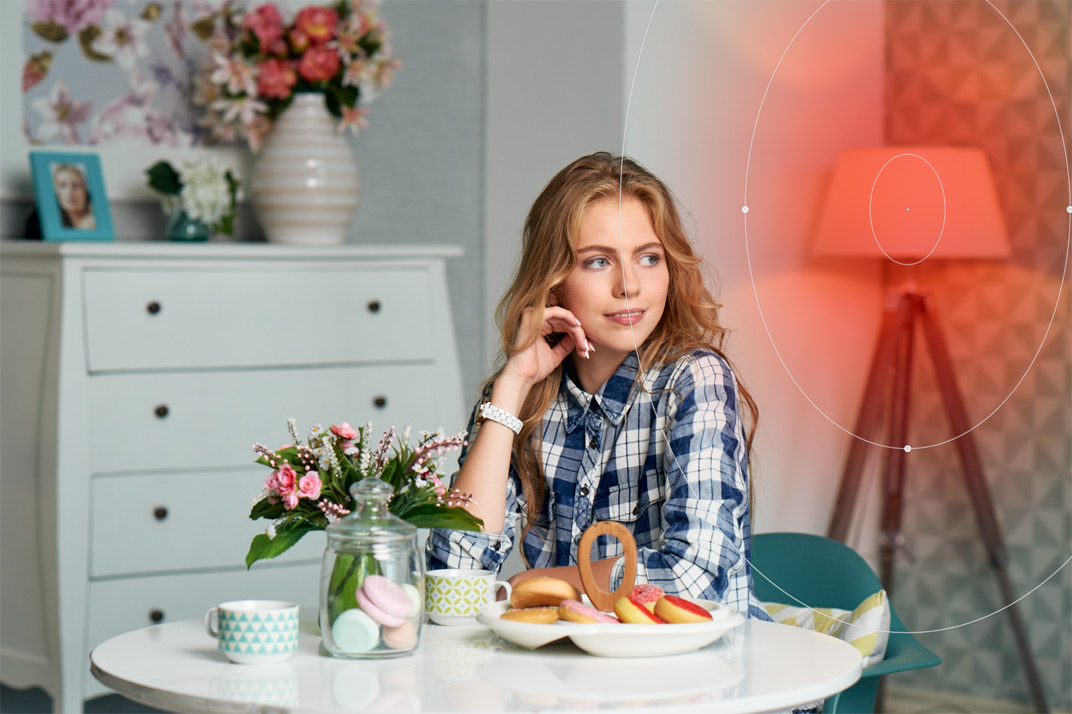
Now, we increase WB temperature to make lamp lightning look warmer.

To amplify warm-cool contrast, we’ll decrease the temperature of the background. We’re going to create a new layer, copy the mask from the first layer and invert it. Now we can set a bit cooler WB for this area.

If you don’t want to affect skin tone, simply rasterize the gradient and erase the mask from the model:

Luma Range
For some images, you can apply warm-cool contrast way faster with luminosity masks.
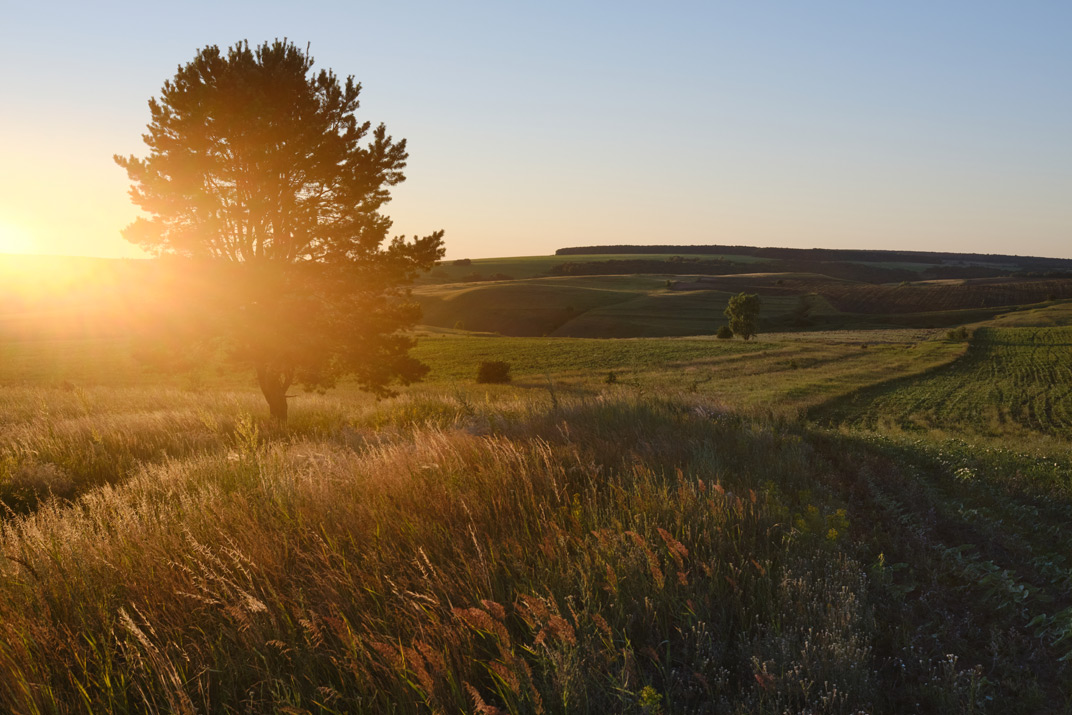
Let’s take this image:

It already has a cool component of the contrast, so we only need to make some areas a bit warmer.
We’re going to create a new filled layer and apply Luma Range to remove dark areas from the mask:

Now, you’re free to choose the tool to use. You can easily make this area warmer by increasing WB temperature or apply some color toning with Color Balance:

BTW, the RAW file of this image is available in my 100 RAWs for Image Editing Practice set.
Style Brushes
Finally, you can quickly apply cool color using a built-in style brush:
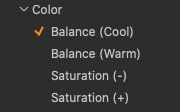
This image can easily benefit from warm-cool contrast:

So, we’re going to draw with Balance (Cool) style brush to enhance areas we need.
We can also slightly decrease WB temperature on the created layer to make the effect even more noticeable:
The RAW file of this image is also available in my 100 RAWs for Image Editing Practice set.
Keep in mind that you can create custom warm-cool style brushes. Here you’ll find a step-by-step guide on creating style brushes.
Capture One Hidden Features eBook

Capture One Hidden Features is a collection of more than 200 pro hints to improve your Capture One workflow, structured into an easy-to-read book.
You can download four chapters from the Capture One Hidden Features ebook free of charge:
- 3. Must-Have Shortcuts
- 14. Hidden Features of Layers
- 27. The Power of Mask Inversion
- 38. Automation with Macros
Simply subscribe to the AlexOnRAW newsletter by entering your email in the form below. After subscribing to the newsletter, you’ll immediately receive the four chapters from the book. Also, you’ll regularly get a friendly newsletter with free Capture One tutorials, image editing tips and tricks, and news from Capture One community.