

This week, we’re going to talk about emulating film looks in Capture One!
You’ll learn:
- How to adjust Curve and HDR for film-like contrast
- How to achieve authentic film colors using the Advanced Color Editor and Color Channel Curves
- How to use film looks in layers
Also, make sure to download 40 free film styles from my Original Film Style set!
Creating Film-Like Contrast
In the sense of image tone, there are two main tools for creating a film-like look: Curve and HDR.
The Curve tool allows you to set a precise contrast that cannot be achieved with the Contrast slider alone. HDR correction is needed to recover deep shadows and highlights, adding depth and dimension to the contrast look.
RGB Curve vs. Luma Curve
In most cases, I use the RGB Curve because, as you’ll see next, I prefer to adjust saturation using the Advanced Color Editor. However, Luma Curve is a perfect choice if you want to add a faded look to an image.
Unlike RGB Curve, Luma Curve doesn’t affect saturation, which makes the faded image look a little more filmish.
Portrait and Landscape Adjustments
There are no universal recipes for Curve corrections, but there are two main approaches to adjusting the Curve tool:
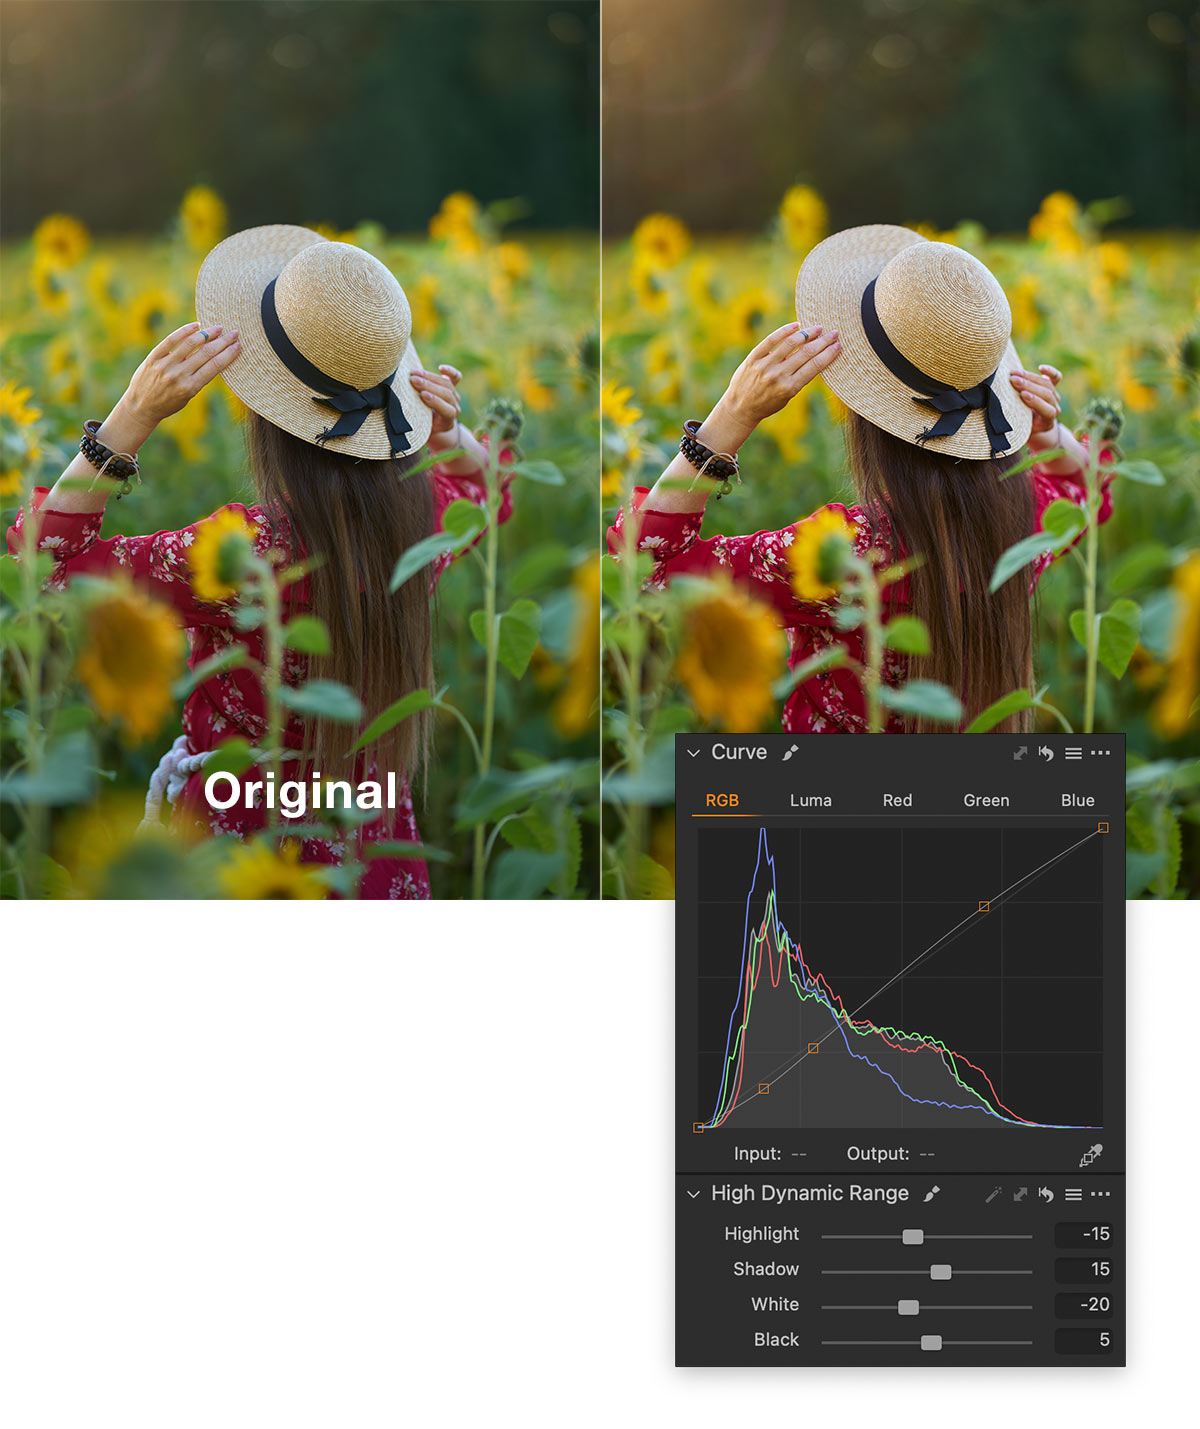
The Subtle approach uses an accurate contrast that gently affects skin tone and fits most portraits. A slight HDR adjustment complements the Subtle Approach well, making the image even more balanced.
For instance, here are the adjustments that I used for the SL Agfa RSX II 100 R film style:
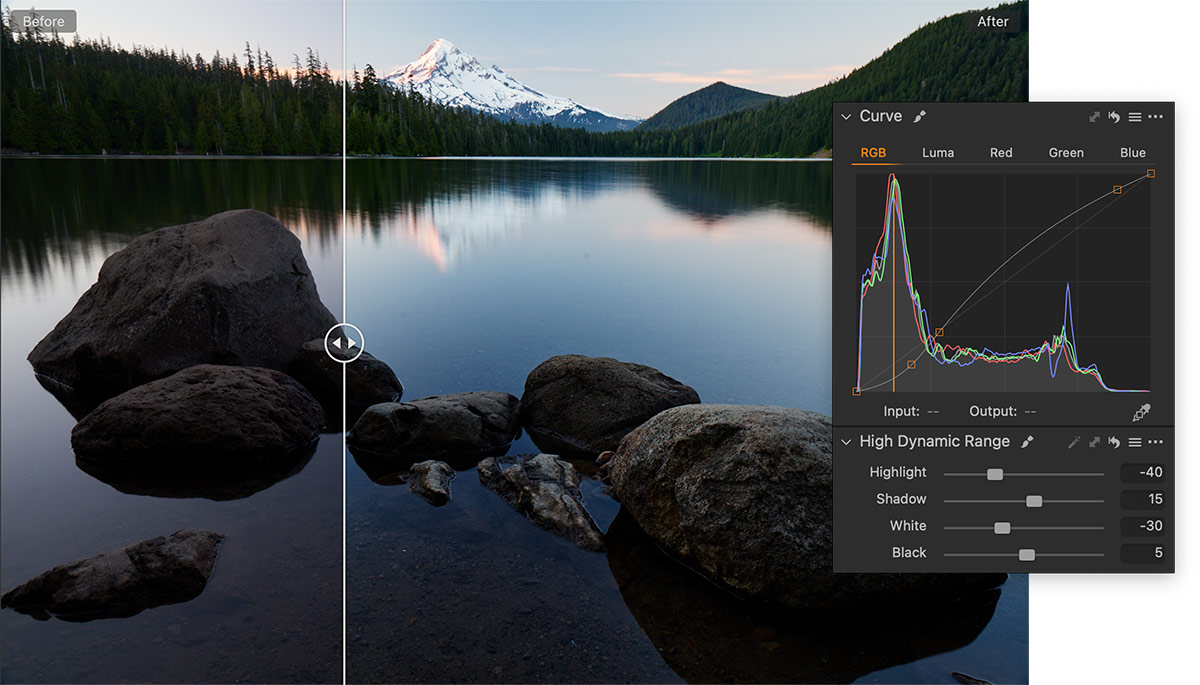
However, such subtle adjustments may be barely noticeable on a landscape.
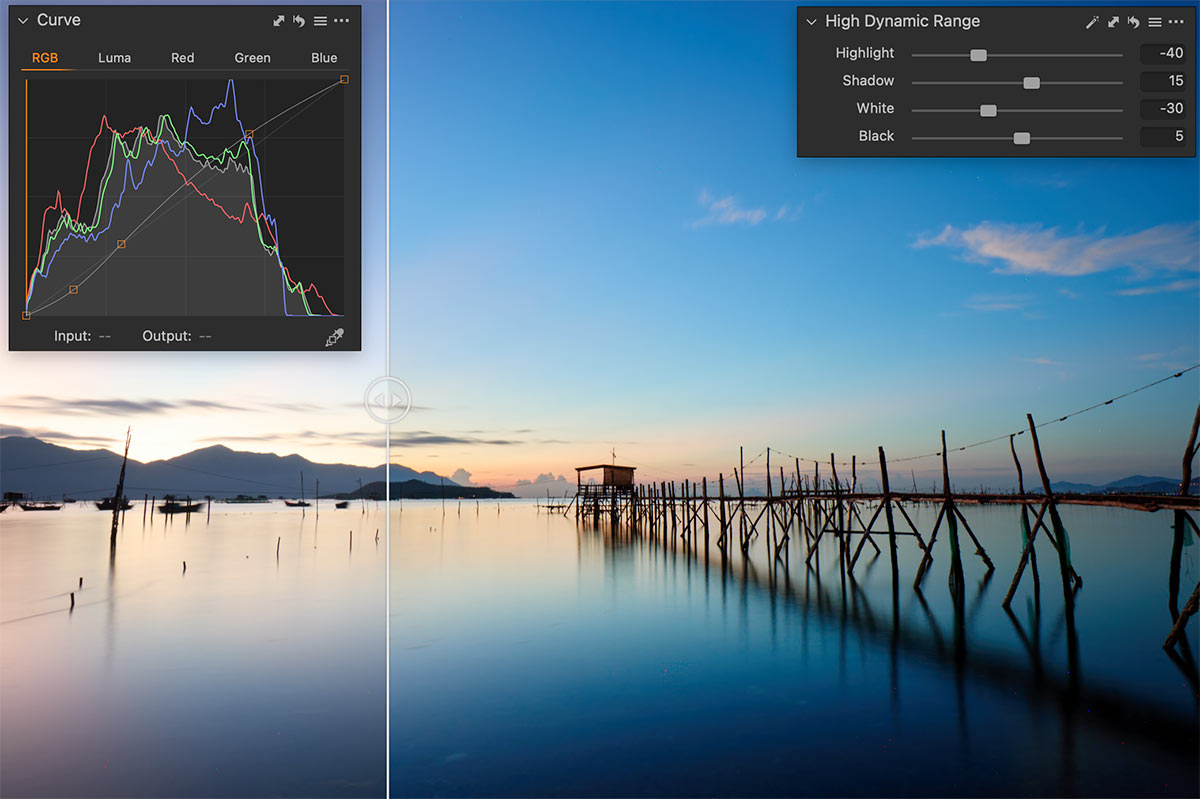
That’s why I prefer the Strong approach for landscapes, with more aggressive Curve and HDR adjustments. Here are my settings for the Kodak Portra 400VC v1style:
Achieving Authentic Film Colors
Here are my three go-to tools for color grading:
- Color Channel Curves for primary color grading
- Advanced Color Editor for selective color correction
- Color Balance for additional color grading
I have seen some Capture One tutorials recommending Red, Green, and Blue Levels Channels for color grading – I think this is an extremely bad idea. Color Channels Levels is a tool for technical color correction, not artistic color grading. Also, if you’re using black and white points in Levels, such adjustments are unsuitable for batch editing because every image is different, and applying the same Levels adjustments will cause you to lose valuable data.
Let’s take this image and see how we can make it look more film-like:
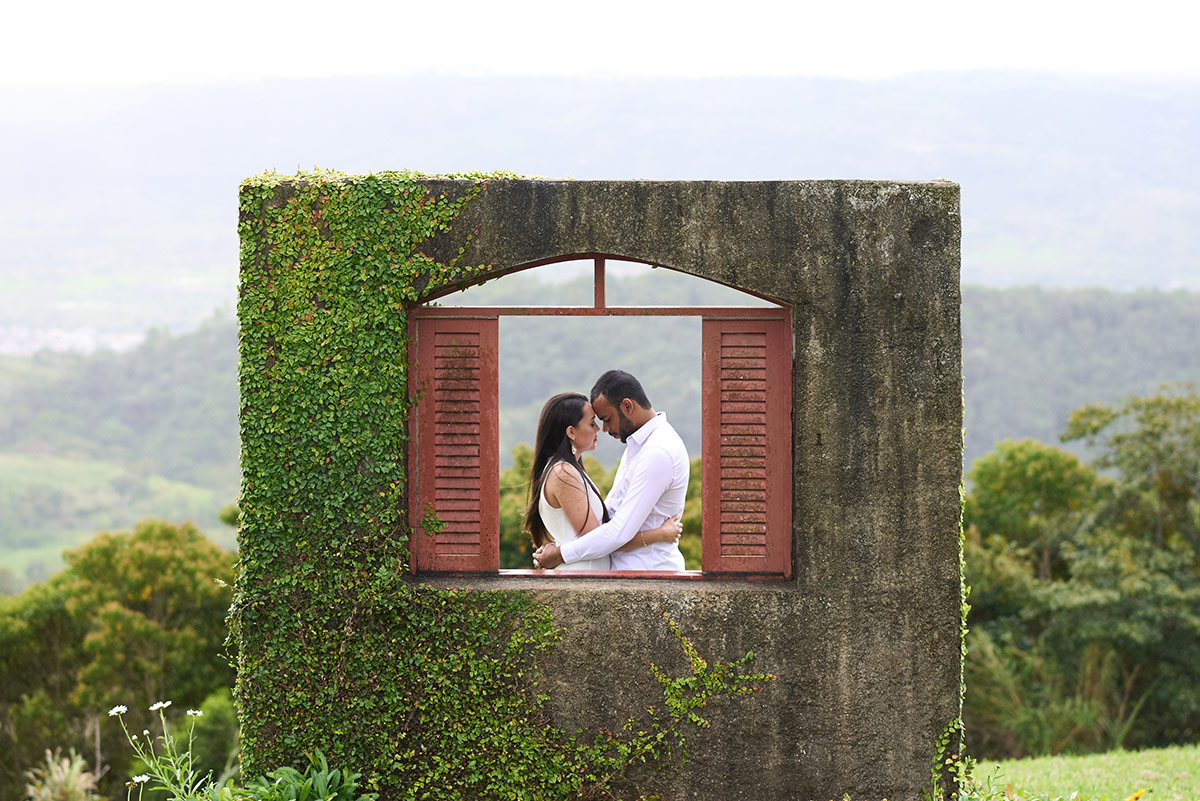
I’m going to use settings from my Kodak Portra 160VC v2 style.
The general color grading is built with Color Channel Curves correction, focused on reducing Red in shadows and increasing it in mid-highlights:
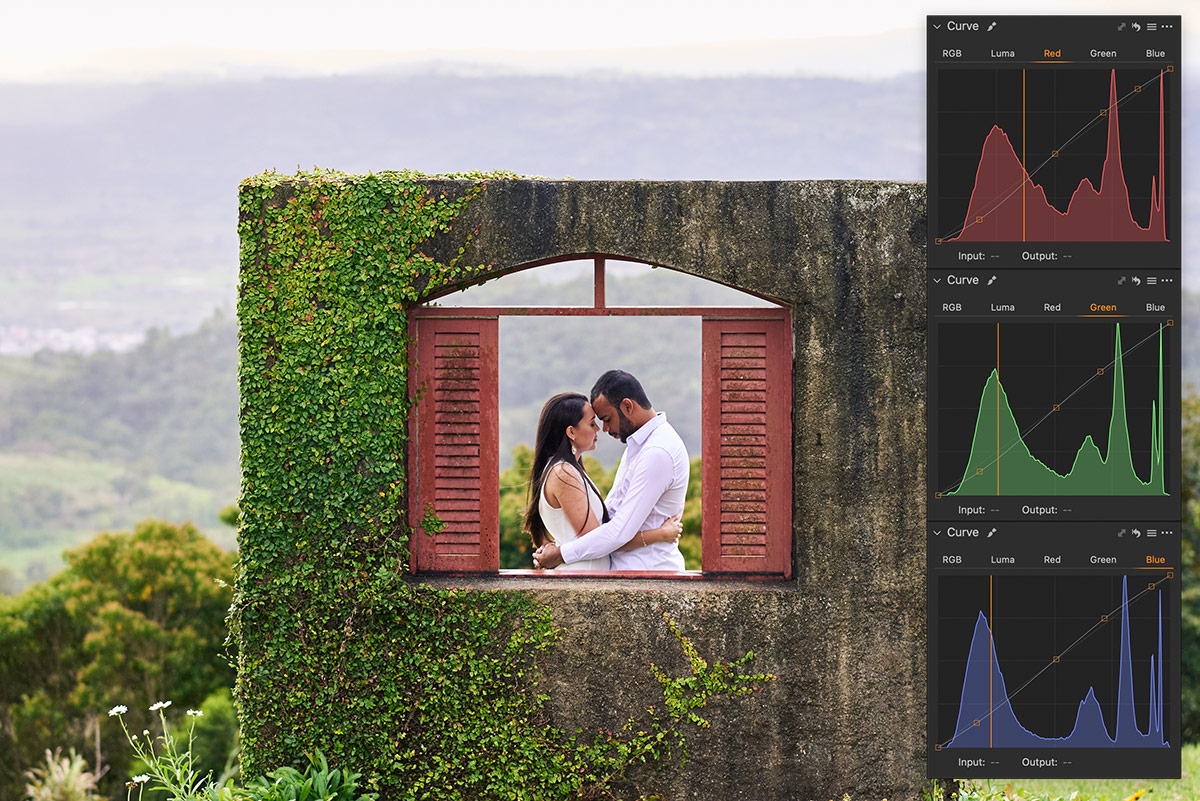
Next, we’re going to make colors look deeper by adjusting the saturation and lightness of every color a bit differently.
As you can see, the correction only slightly affects the skin colors, but has a much more noticeable effect on the greens:

Applying Film Looks in Layers
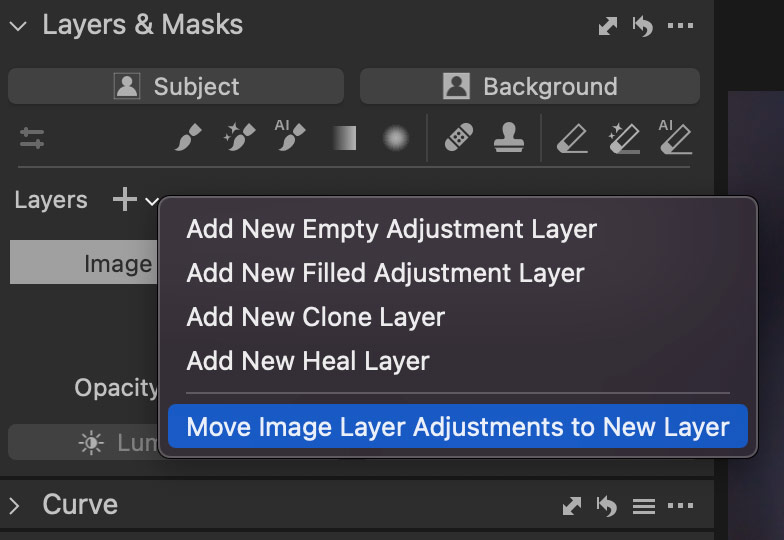
Finally, to get full control over your film look, you need to work with adjustments in layers. If you have already adjusted your image, you can easily move all your corrections to a new layer:
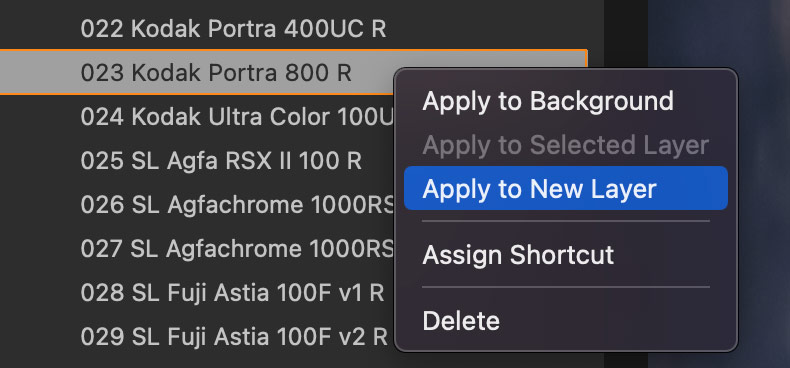
To apply a style to a new layer, simply right-click on it and select Apply to New Layer:
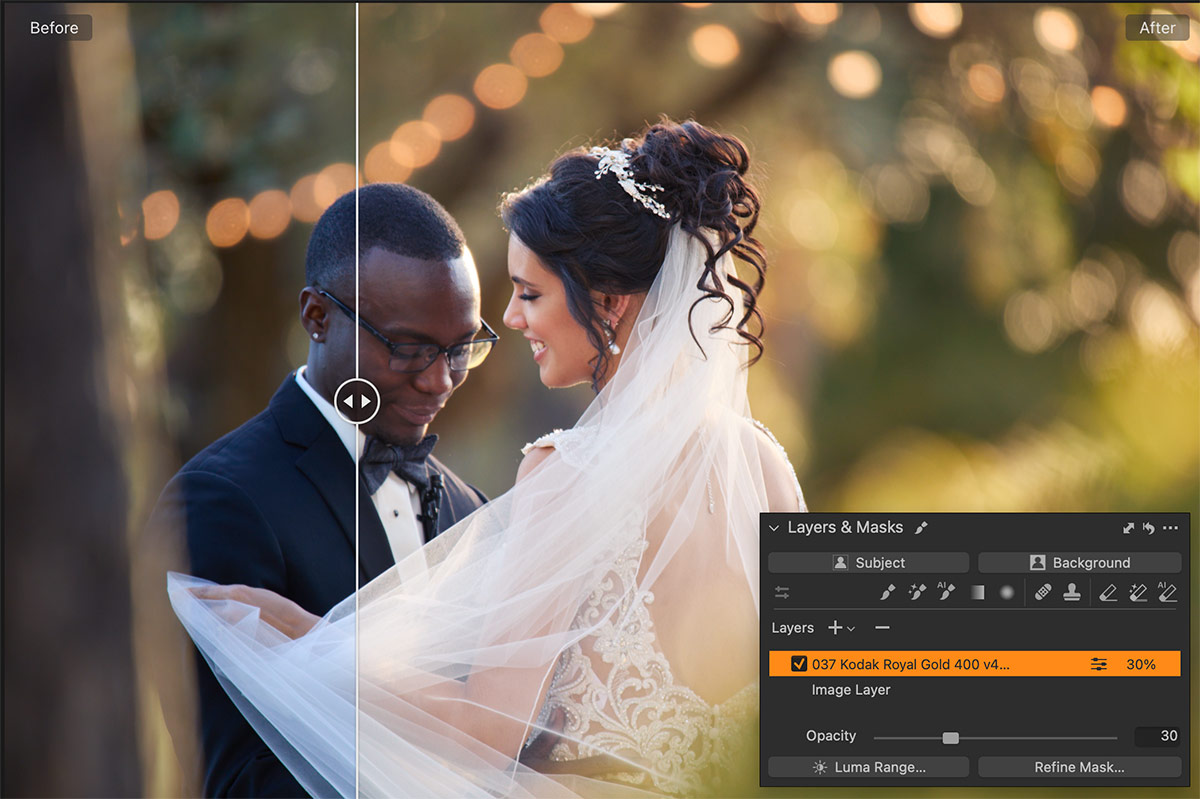
For instance, the Kodak Royal Gold 400 v4 Winter style seems too strong for such an image:
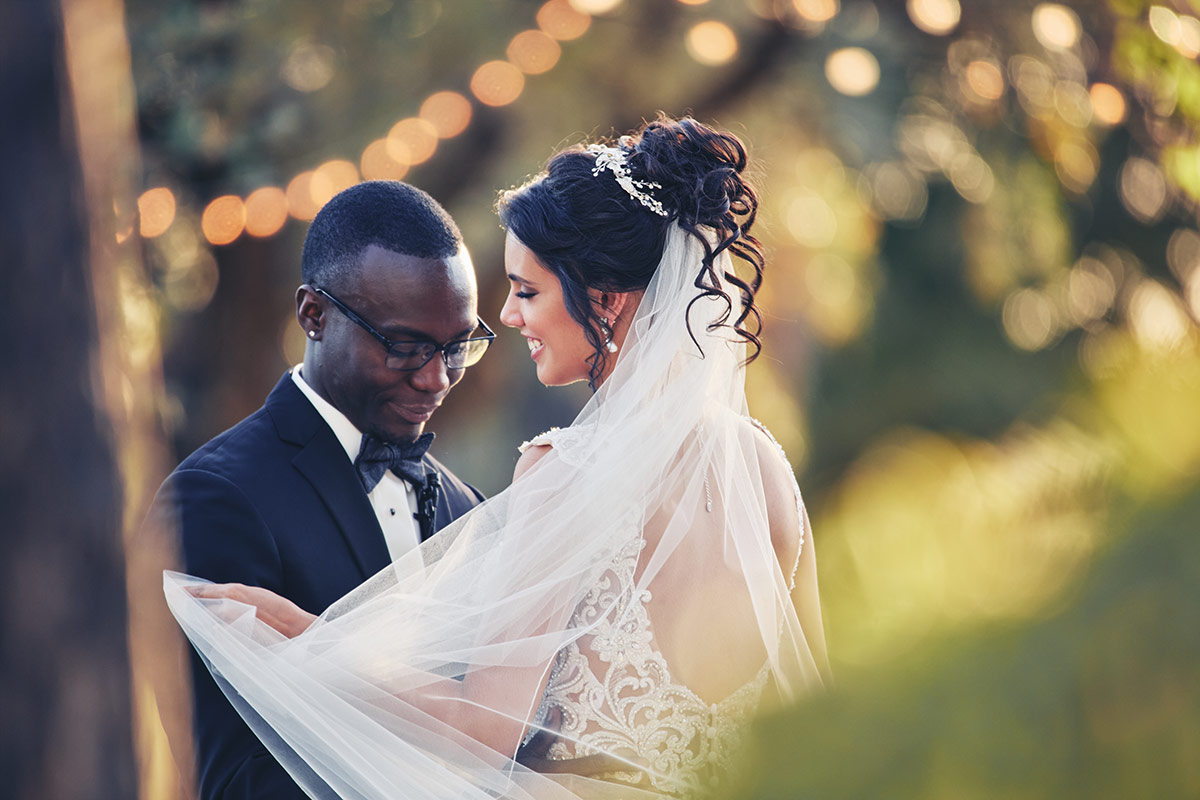 So, I’m going to apply it to a new layer and set Opacity to 30% to get a more balanced look:
Next week, I’ll show you how to get the maximum out of the film styles and layers. You’ll learn how to:
- Combine with gradients and AI masks
- Get full control with layered styles
- Quickly compare styles
So stay tuned!
All images by SignatureEdits