Levels is a fantastic tool of Capture One. If you have some faded image, you can make it shine with just a couple of Levels adjustments. Like this:

Generally, there are three approaches to adjusting Levels in Capture One:
1. Rough correction
That’s the simplest way: move black point to the first set of pixels in the histogram and white point to the last set. Don’t clip the graph and you’re good. In most of the cases, this would be fine enough to fix a faded image.

2. Auto-correction
Auto Levels works similarly – it automatically adjusts points to the beginning and end of the graph. In Capture One preferences you can set clipping thresholds, to make sure that auto-correction will not screw up your editing.

Another excellent use case for Auto Levels is color channel correction. For some images, you can easily remove color cast only by setting color channel levels:

Auto adjustments fit perfectly here because manually you’ll most probably mess with color.
3. Pro Adjustments
For most of the images, Rough and Auto corrections work fine.
However, sometimes, you might find an image where these methods fail. You’re setting the points correctly according to the histogram, but the result is awful. Why?
Rough and Auto adjustments have the same disadvantage – they entirely rely on a histogram. The problem is that histogram itself has nothing to do with the value of your image. There are no “good” or “bad” histograms; everything depends on a particular image. Thus, sometimes, you need to set Levels according to the image plot instead of the histogram.
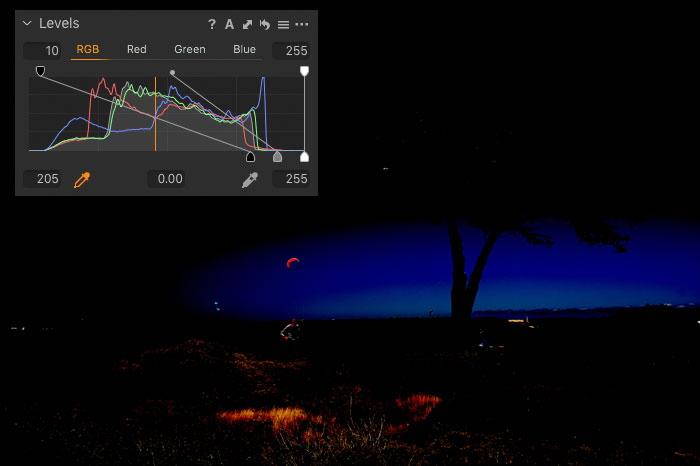
Let’s take this image and try to set the correct black and white points here.

Levels tool in Capture One has a handy feature for this – eyedroppers.
Using eyedroppers, you can set black and white points just by clicking on an image:

Unfortunately, to do this, you need to know where the darkest and brightest areas are. The good news is that you can use eyedroppers reversely to find them!
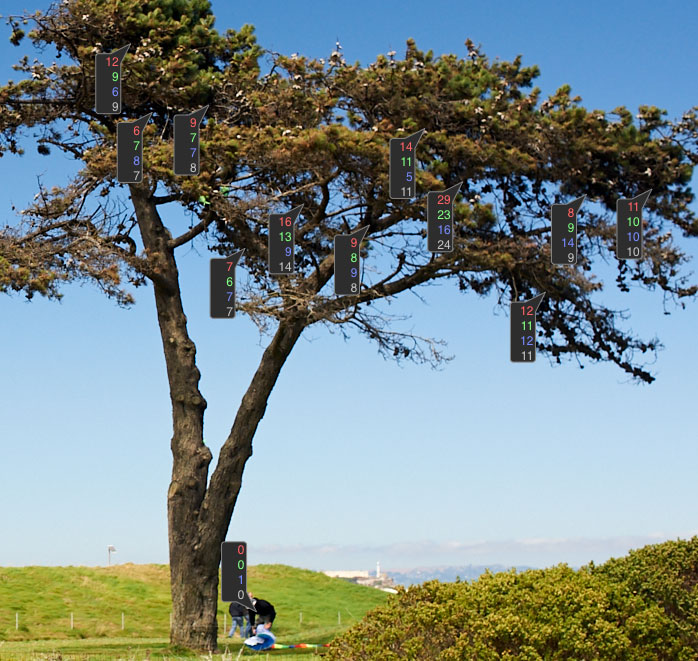
To find the darkest area, you need to select the white eyedropper and pick some dark place on your image.
The picture looks a bit scary now, but it merely shows that there are areas darker than you have clicked on.
Now, the most crucial part: you need to figure out which of them are plot significant and which are not.
For instance, here we have a man in a black hoody:
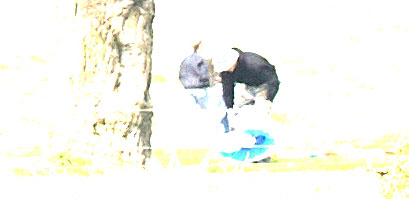
Is it the darkest spot on the image? Yes.
Is it plot-significant? Absolutely not!
But if you would set levels according to histogram – the black point will take account of this black hoody. At the same time, what you really need to worry about are the tree’ shadows. They take up a noticeable amount of space on the image, and it’s better to preserve some details there.
So, we have figured out where to set the black point.
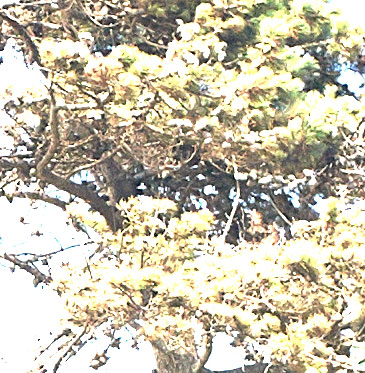
To find the brightest area, we’re choosing the black eyedropper and are clicking on some bright place. The same creepy image appears:
This time it shows, that we have three brightest objects on the image: bushes in the foreground, a building somewhere far away and a paraglider.

The building is obviously not a plot-significant thing. What about the paraglider? The problem with the paraglider is that it has a reflected light. It’s pointless to set your white point according to reflected light areas – it’s always pure white.
So, we have only one option left – the bushes. Now, let’s set the final black and white points:

Looks good!
Although it’s important to understand, that in most of the cases you don’t need to go this deep with setting black and white points.
For a majority of images, you can get a perfect result with rough or auto Levels.
But if you would find some tough image to edit – now you know what to do with it!
Capture One Hidden Features eBook

Capture One Hidden Features is a collection of more than 200 pro hints to improve your Capture One workflow, structured into an easy-to-read book.
You can download four chapters from the Capture One Hidden Features ebook free of charge:
- 3. Must-Have Shortcuts
- 14. Hidden Features of Layers
- 27. The Power of Mask Inversion
- 38. Automation with Macros
Simply subscribe to the AlexOnRAW newsletter by entering your email in the form below. After subscribing to the newsletter, you’ll immediately receive the four chapters from the book. Also, you’ll regularly get a friendly newsletter with free Capture One tutorials, image editing tips and tricks, and news from Capture One community.
Start Watching Capture One Course Free of Charge
To learn more about working with Levels and Curves in Capture One, have a look at my Capture One course. You can watch the full lesson on color grading free of charge!