

Here is the final part of my tutorial on working with color schemes in Capture One!
In the first part, we’ve practiced applying analogous color schemes.
The second part was all about complementary colors.
Now, it’s time to discuss additional color schemes that can enhance your editing in Capture One!

Additional Color Schemes in Capture One
As you know, in this tutorial, we focus on the practice of working with color schemes in Capture One. However, if you wish to go deeper into the color theory, I can recommend you a couple of readings:
- In the article The Art and Science of Photography: Color Theory, Brent Daniel has done great work on compiling modern approaches to the color theory for photographers.
- To learn more about the science of color schemes, I highly recommend you to read Christel Chamaret’s work “Color Harmony: experimental and computational modeling. (2016)” (available as PDF here)
These two readings will give you a better understanding of the theory behind this tutorial. Now, let’s get back to the practice!
Triadic Color Scheme

There are various approaches to classifying triadic colors. I’ll stick to the standard definition of three colors that are evenly spaced on the color wheel. But again, don’t go crazy with the theory. Real-life photography is bigger than that.
Here is a nice image to experiment with triadic colors:
BTW, the RAW file of this image is available in my 100 RAWs for Image Editing Practice set.
We already have the first color from the triad – the skin tone:

It makes little sense to change skin tone radically; most likely, we’ll lose the natural look here.
The second noticeable color is the blue on the jeans. With such objects, we have way more freedom for color grading. We’ll adjust the hue of the jeans to fit the triadic scheme better. Now, the color of the jeans is closer to this color range:
Also, it makes sense to reduce the blue color cast on the white shirt:
We have two components of the triadic scheme; now, we need to add the third color. It should be some green color, and fortunately, we have a gray background that we can easily color tone into it. We’re using Magic Brush to mask the wall quickly:
Now, we’re adjusting Color Balance to color tone it into green.

Done! The triadic colors make a nice harmony here!


Half Shell Color Scheme

Another useful color scheme is the Type T (Half Shell) from Matsuda’s color harmony model.
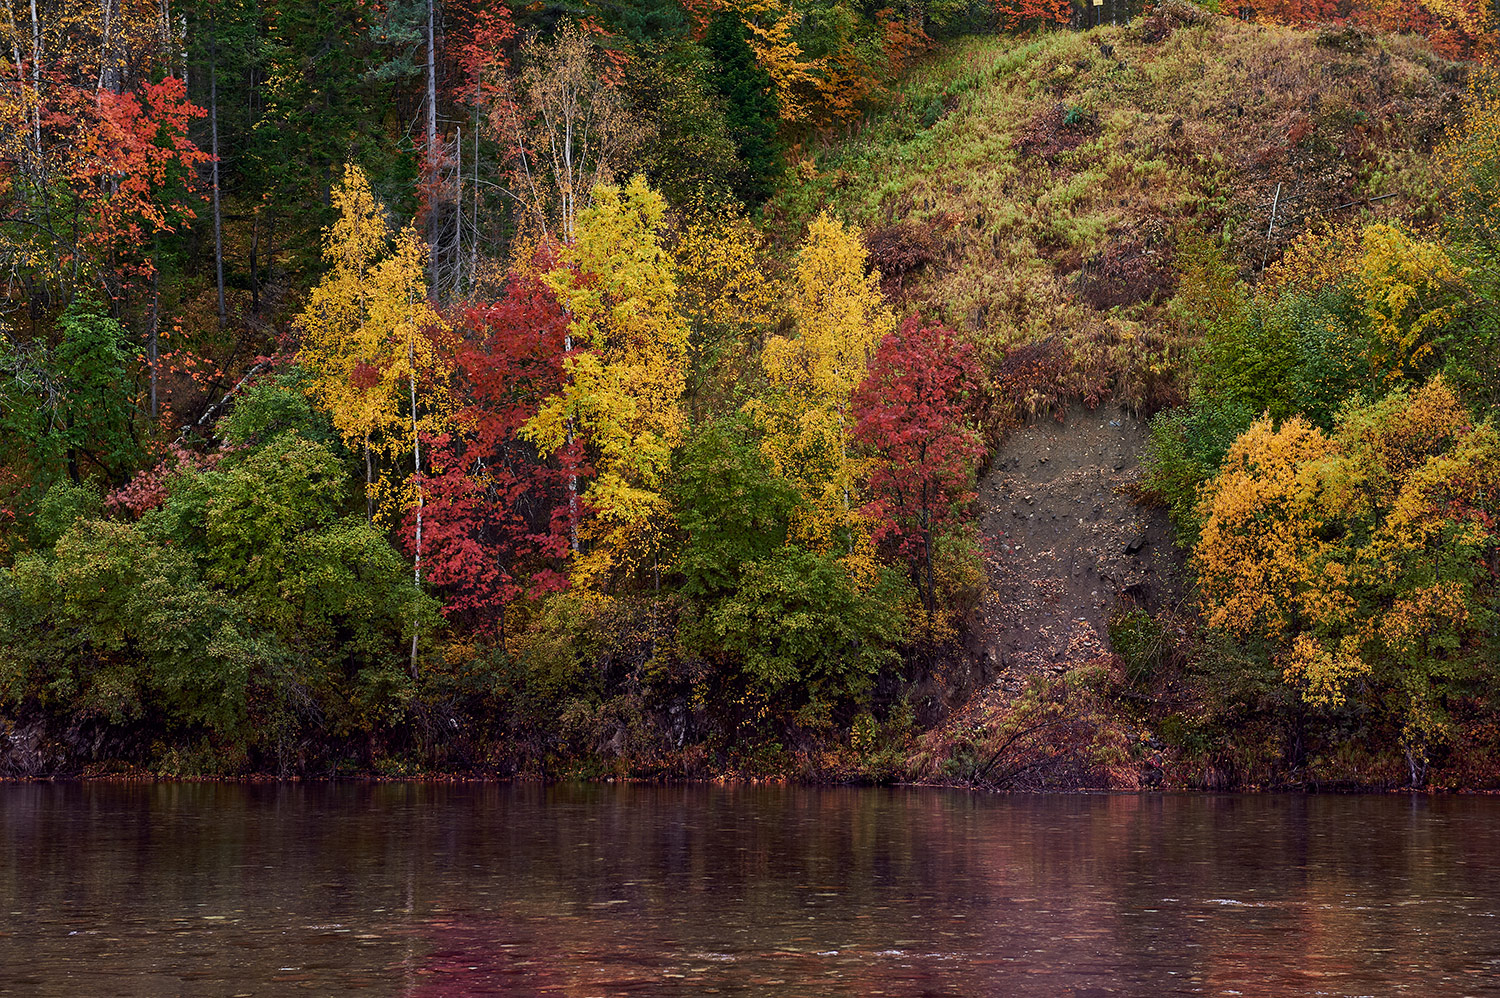
Take a look at this image:

This RAW is also available in my 100 RAWs for Image Editing Practice set.
Originally, it’s a natural example of analogous colors. All the colors here lay in this color range:
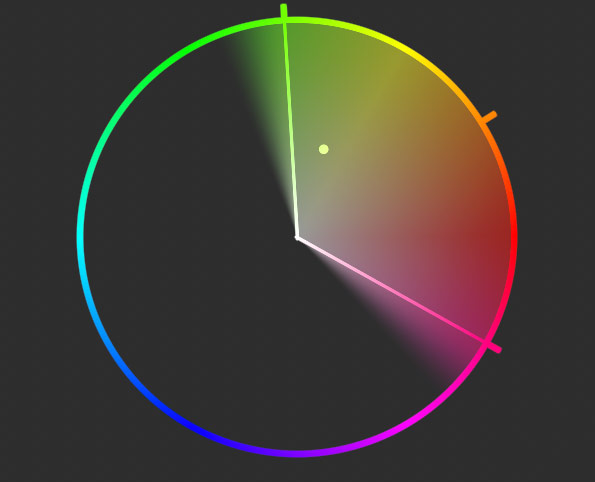
Let’s try to extend them to the Half Shell scheme. Basically, we only need to add some magenta colors.
I would like to preserve a natural look of the autumn forest here, so we’ll use a linear gradient in the bottom part of the image:
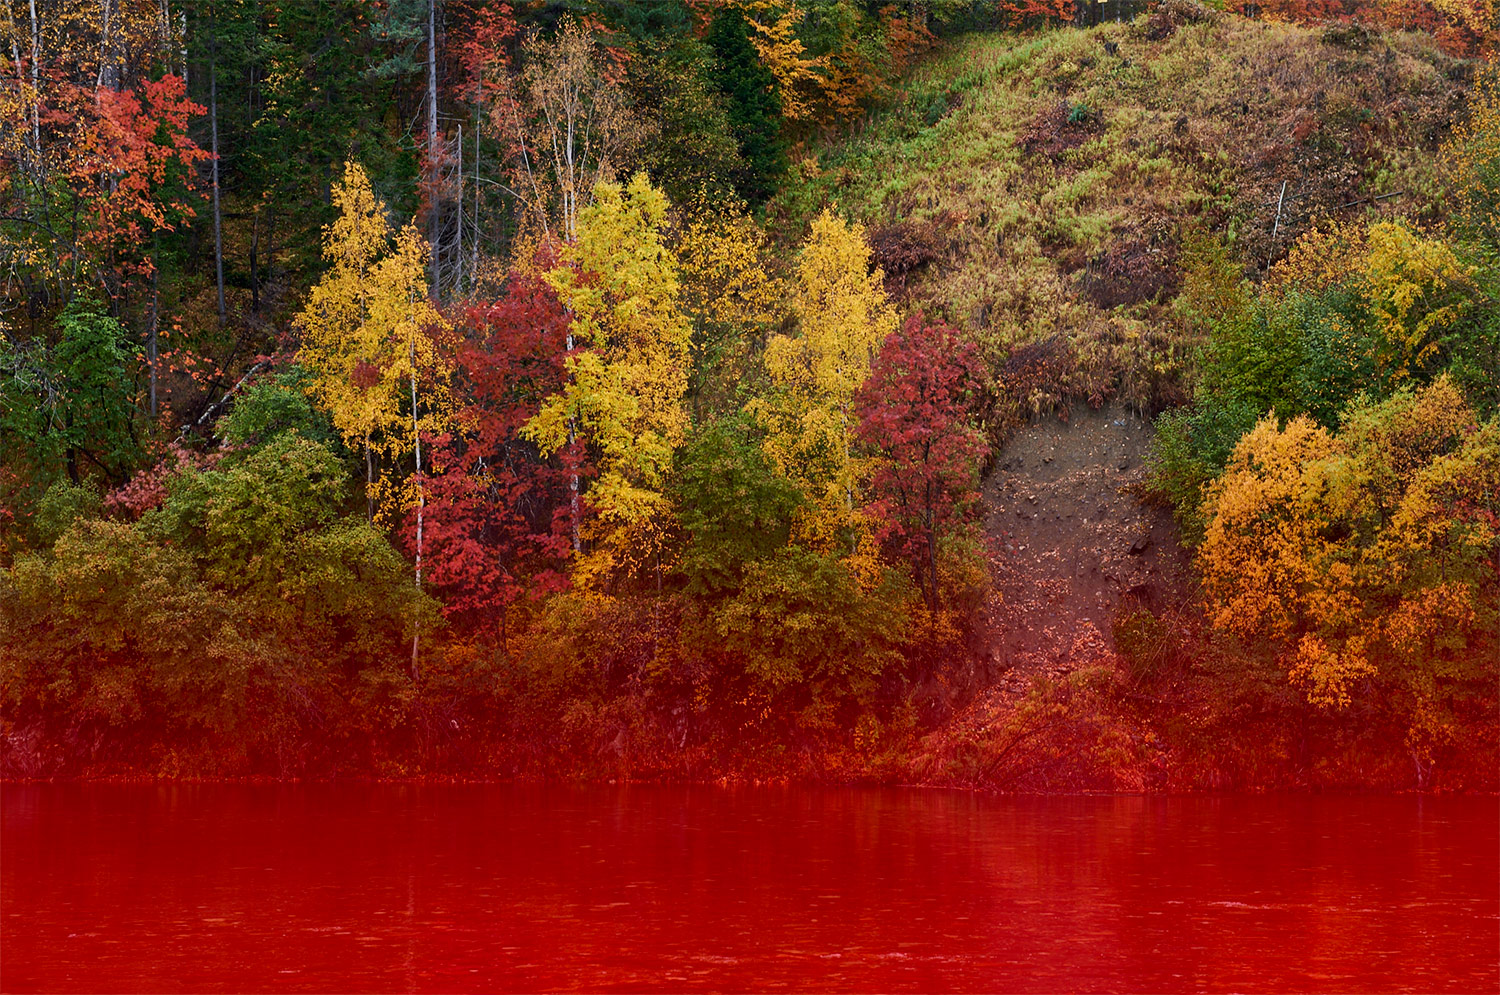
Now, we’re color toning this area into magenta with Color Balance:

I love how the Half Shell scheme enhances this image with a grain of mystery atmosphere!
P-type Color Scheme

I like this variation of the P-type color scheme presented by Przemyslaw Skurowski and Michal Kozielski in their work “Investigating human color harmony preferences using unsupervised machine learning”.
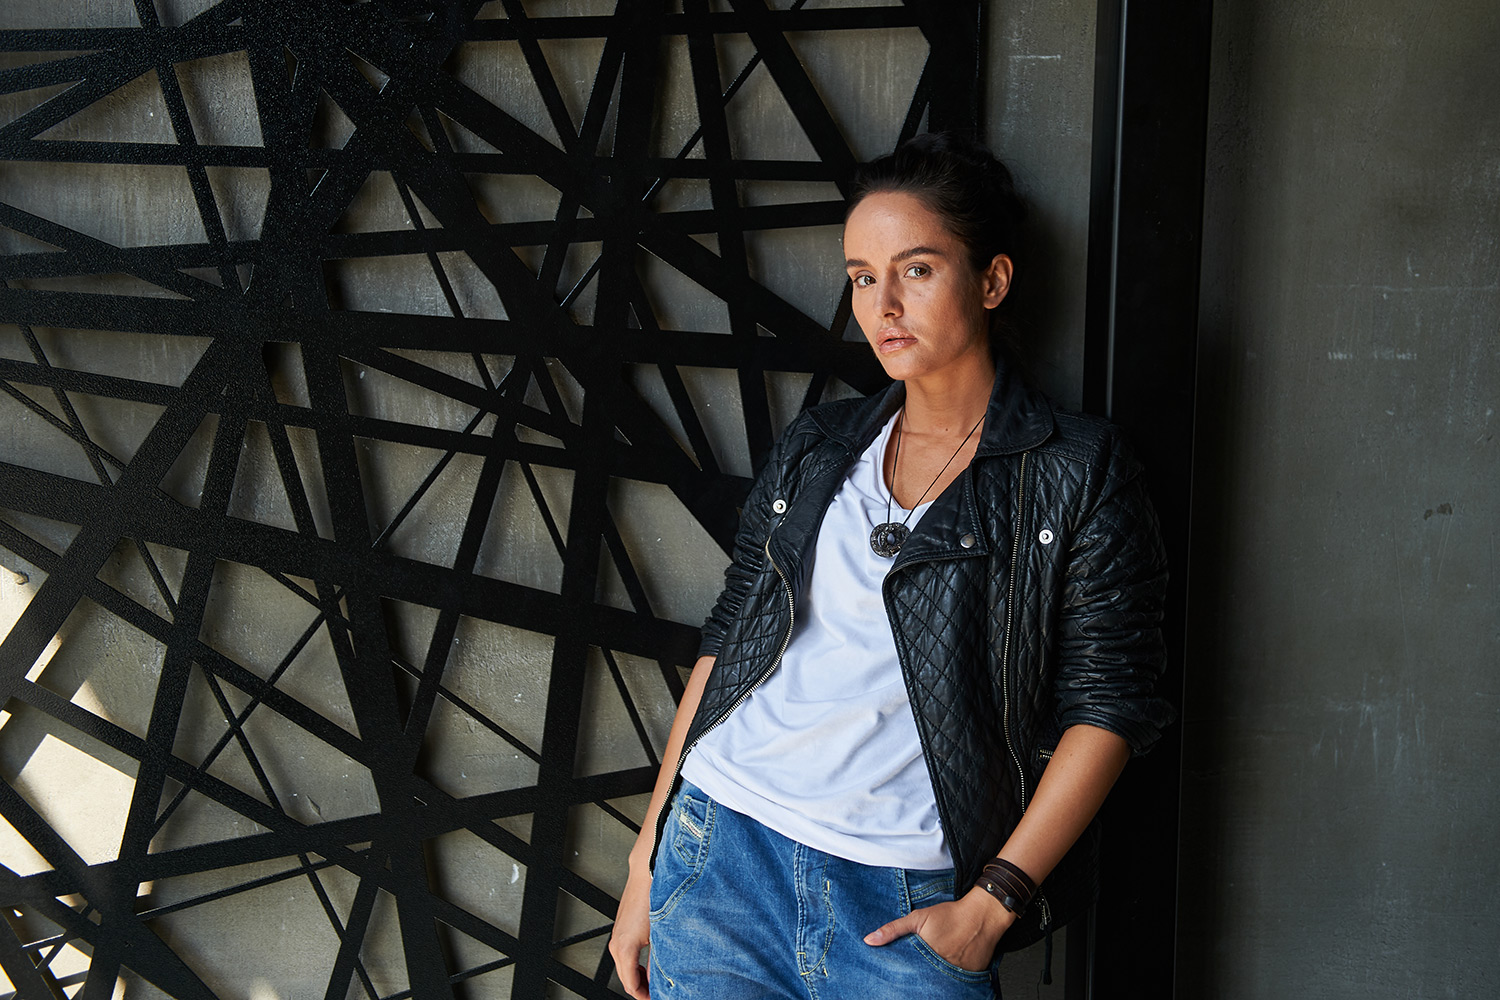
For instance, let’s take this image:

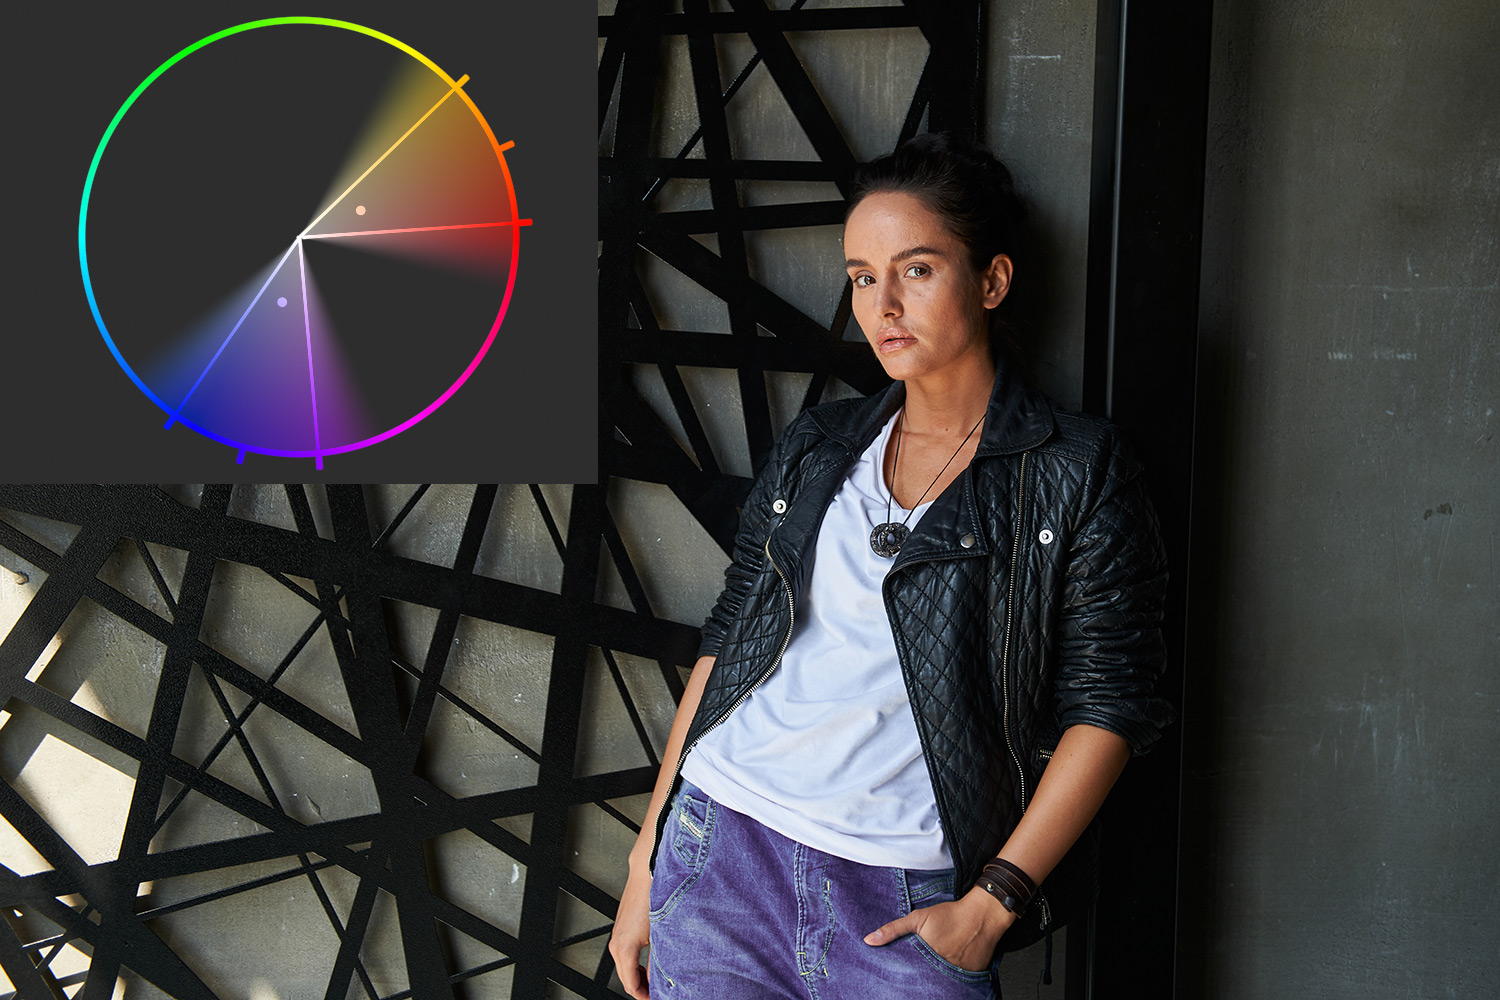
All the main colors here are located in this color range:

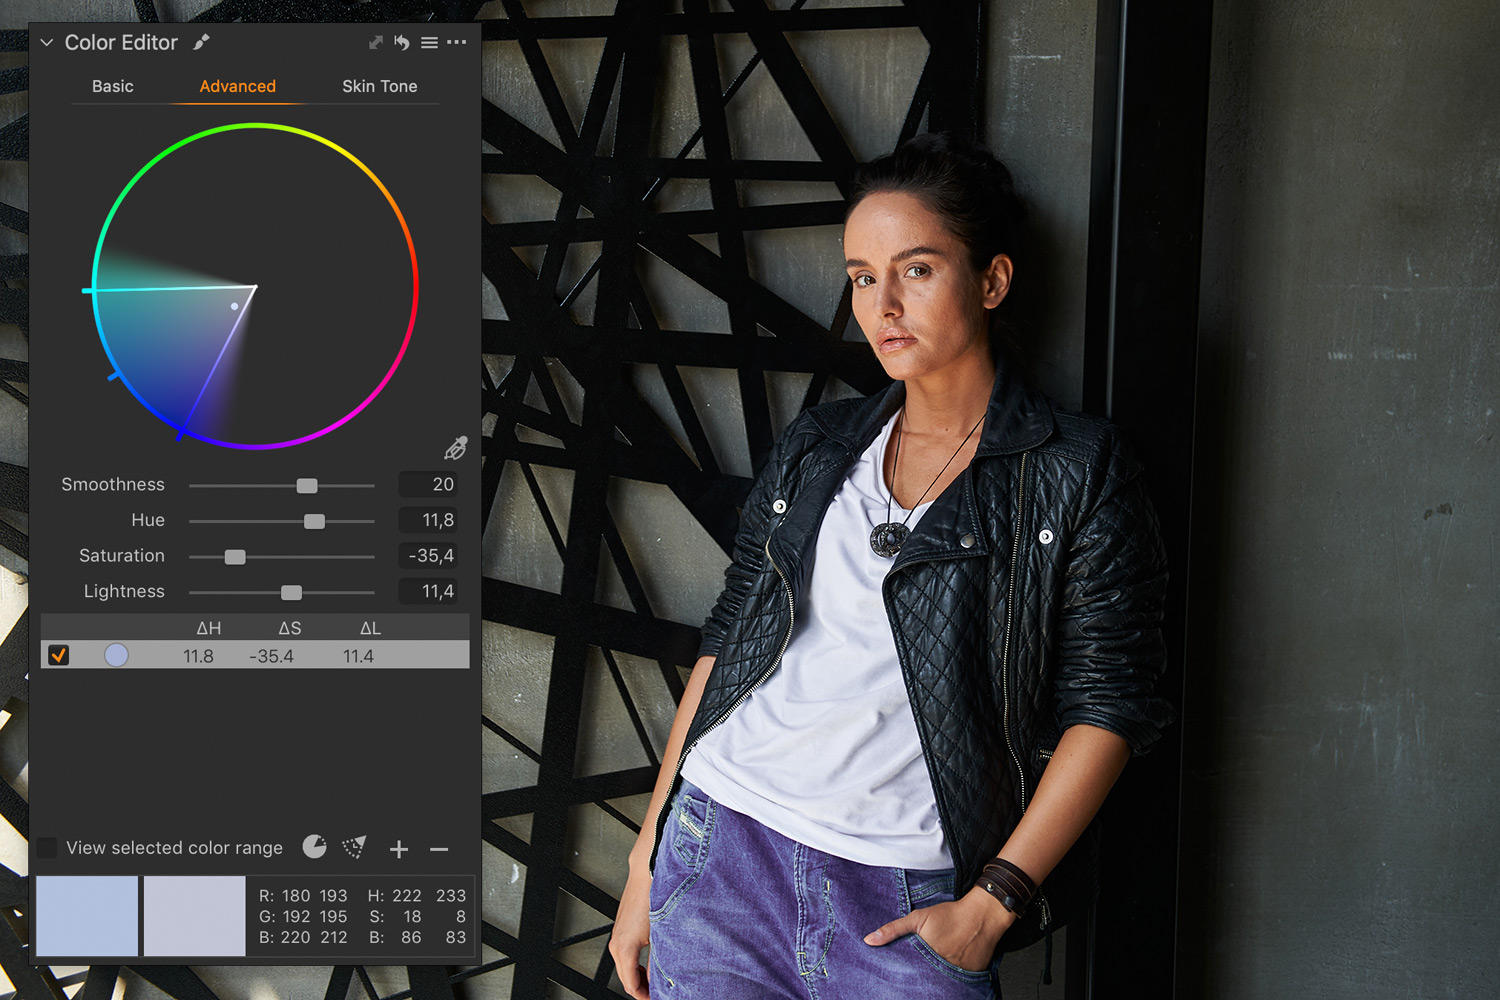
The only color that stands out is the blue color cast on the white clothing. We can easily eliminate it using Color Editor:

Next, we need to add a purple color to the image. As you can guess, the best candidate for color grading here is the gray earth. We’re creating a quick mask with Magic Brush:

Now, we have two options on how to color tone this area.
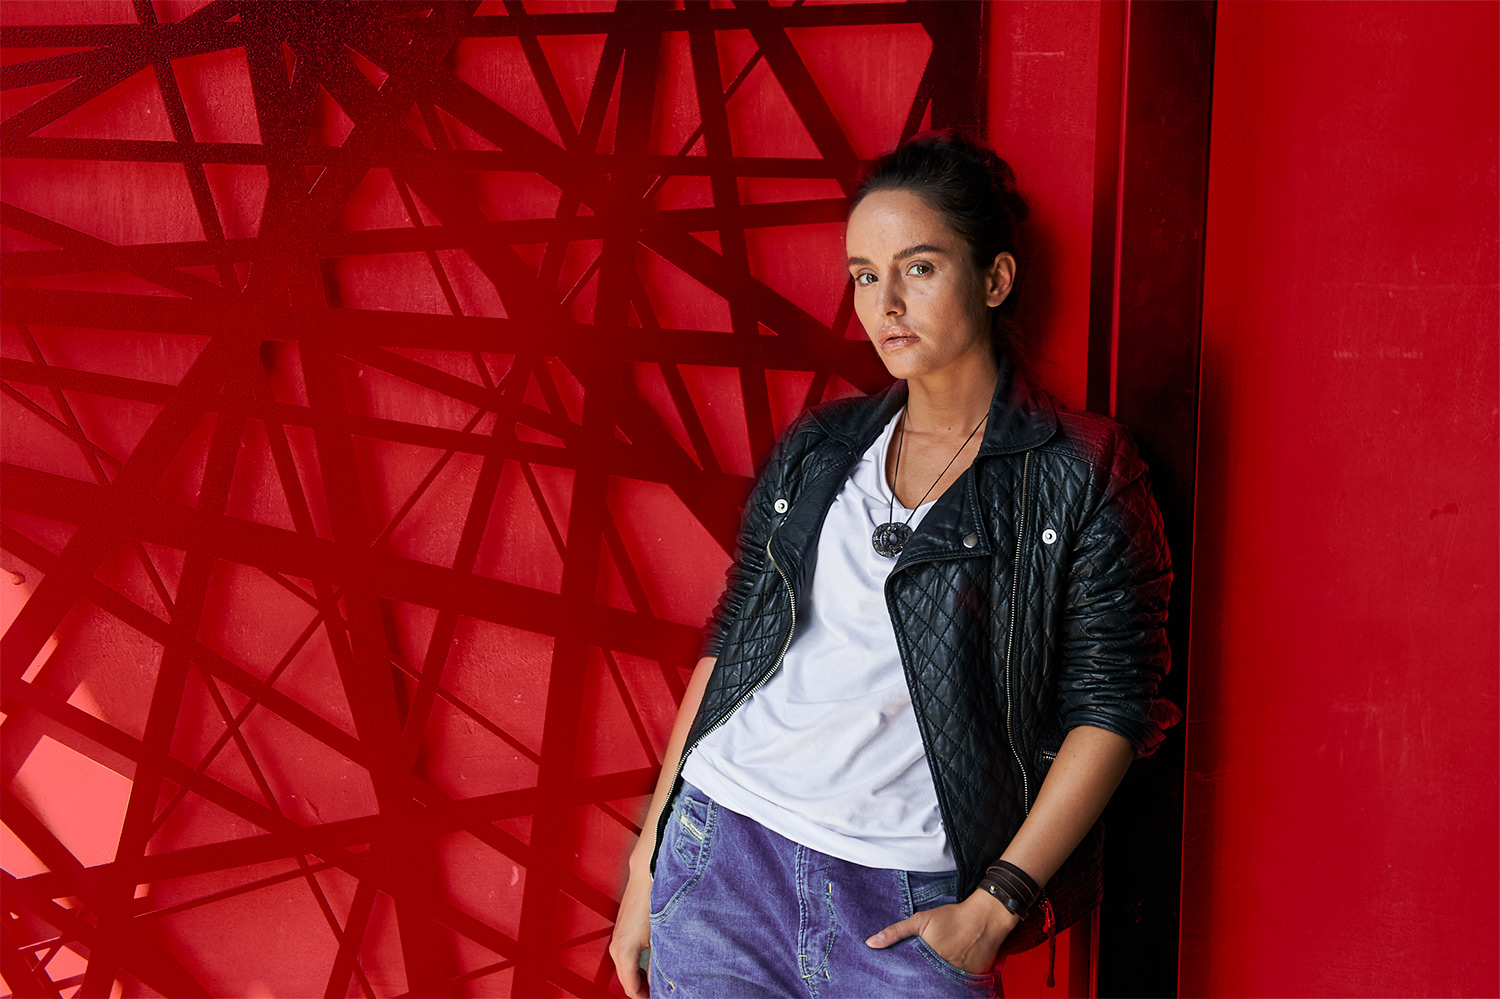
The most straightforward way is just to apply Color Balance correction:

Alternatively, we can modify Green Curve:

The advantage of Curve is that you can adjust saturation afterward for your preference. This will never work with Color Balance. In my article “Applying Capture One Tools in the Right Order”, I’ve explained this feature of Color Balance. The thing is that Capture One engine applies Color Balance on top of all the other tools; that’s why you can’t desaturate Color Balance correction.
For my $9+ patrons, I’ve compiled these three tutorials in a PDF mini-book. Become my $9+ patron, and you’ll get access to:

Capture One Hidden Features eBook

Capture One Hidden Features is a collection of more than 200 pro hints to improve your Capture One workflow, structured into an easy-to-read book.
You can download four chapters from the Capture One Hidden Features ebook free of charge:
- 3. Must-Have Shortcuts
- 14. Hidden Features of Layers
- 27. The Power of Mask Inversion
- 38. Automation with Macros
Simply subscribe to the AlexOnRAW newsletter by entering your email in the form below. After subscribing to the newsletter, you’ll immediately receive the four chapters from the book. Also, you’ll regularly get a friendly newsletter with free Capture One tutorials, image editing tips and tricks, and news from Capture One community.