

Today I begin a series of tutorials on working with color schemes in Capture One! We’ll see how to apply complementary, analogous, triadic, and other color schemes using Capture One tools.
The first part of the series is the one you’re reading now. Part II is all about complementary colors. In Part III, we will discuss additional color schemes that can enhance your editing in Capture One!
Working with Color Schemes in Capture One
The idea of color schemes is pretty simple:
Some combinations of colors work better than others. Using them, you can improve image perception and overall harmony.
Sounds great! Yet, everything becomes way more confusing and controversial when you try to find out precise color schemes to apply.
There are various theories around color harmonies and numerous researches: starting from the classical works of Johannes Itten to modern studies based on big data analyses. On top of that, technical differences between RGB and RYB (Y for Yellow) color models make everything even more complicated. Some of the photographers question the color scheme idea itself and its applicability to real-life photography.
I think some perceptional patterns exist. However, in this tutorial, we’ll not go into the color theory. Instead, we’ll talk about the practice of applying color harmonies in Capture One.
I believe in a rather simplified approach to color harmonies, far from the academic way. In my work, I use three types of color schemes:
1. Analogous in the very broad sense of the word.

I think it’s pretty pointless to focus on some precise types of analogous colors; it just doesn’t work this way in photography.
2. Complementary colors.

Again, I keep things simple and don’t go into the classification of complementary scheme types.
3. Additional color schemes

That include triadic colors and some schemes from modern researches.
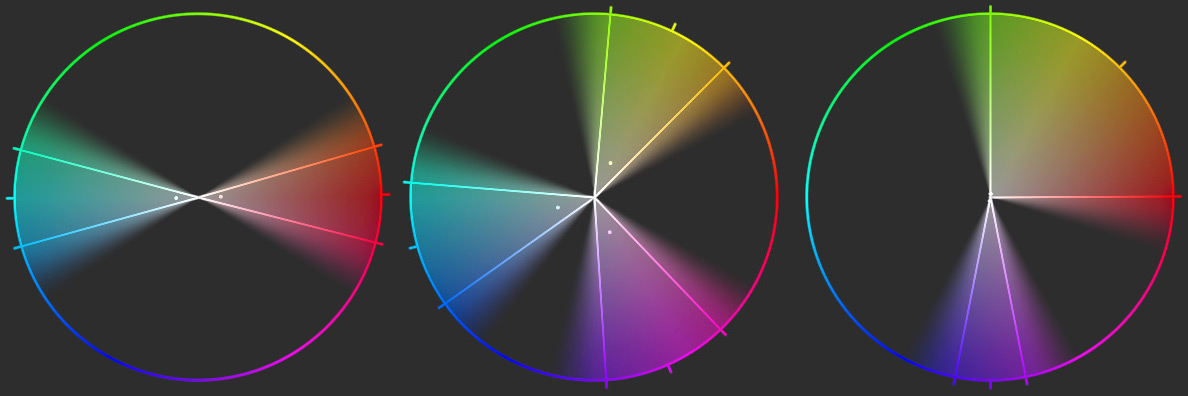
Don’t ask me how I’ve created double and triple color sectors in Capture One. That’s a secret plugin that I’m testing right now.
…
K-k. I’ve just photoshopped several color wheels together.
Now, let’s see how it works in practice!
Analogous color schemes
Analogous colors bring a calm and clear look to your images. They make it easier to focus on image details since there is no inner tension between colors on your photo.
In Capture One, you can achieve this effect using three methods:
- White Balance and Saturation adjustments
- Curves and Color Editor adjustments
- Color Editor Skin Tone adjustments
White Balance and Saturation
This is the most straightforward way to make colors on your image fit an analogous scheme. Let’s take this image for instance:

Basically, all the colors here are warm or cool. Thus, we need to either warm up cool colors or cool down warm parts of the image to apply an analogous scheme. I’ll go with warming since cooling will affect skin tone in the picture, making it look unnatural.
First, we’re creating a mask on everything except the warm areas:

Now, we’re increasing WB temperature, reducing Saturation, and making some mild HDR and Contrast adjustments. Done! We now have analogous colors on our image:

Keep in mind that real-life photography is far from an academic approach to color schemes. You don’t have to follow the very exact colors. Feel free to adjust the layer opacity to find the look that fits your image best:

Still, this method doesn’t work well with some images, making them look pretty flat. In this case, you can use the second method based on Curves and Color Editor adjustments.
Curves and Color Editor adjustments
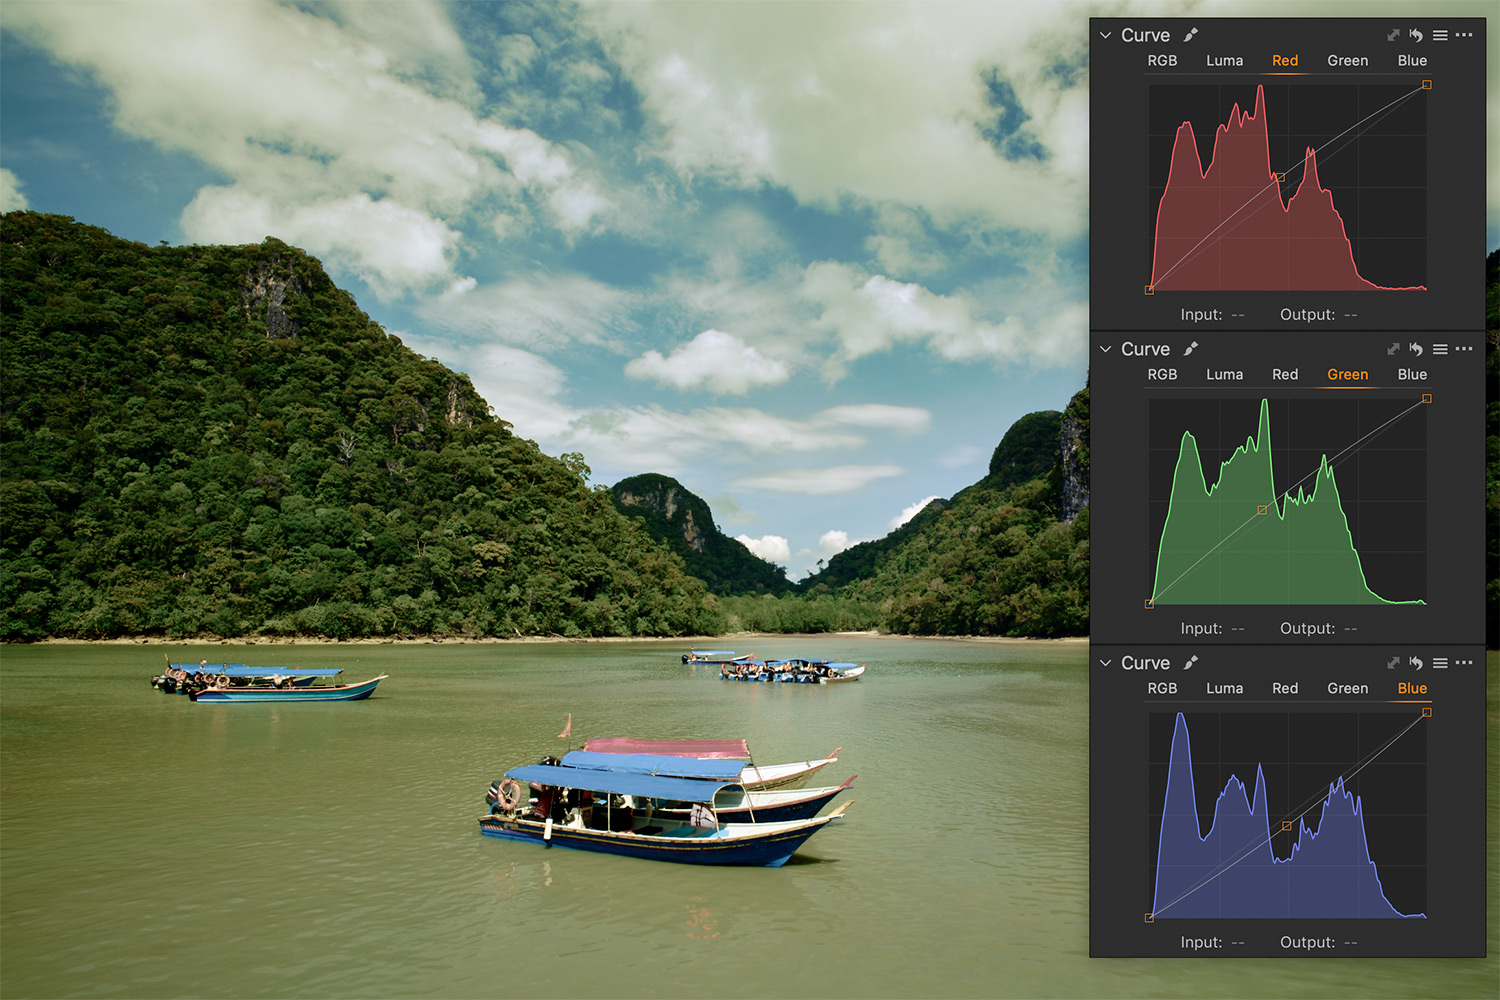
Here we’ll take this image:

BTW, the RAW file of this image is available in my 100 RAWs for Image Editing Practice set.
First of all, we need to even out saturation across the picture. The analogous look will not really work if you have high saturation contrast on your image.
That’s why we’re selecting the entire color wheel in the Skin Tone and uniforming saturation, according to some average value for this image.

The next step – color channel Curves. We’re selecting everything except for green colors and adjusting Curves to make the image look more greenish. Plus, we’re adding some regular HDR, Contrast, and Dehaze adjustments.
Now we need to balance a bit the brightness contrast on our image. We’re decreasing lightness and adjusting the hue of the blue colors on the photograph.
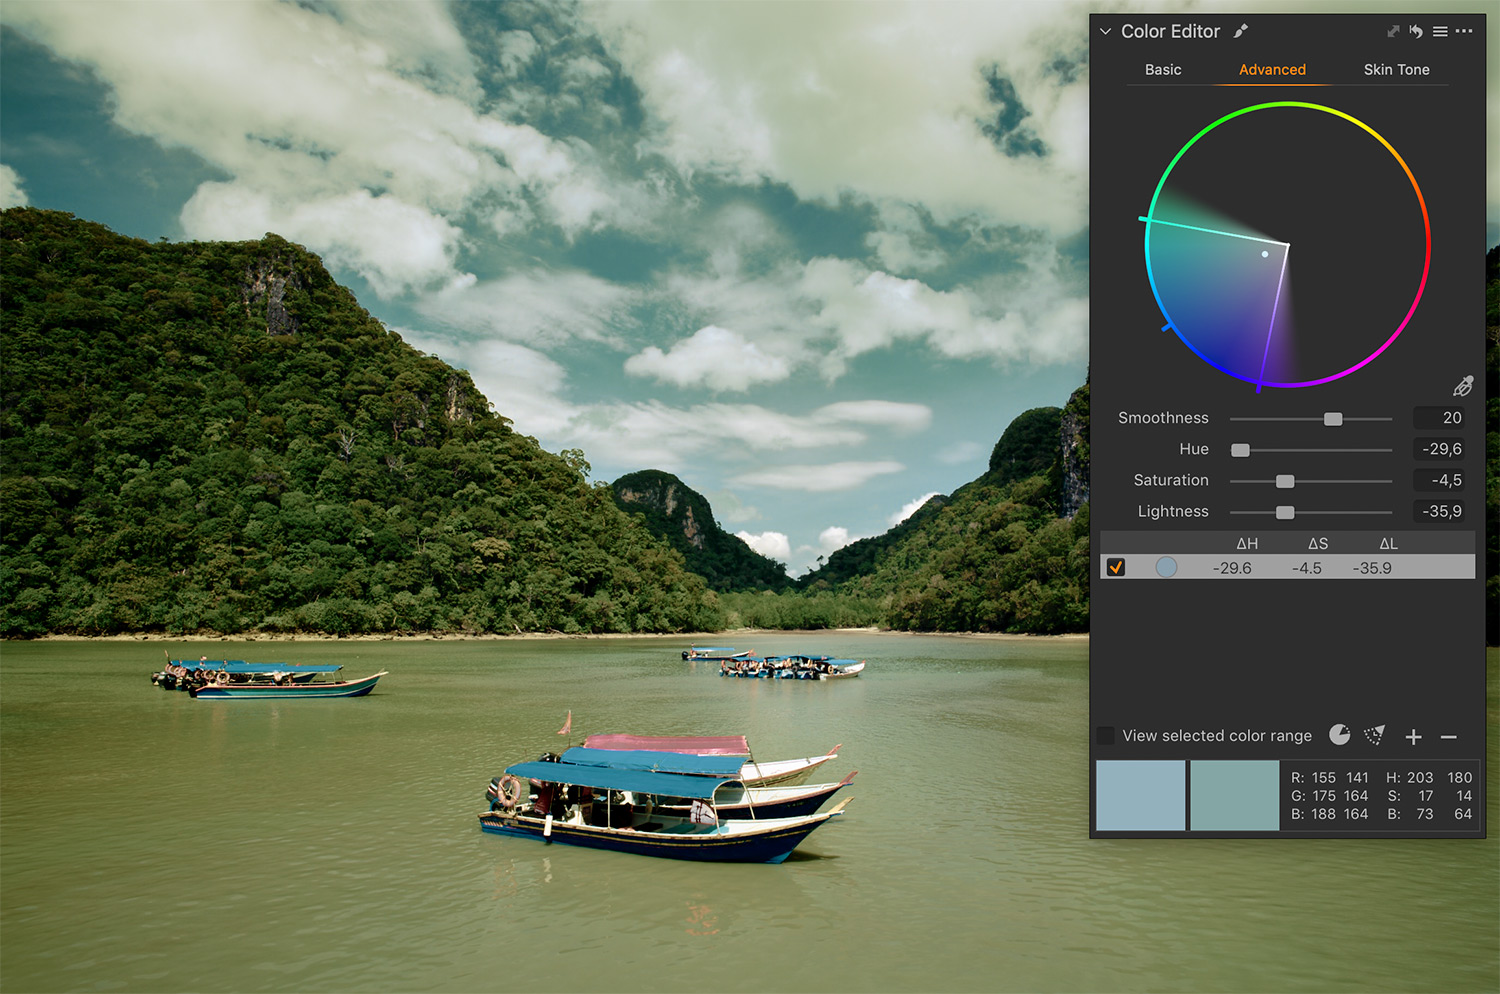
Most of our colors are now located in this color range:

Optionally, you can fine-tune boats to make their colors fit this range as well:

However, such a pursuit for an ideal color harmony goes against the nature of real-life photography. I think it’s more important to preserve a natural look than to fit some abstract color scheme guidelines.

Color Editor Skin Tone adjustments
Apart from the supplementary role, Color Editor Skin Tone can act as the primary tool for applying analogous colors in Capture One.
Let’s take this image:
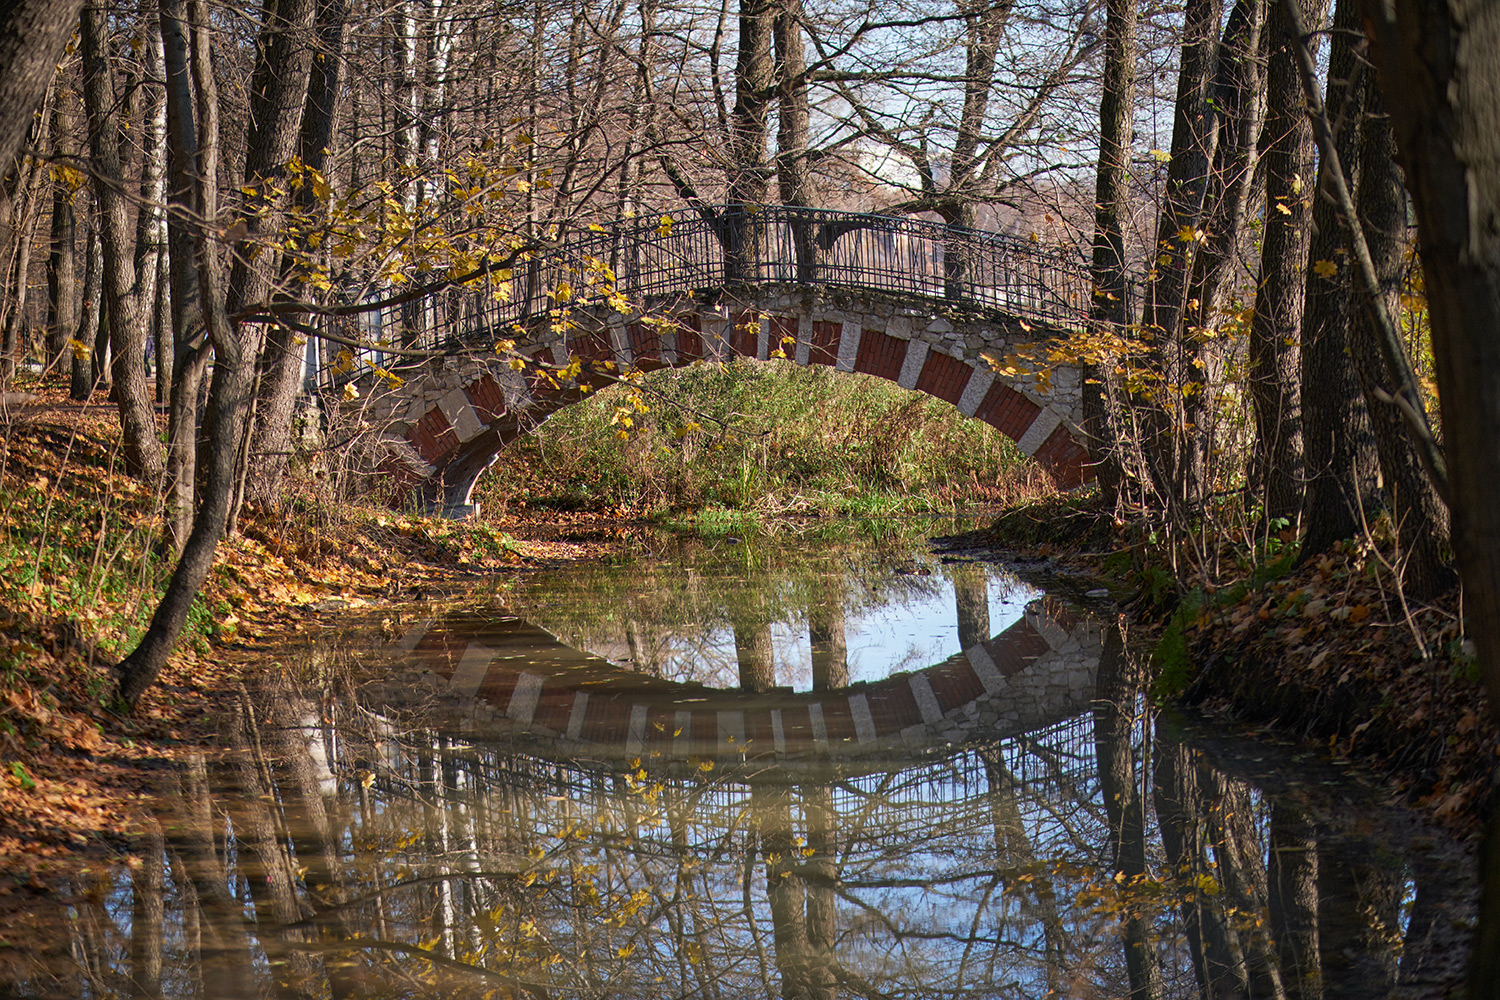
Our first step is to even out saturation across the image:

Next, we’re uniforming hue of all the colors:

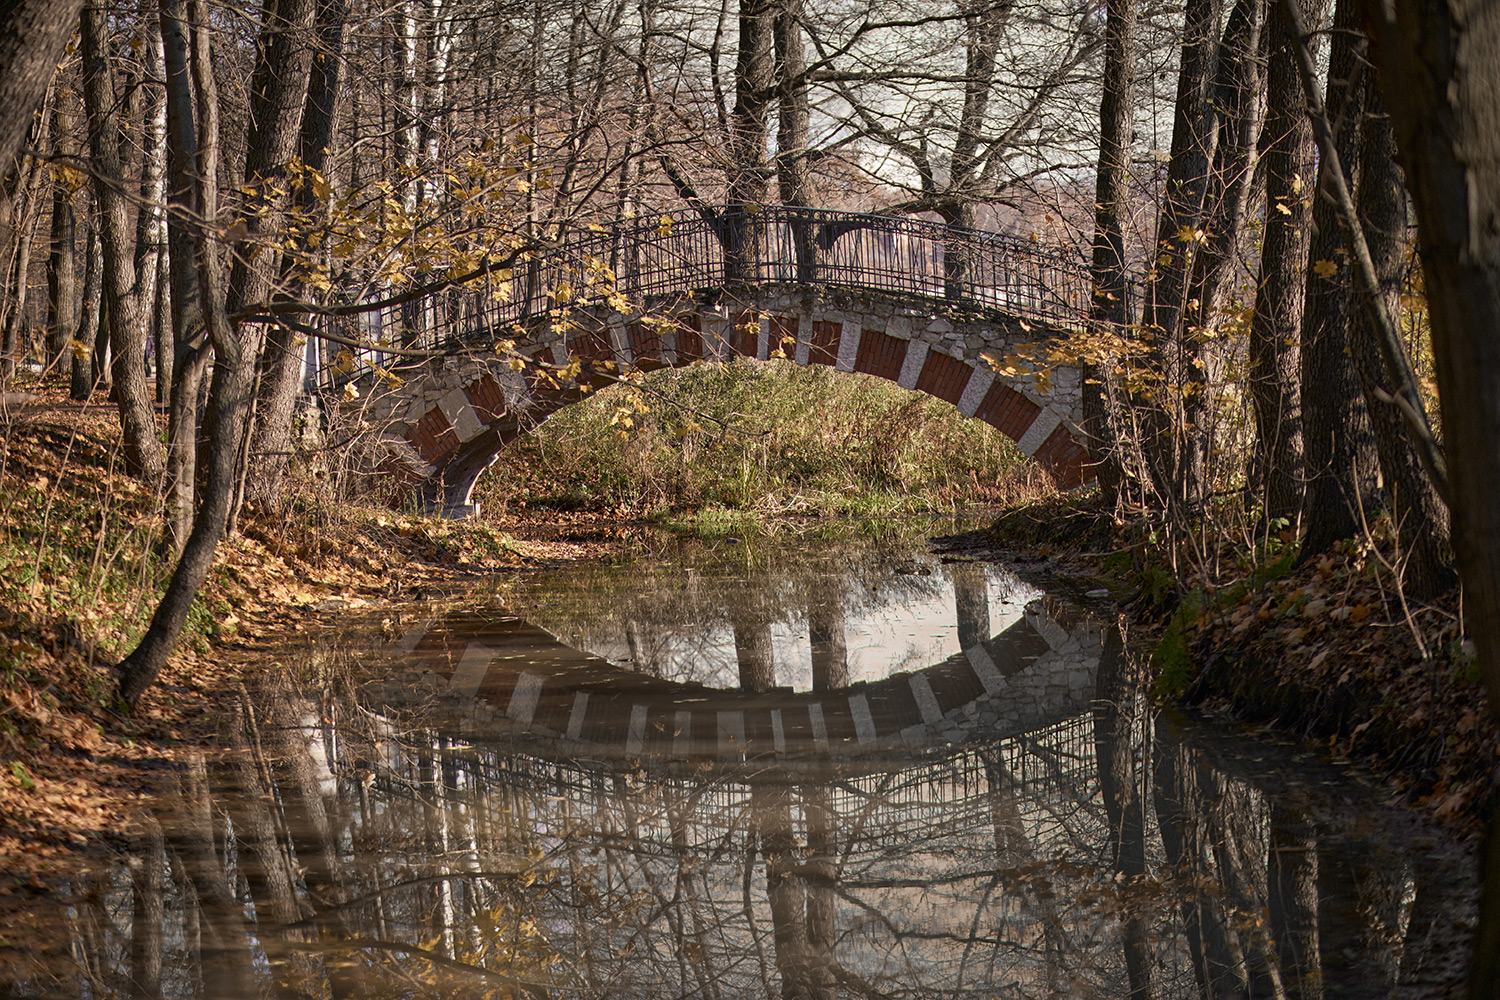
Finally, we’re uniforming hue and saturation of sky and water here. Additionally, we’re decreasing lightness and saturation a bit.
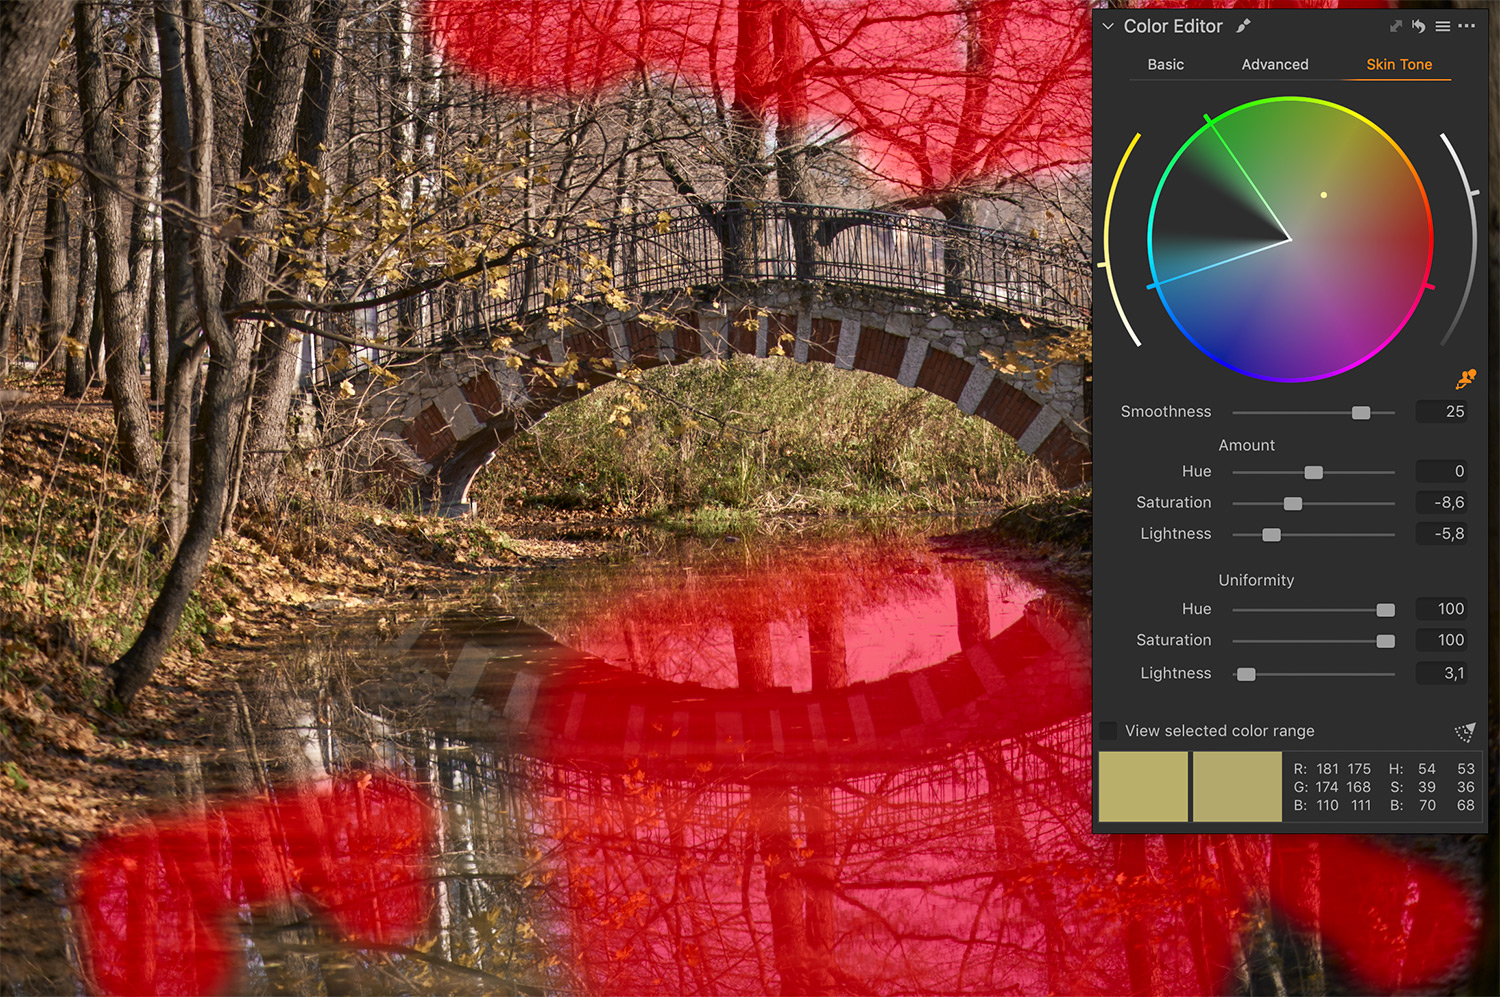
These analogous colors make it easier to dive into the image atmosphere and pay more attention to the details.
For all my $9+ patrons, I made this tutorial available as PDF, so you can download it and read it the way you prefer!

In the next post, we’ll see how to apply complementary schemes in Capture One. So, stay tuned!
Read Part II. Working with Complementary Colors in Capture One
Read Part III. Working with Additional Color Schemes in Capture One
Capture One Hidden Features eBook

Capture One Hidden Features is a collection of more than 200 pro hints to improve your Capture One workflow, structured into an easy-to-read book.
You can download four chapters from the Capture One Hidden Features ebook free of charge:
- 3. Must-Have Shortcuts
- 14. Hidden Features of Layers
- 27. The Power of Mask Inversion
- 38. Automation with Macros
Simply subscribe to the AlexOnRAW newsletter by entering your email in the form below. After subscribing to the newsletter, you’ll immediately receive the four chapters from the book. Also, you’ll regularly get a friendly newsletter with free Capture One tutorials, image editing tips and tricks, and news from Capture One community.