

We’ve rebranded from CaptureOneBlog.com to AlexOnRAW.com.
It’s only the name that is going to change; our content will always stay the same: the most interesting news about Capture One, reviews of all the latest updates and the best deals from Capture One community.
One of the main innovations of Capture One 7 is the ability to store all photos in a single catalog.
Catalog Capture One allows you to quickly and easily work with all the pictures from your archive, be it to allocate ratings, assign keywords or merge pictures into projects, folders or albums so that you easily locate the photos in your catalog at a later date.
This article is the first part of a series of posts on CaptureOneBlog.com that will explore the possibilities that are open to you when you work with the catalog in Capture One 7.
Today we will talk about the main features of importing and cataloging images.
Main features of Catalog in Capture One
Before we start working with the catalog, let’s understand the basic capabilities of cataloging in Capture One 7.
1) RAW files or processing settings
In Capture One, the catalog can be imported as the photos themselves and only processing files, while physical RAW files can be stored anywhere.
This is useful if you have multi-terabyte photo archive and “duplicate” it is simply nowhere. In this case, the best solution is to import the processing files only into the catalog.
However, if you have recently started to collect your photo archive, it makes sense to upload the RAW files to the Capture One catalog. This will provide you with more opportunities to work with them in the future.
By the way, if you store RAW files out of the catalog without access to the physical files, you will still be able to view and even edit them (change exposure, white balance, shadow / highlights, edit metadata and much more).

For example, once you have imported new photos into the catalog, you can leave the RAW files on an external hard drive and store the additional files to take with you on a laptop. Once on the road, you can still select photos, assign ratings to them, prescribe keywords and perform any edits (with some restrictions) even though you don’t have access to the RAW files.
2) Work with multiple catalogs
In Capture One you can create and work with multiple catalogs.
When you create a new catalog, the file automatically appears on your computer.

You can transfer this file anywhere, or even open it on another computer. You can also run several different catalogs simultaneously in different windows.

3) Sharing the catalog
One of the best features of the Capture One catalog is that it allows several users to work jointly on a single catalog.
Sharing access to the catalog is easy. As mentioned above, the catalog is just a single file on your computer. To share this file, simply drag it to your own server or any external file storage service such as Dropbox. Any individuals who are granted access to this file will then be able to work with it.
Capture One incorporates two modes of catalog sharing:
1) Standard access
This mode is enabled by default and allows each user to edit photos in the catalog. The disadvantage of this mode is that multiple users cannot work with one catalog at the same time (it will cause problems with data sync).
If you need to open access to the catalog to multiple colleagues, then it has a second mode – Locked.
2) Locked
In Locked mode the pictures in the catalog cannot be edited, but several users can view the catalog simultaneously. Your catalog becomes “read only,” meaning that no one can make changes; however, you can browse together and discuss photos.
To enable the Locked mode, go to the menu File –> Lock Catalog.

Now let’s look at the import features that are available in the Capture One catalog.
Import images
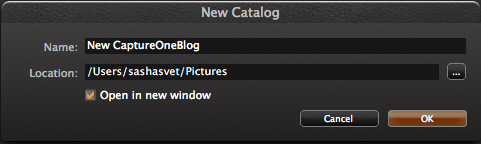
Create a new catalog. If you would like to open the catalog in a new window, check “Open in new window”.
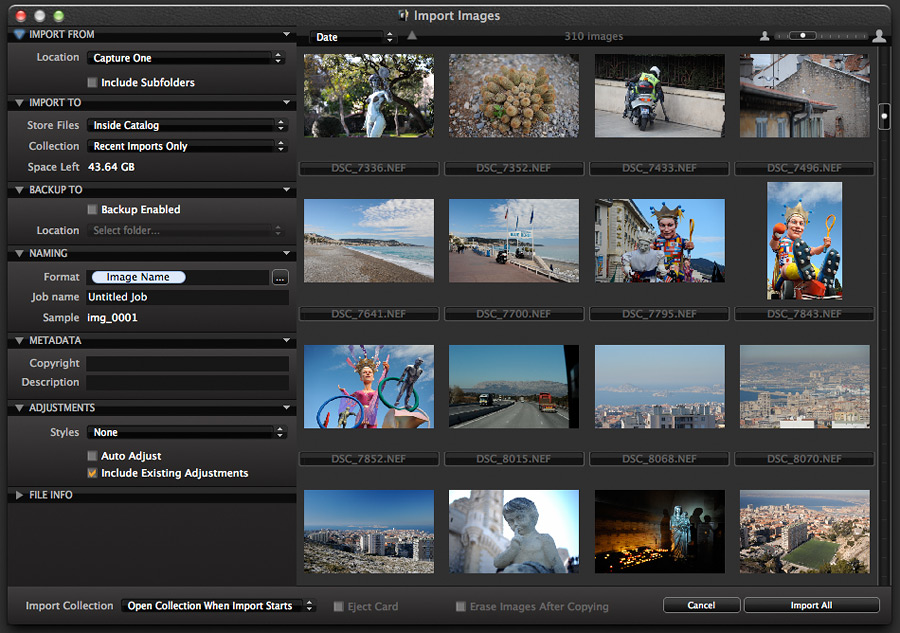
Click Import Images and you will see the standard images import window.

Main settings of image import
Import To
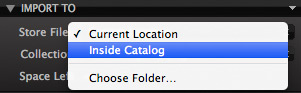
Here we choose where to store the RAW files:
– Current Location. RAW files will remain where they are and only the processing settings will be stored in the catalog.
– Inside Catalog. RAW files (and processing settings) will be stored within the catalog.
– Choose Folder. Processing settings will be stored in the catalog and RAW files will be stored in a location of your choice.
Backup To
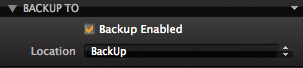
After creating the catalog it is worth thinking about backing it up.
Using the Capture One settings, you can specify the frequency of automatic backup and a place where the backup file will be stored. You can start the backup manually at any time by selecting File –> Backup Catalog.
Please note: the backup tool saves only the image processing settings, metadata and the catalog structure. However, the RAW files are not backed up – you will need to do this yourself.
Naming
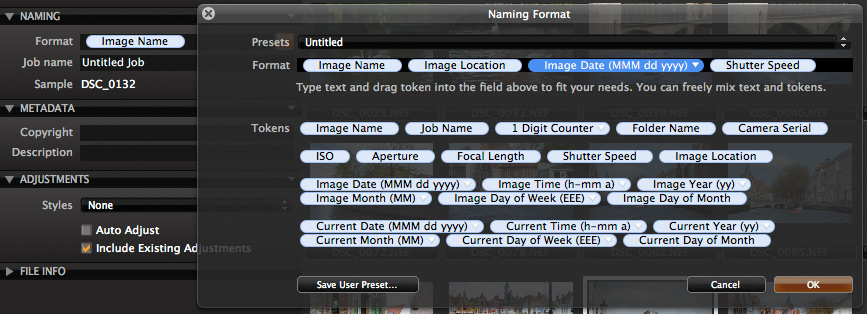
Here you can change the file names. Capture One has its own “smart” system of naming.
You can set the parameters by which the filenames will be generated. For example, you can include the time and place where the pictures were taken or the exposure settings in the name.
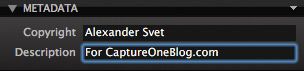
In the Metadata you can change the description and the copyright for all images.
Through using the Adjustments Clipboard tool you can also change metadata for all pictures.
The most important option on offer in the adjustments section is Include Existing Adjustments.
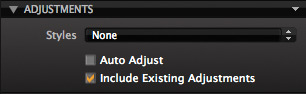
If this is enabled, the image processing settings (as developed in Capture One) will be applied after the image is imported into the catalog.
You can also use the Adjustments Tool to immediately apply photo styles and presets.
The second article in this series will take a look at the catalog structure on offer in Capture One: “Catalog in Capture One: Groups, Projects and Albums.” (coming soon).