

It’s Capture-One-Hidden-Features time! Previously, we have already discovered a bunch of obscure Capture One features:
- Hidden Features of Alt key in Capture One
- Hidden Features of Shift key in Capture One
- Hidden Features of Export in Capture One
- Hidden Features of Crop in Capture One
Now, let’s see how to get the maximum out of your styles in Capture One.
If you’re not familiar with styles in Capture One, here is a nice tutorial to learn all the basic features of styles.
Structuring Styles into Folders
First and foremost, you need to learn to access Capture One styles system folder. Here you can structure styles and organize them into folders.
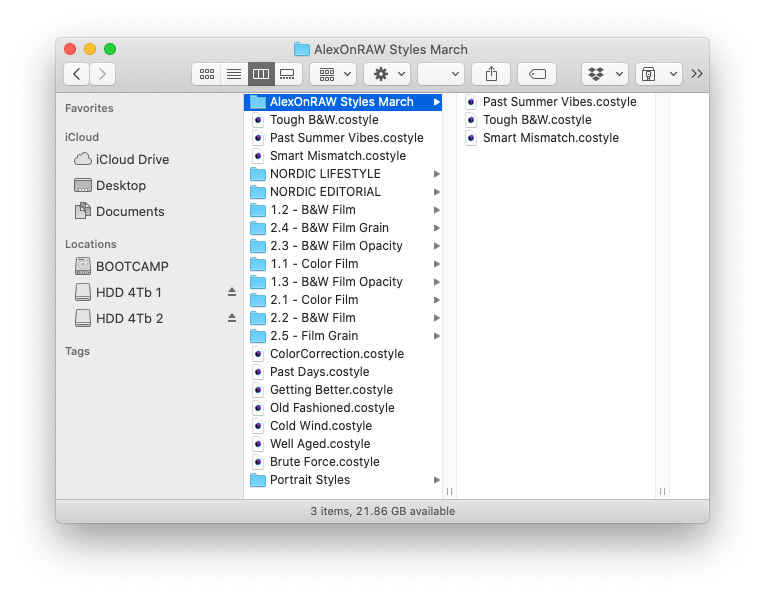
For instance, you can create a Favorites folder and put some of the most used styles there. Additionally, you can organize your styles by editing tasks or looks. Don’t forget to restart Capture One for changes to take effect.
To get to this folder, simply follow the instruction in my video (starts at 6:25) and replace StyleBrushes with Styles in the path:
Comparing Different Styles
Sometimes, you might need to see how an applied style looks when compared to other styles on the same image.
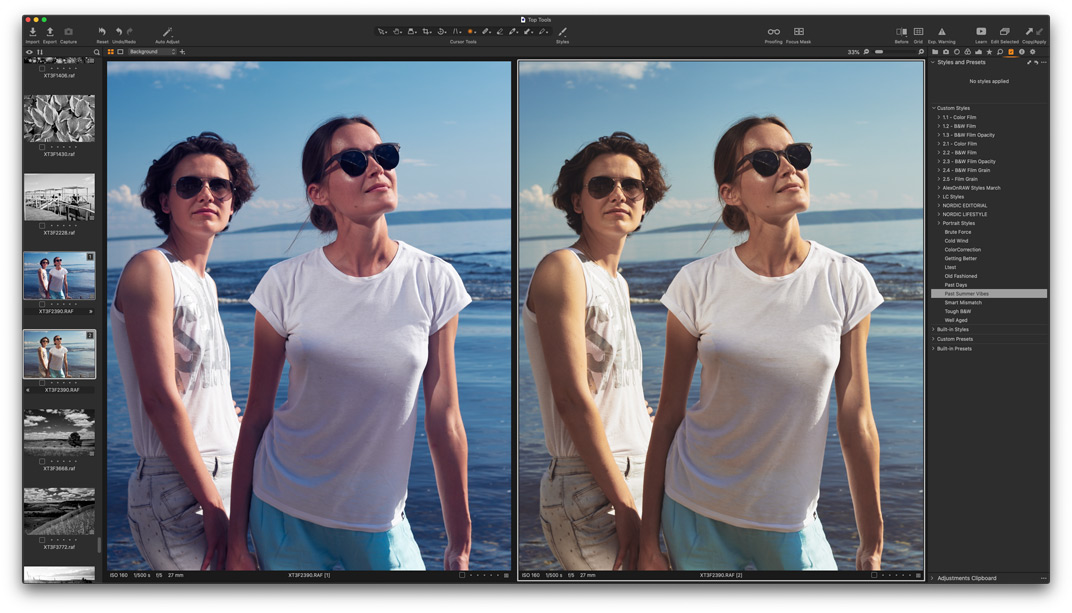
Firstly, create a new variant and select both images. Here I’ve posted a script to automate these actions.
Secondly, turn off Edit Selected option to apply a style to the primary variant only.
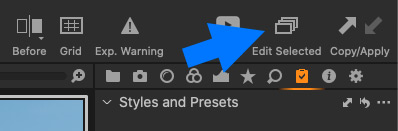
Yep, it’s this rare case when you need to turn it off!
Now, you can scroll styles and easily compare your current adjustments with other styles.
Using Styles to Reset Adjustments
Usually, styles in Capture One are used to apply some adjustments. However, you can use them to reset adjustments as well!
The trick is that styles contain any adjustments, including 0 corrections.
Thus, you can create styles to reset particular adjustments to 0. For instance, you can create a style to reset all color or exposure corrections.
Keep in mind that you can simply hover your cursor over any style to see your image without precise adjustments.
For my book Capture One Hidden Features, I have created a set of ten styles to reset different groups of tools:
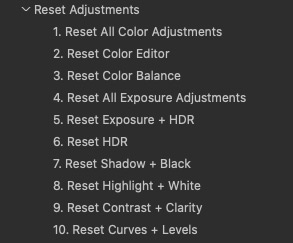
These styles come as a free bonus with the book!
Applying LUTs with Styles
There is no native support for LUTs in Capture One. However, you might have seen styles that apply LUTs to your images. Technically, such styles apply a camera profile based on a LUT instead of your regular camera profile. Here is how it looks in a style code:

The style simply takes a sidecar ICC profile (based on a LUT) and sets it as a camera profile in Base Characteristics.
How to create LUT-based profiles and styles?
The easiest way is to use 3D LUT Creator since it has the built-in feature of creating LUT-based styles for Capture One:
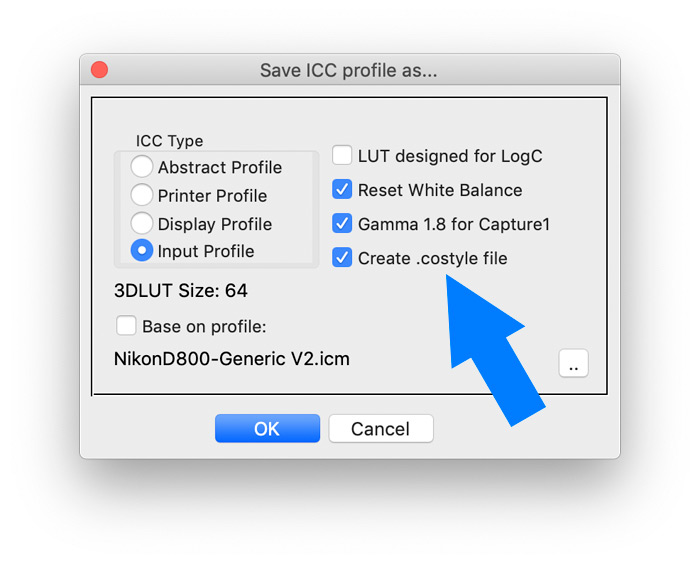
Download 3D LUT Creator and follow this guide:
The main disadvantage of such styles is that you can’t use them in layers.
Understanding Stack Styles Feature
If you wish to mix different styles on an image, you need to understand the logic behind Stack Styles feature in Capture One.

The idea is rather simple:
- Non-conflicting adjustments from all applied styles are always active.
- If several styles contain the same tools, the conflicting adjustment from the last applied style will be active.
Thus, you can easily mix styles that contain different types of adjustments, say, color corrections, exposure corrections, and metadata. All these adjustments will be active on your image.
If some tools appear in different applied styles, the latter style always has a priority.
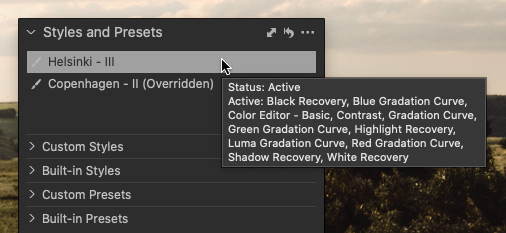
Running Editing History with Presets
There is a pretty curious way of working with presets in Capture One.
Paul Steunebrink, the host of ImageAlchemist, has developed 4588 (!) presets for all key tools of Capture One:

Paul’s idea is to control adjustments by choosing presets from a variety of options:

Basically, his presets contain no unique settings but offer a new image editing workflow.
Best of all, this method allows you to have a “history” of all your editing in Styles and Presets tool:

Setting Shortcuts for Styles
Finally, there is another unobvious feature that I’ve mentioned previously in my newsletter:
You can assign shortcuts for Capture One styles in macOS!

Here you’ll find all the details on this feature. However, I haven’t tested it on BigSur yet, so let me know if you had any issues with it!
Capture One Hidden Features eBook

Capture One Hidden Features is a collection of more than 200 pro hints to improve your Capture One workflow, structured into an easy-to-read book.
You can download four chapters from the Capture One Hidden Features ebook free of charge:
- 3. Must-Have Shortcuts
- 14. Hidden Features of Layers
- 27. The Power of Mask Inversion
- 38. Automation with Macros
Simply subscribe to the AlexOnRAW newsletter by entering your email in the form below. After subscribing to the newsletter, you’ll immediately receive the four chapters from the book. Also, you’ll regularly get a friendly newsletter with free Capture One tutorials, image editing tips and tricks, and news from Capture One community.